Introduction
My LED grow rack is a powerful solution for growing and starting plants from seed indoors. It has three WiFi-programmable shelves, each fitted with multiple high-power LED strips that are optimally placed for maximum light coverage. In this article, I will outline the DIY process that I used to build this rack and provide instructions on how you can do it yourself.
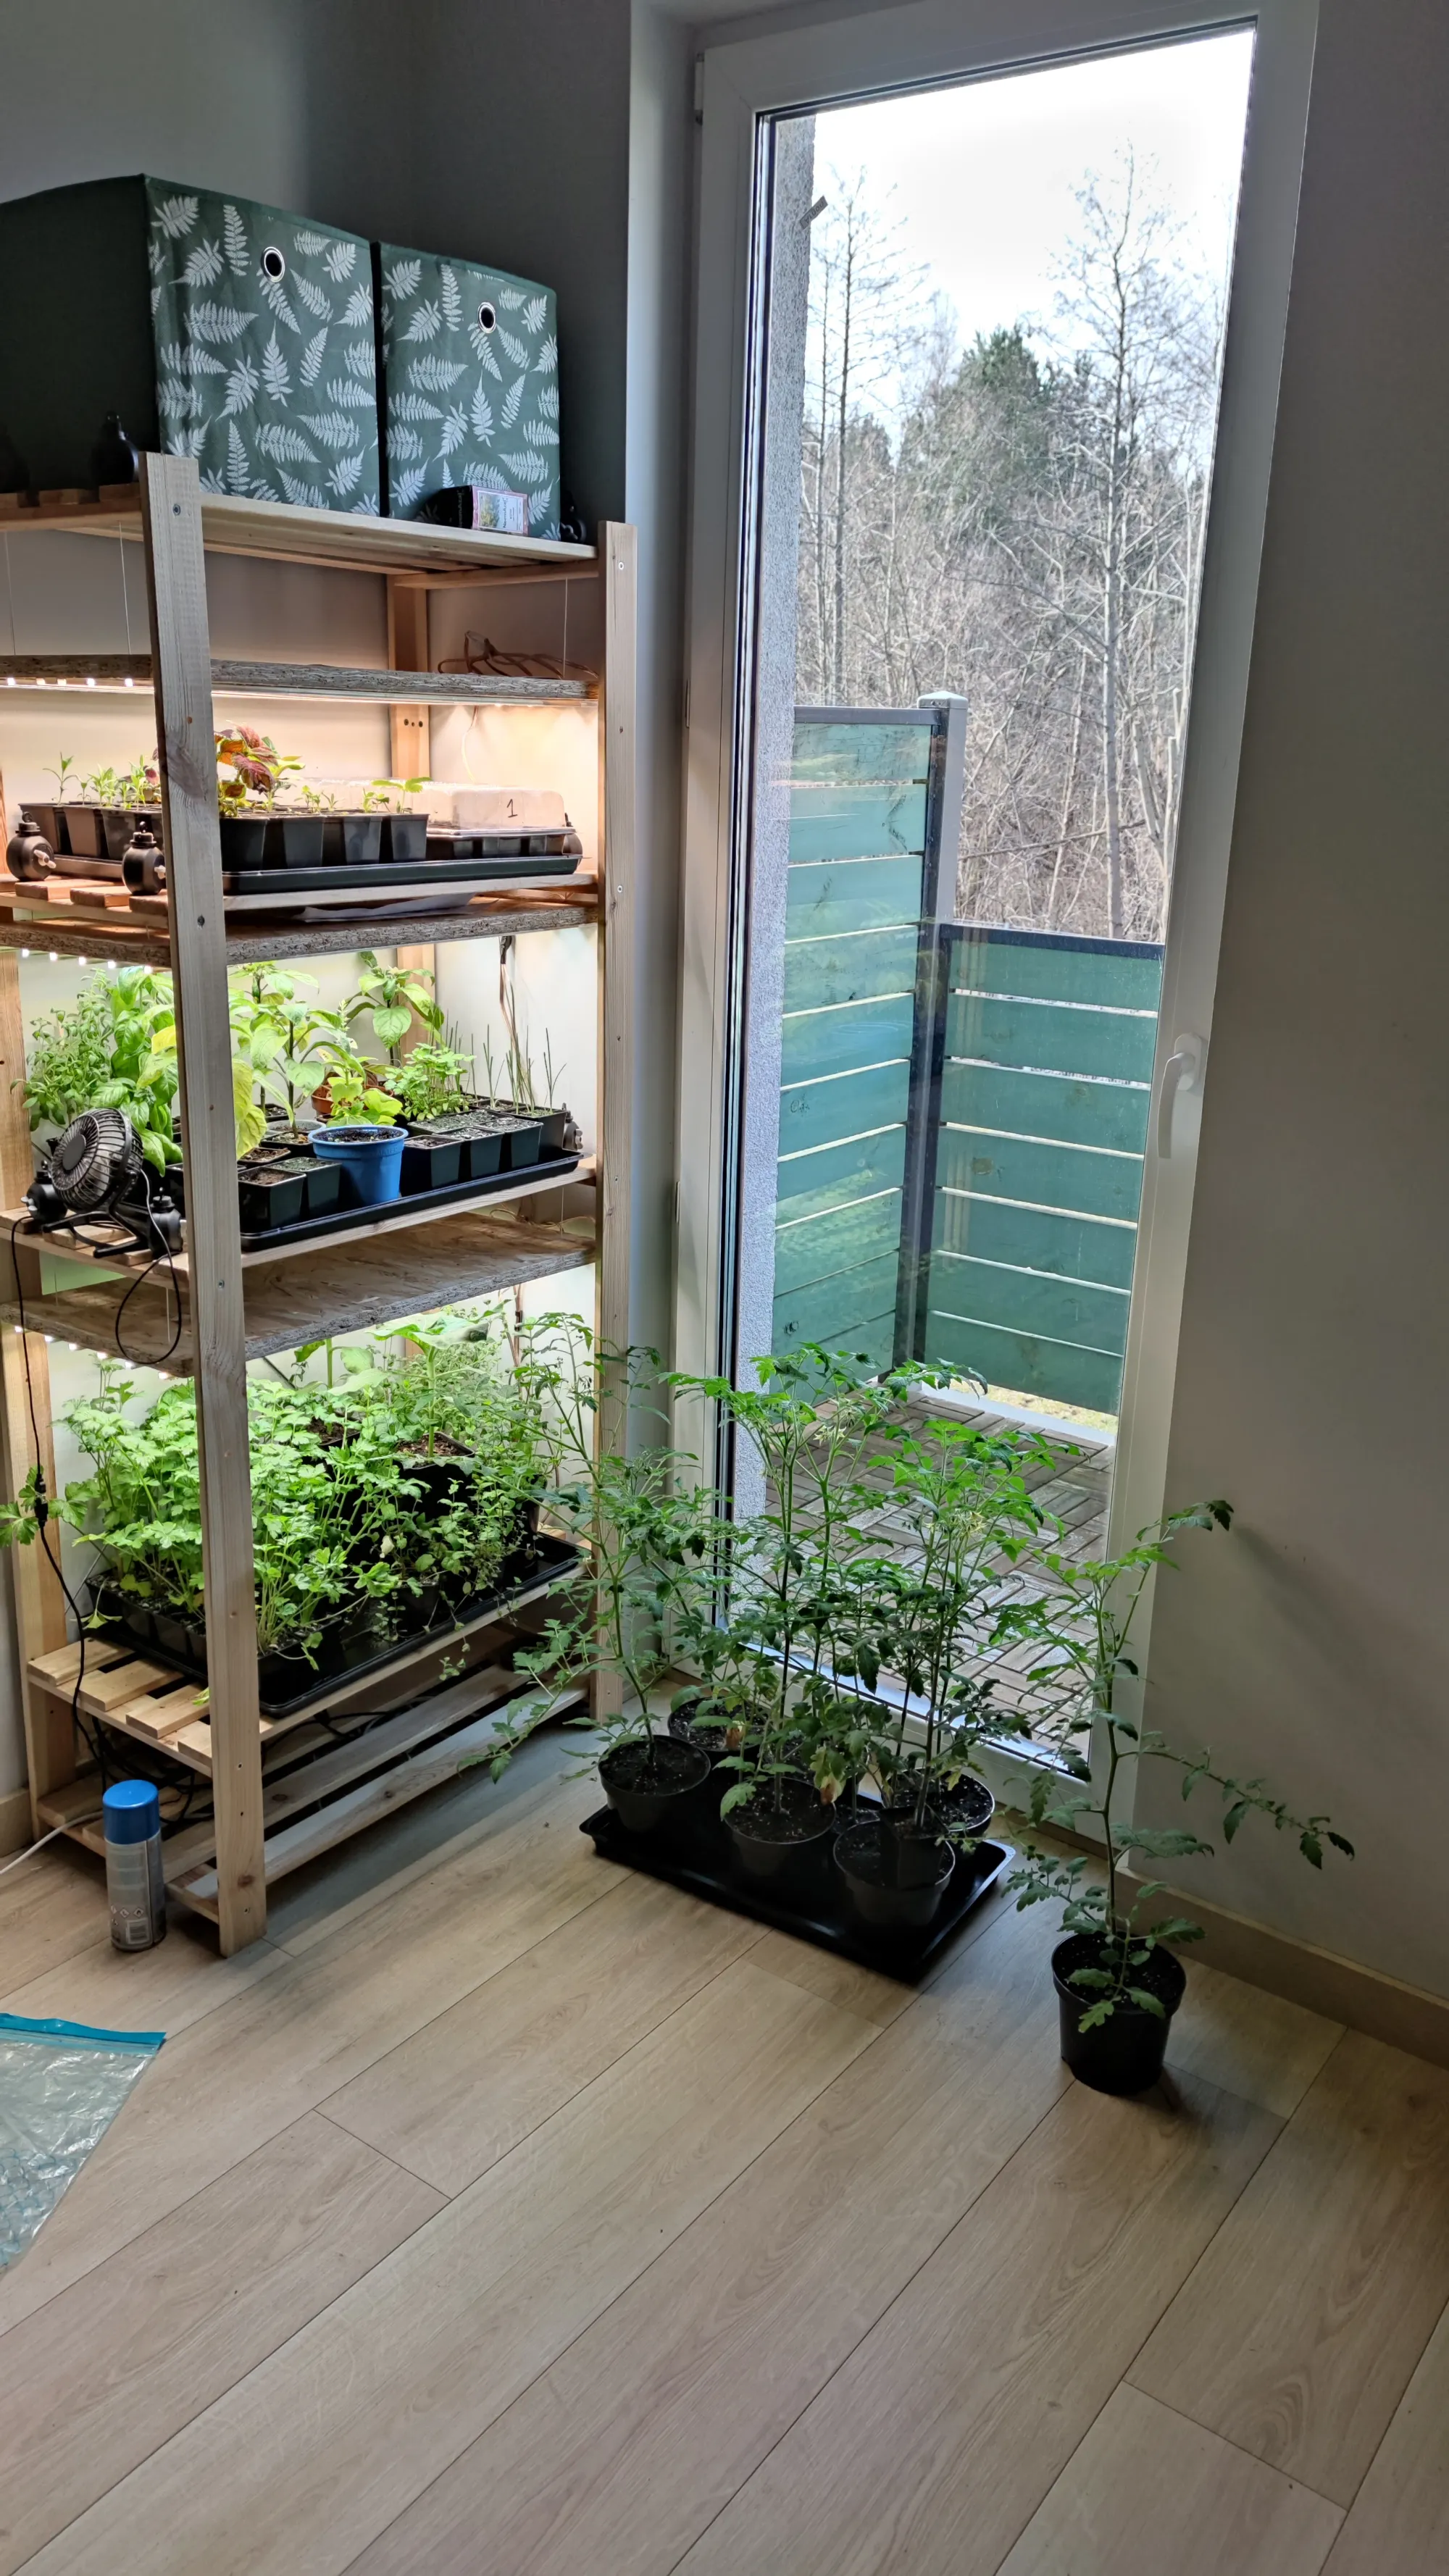
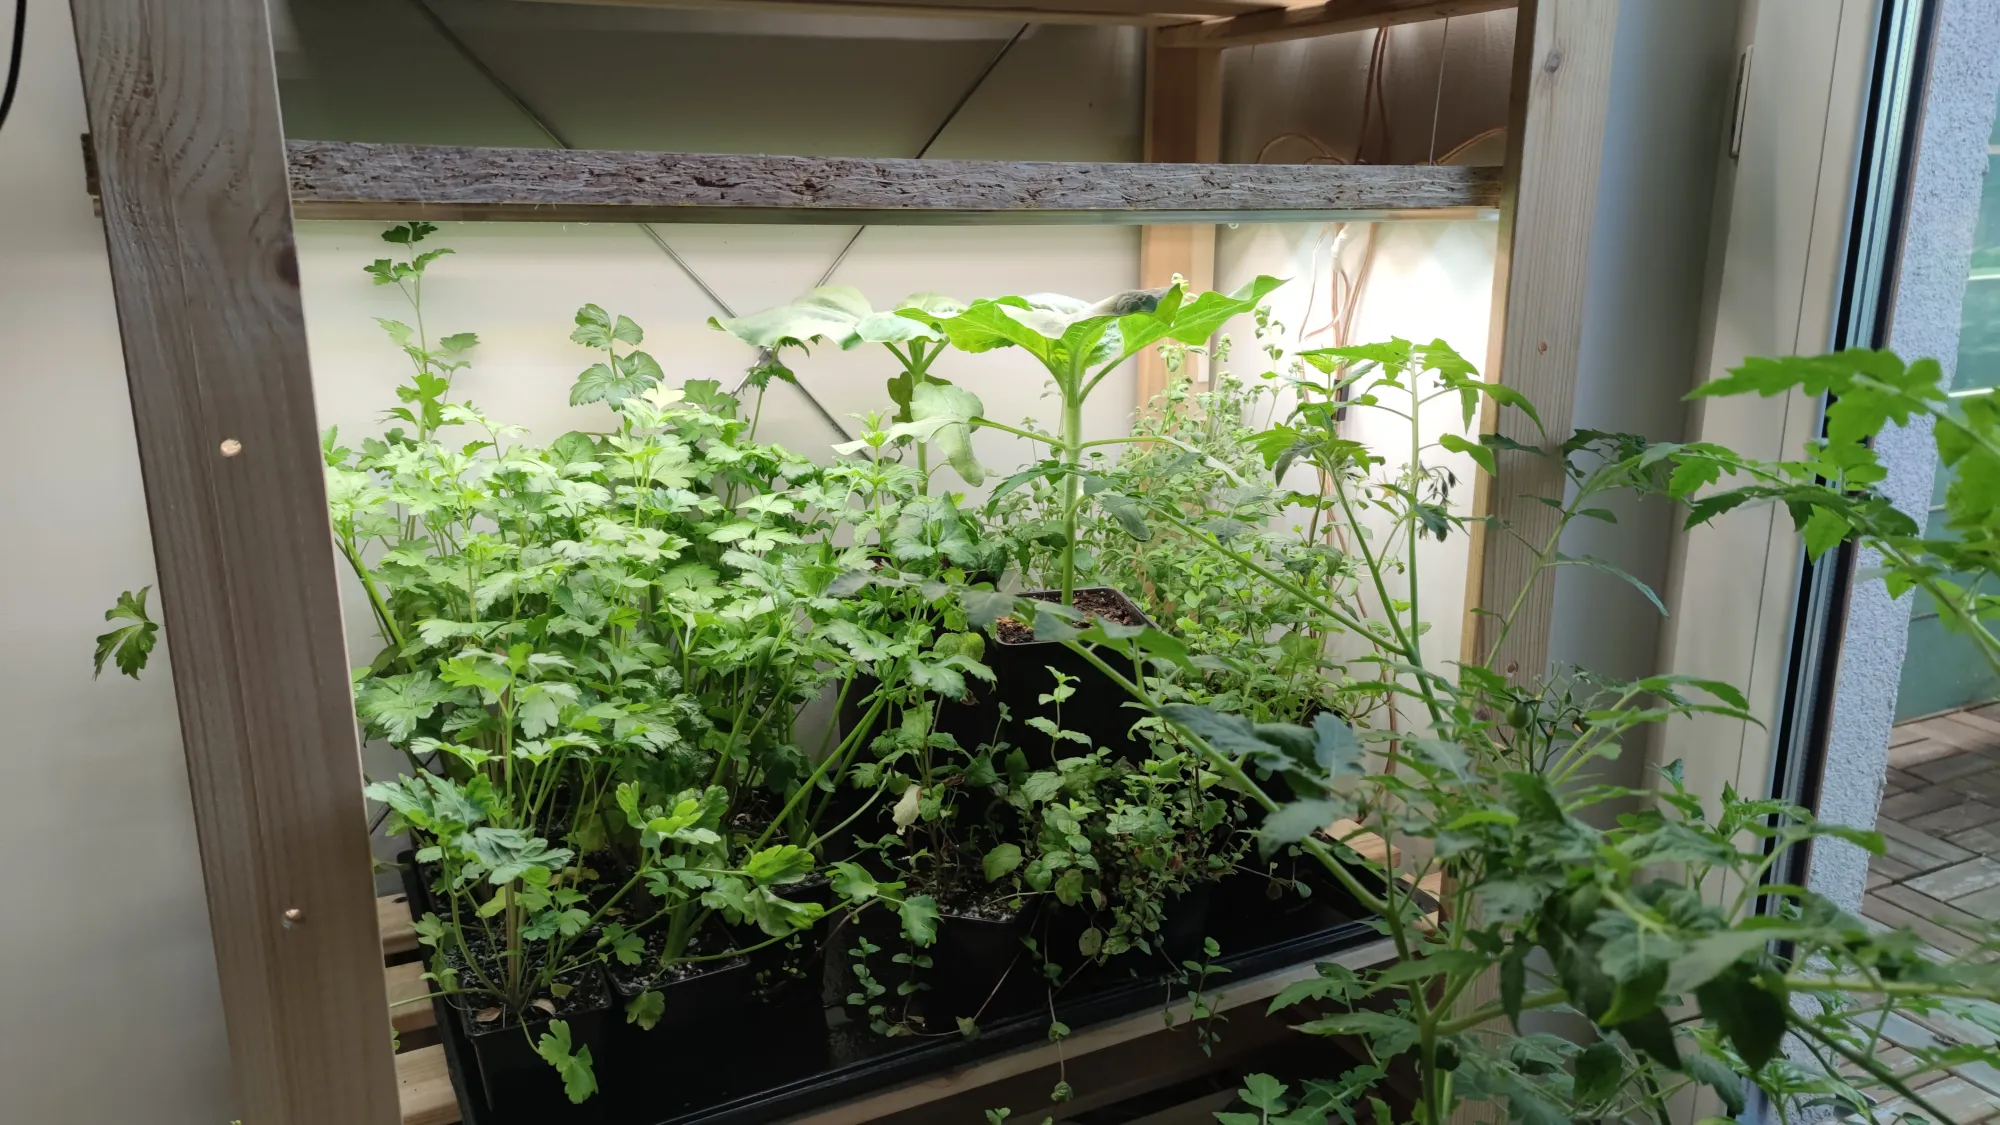
Finished product
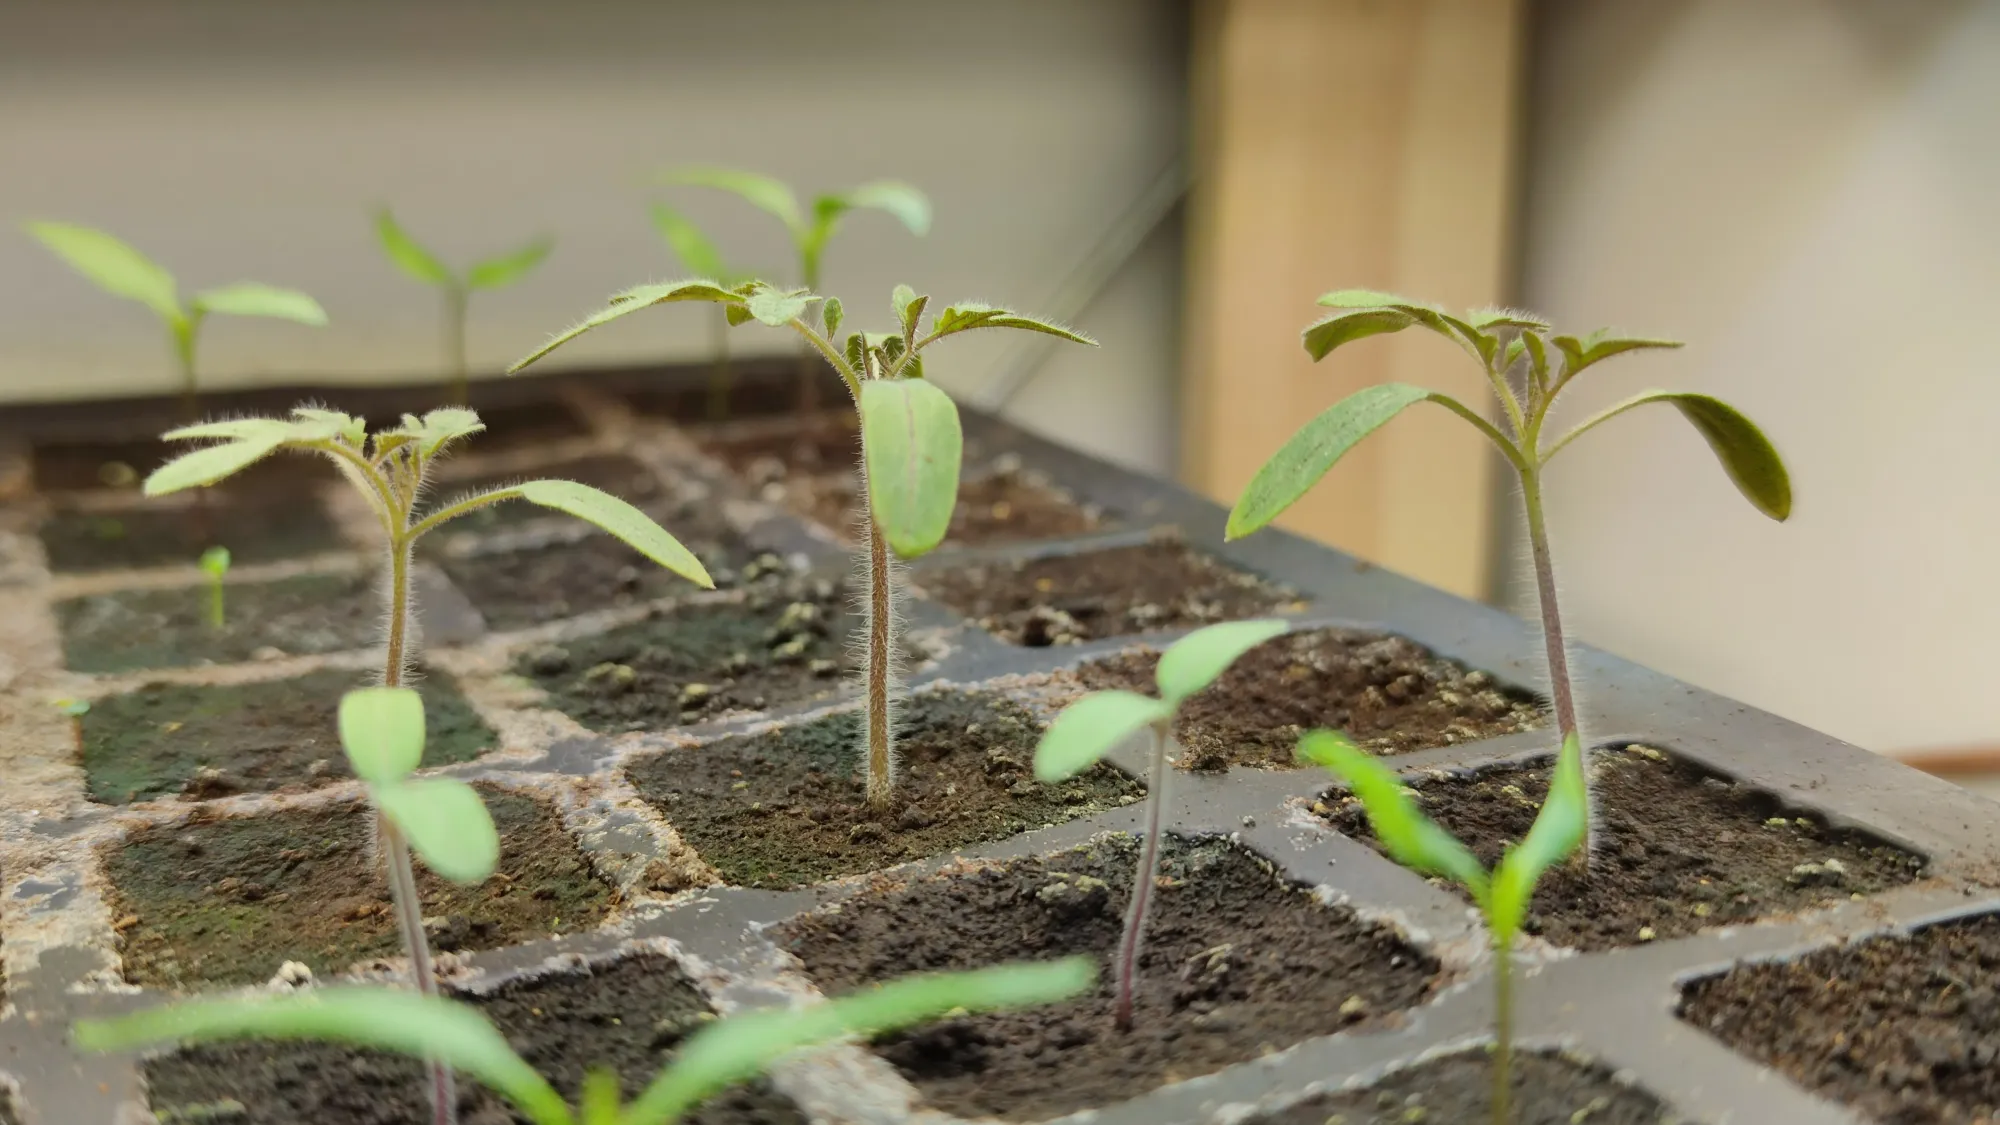
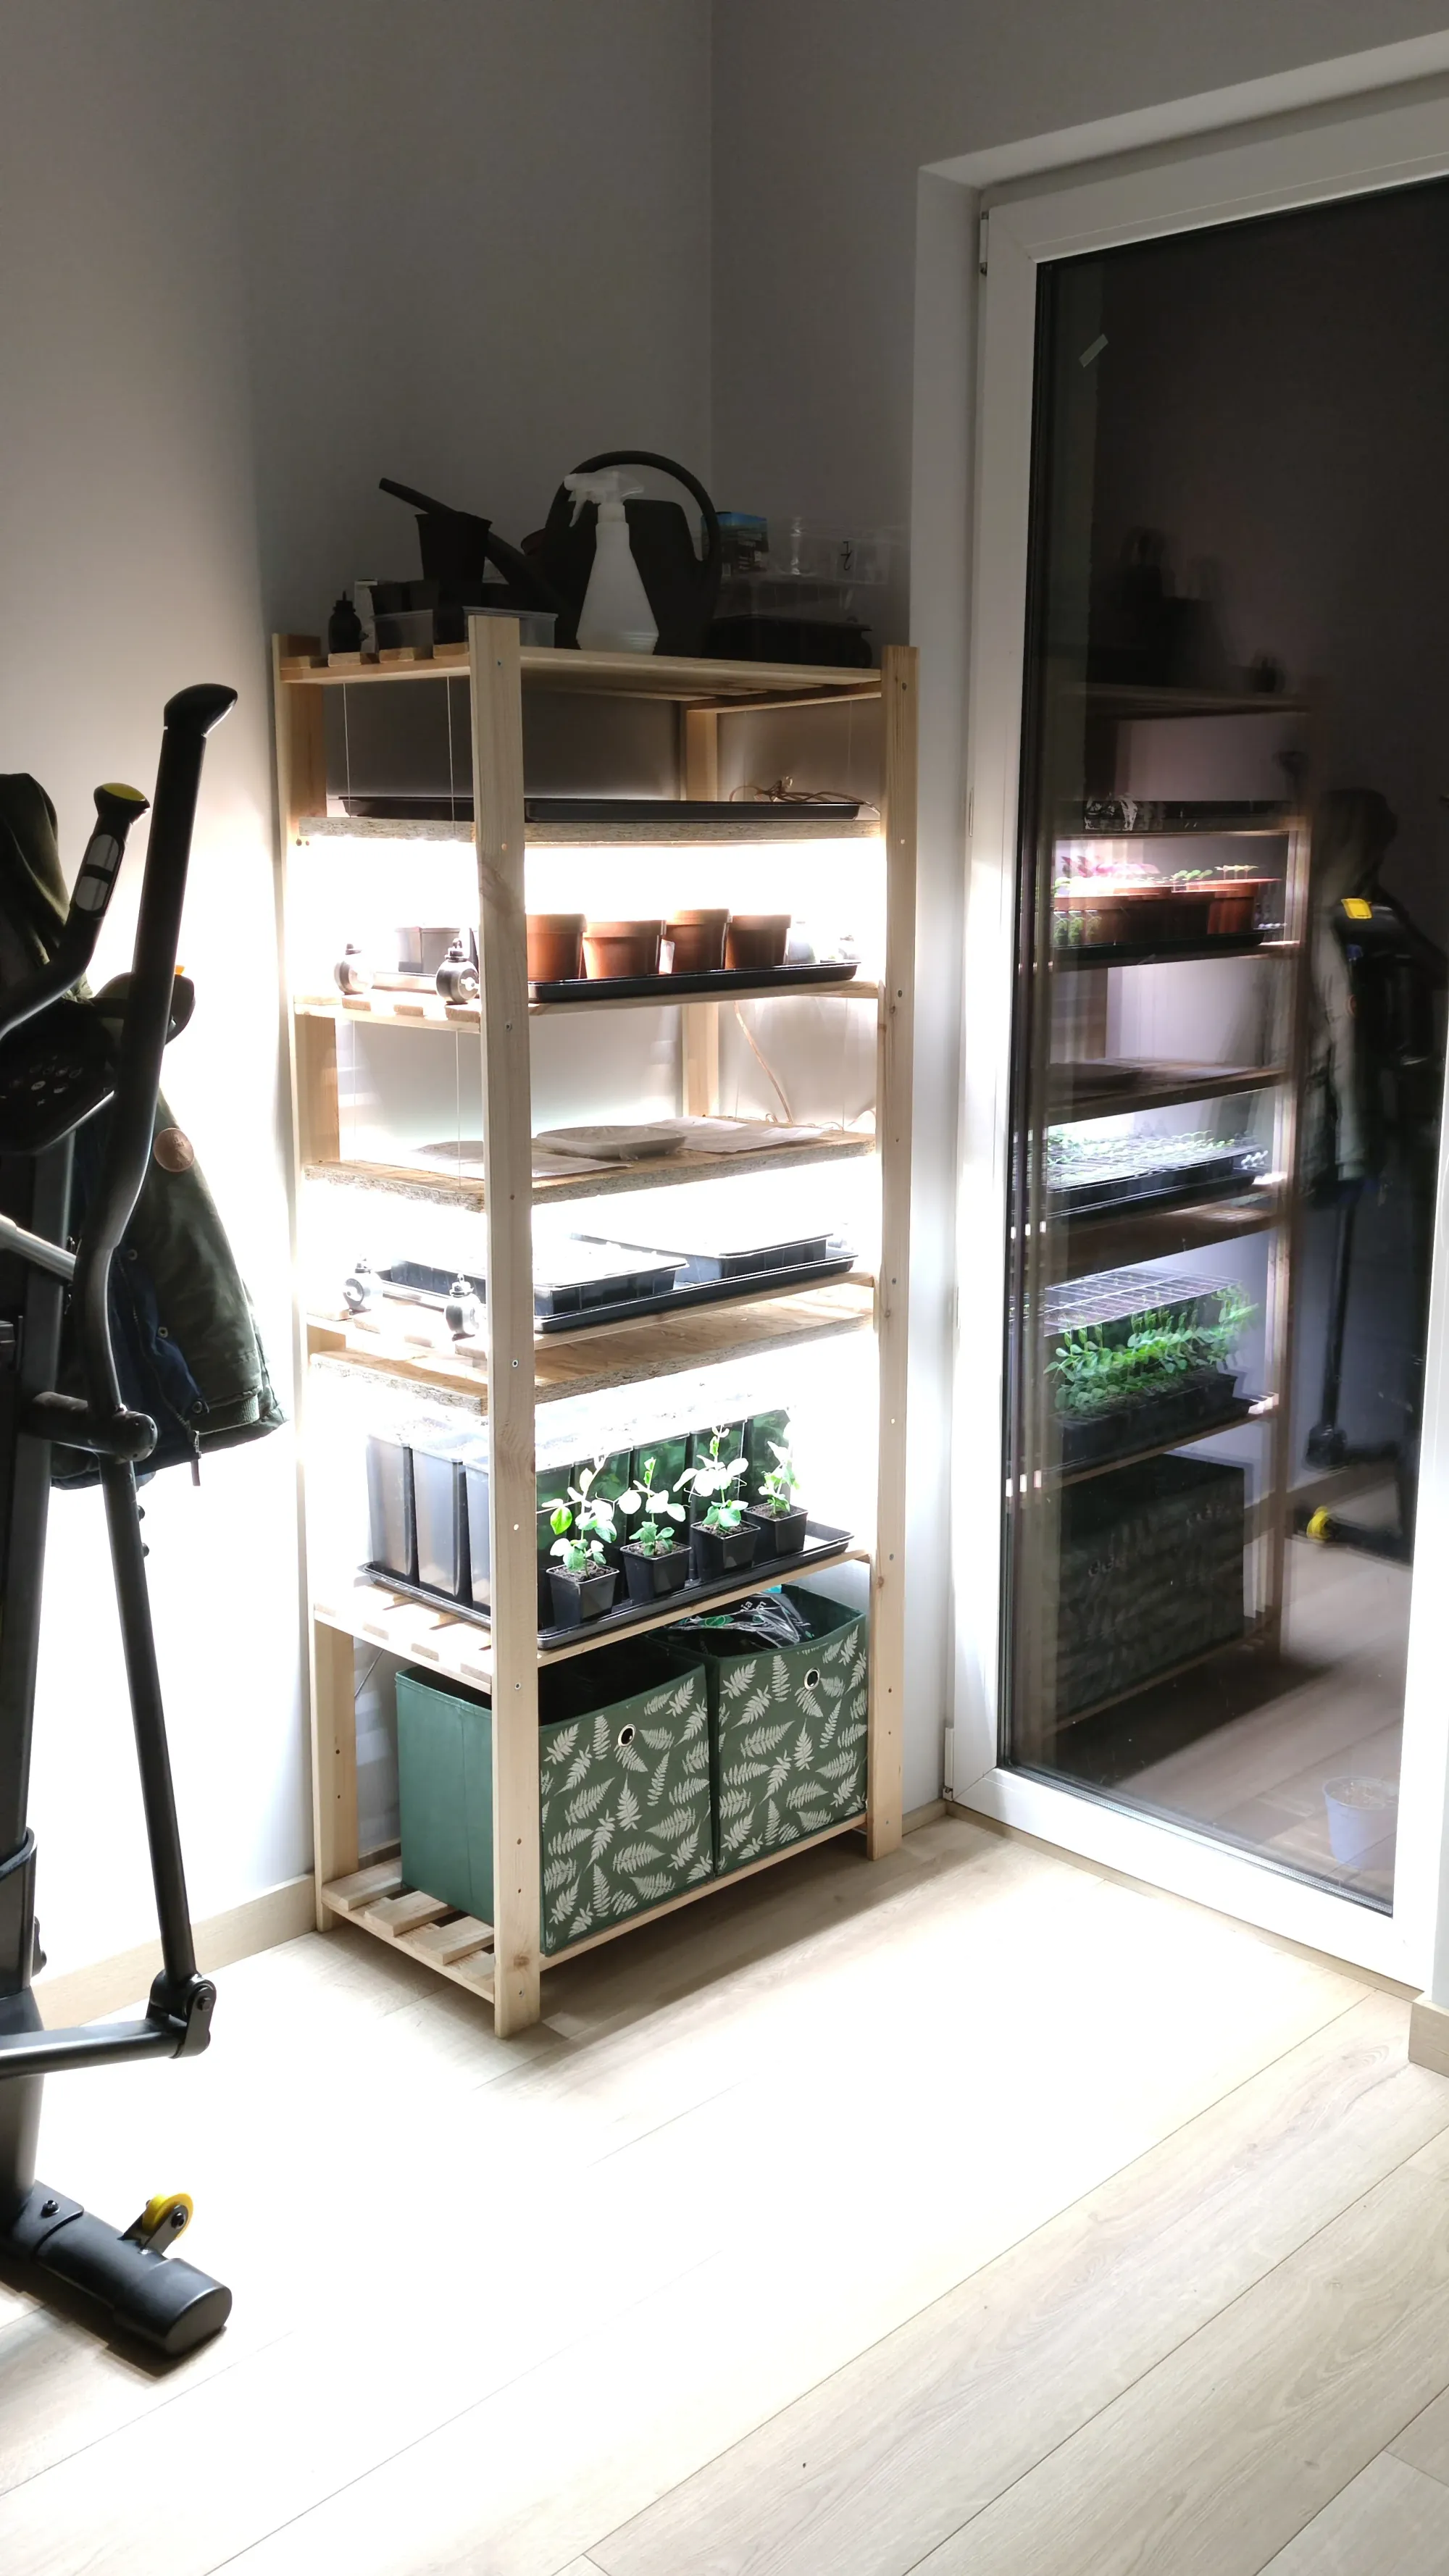
When I saw the final product of my DIY LED grow rack, I was excited! After a long period of researching and planning, with its three shelves and multiple high-power LED strips, this powerful solution was ready to help me grow anything I wanted indoors. I started all of my plants from seed, even some of them too early like the tomatoes. But even though they were early, all of my plants still gave me a lot to harvest when I put them outside.
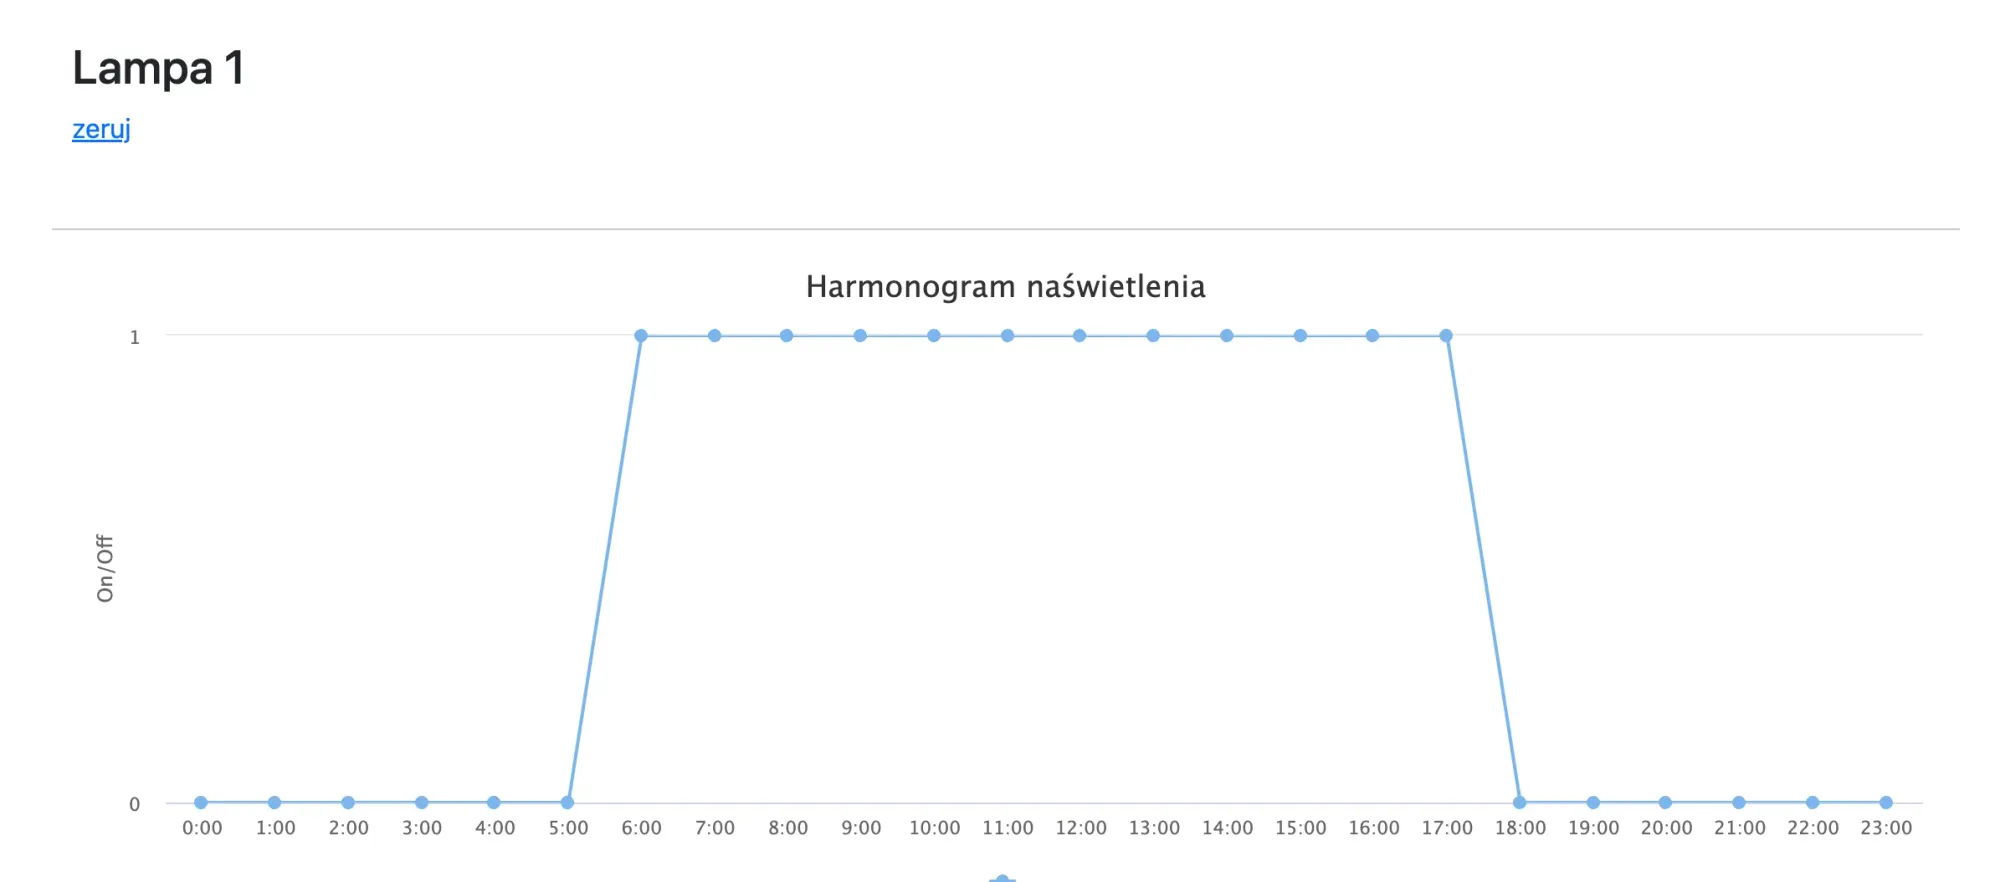
Programmable shelves
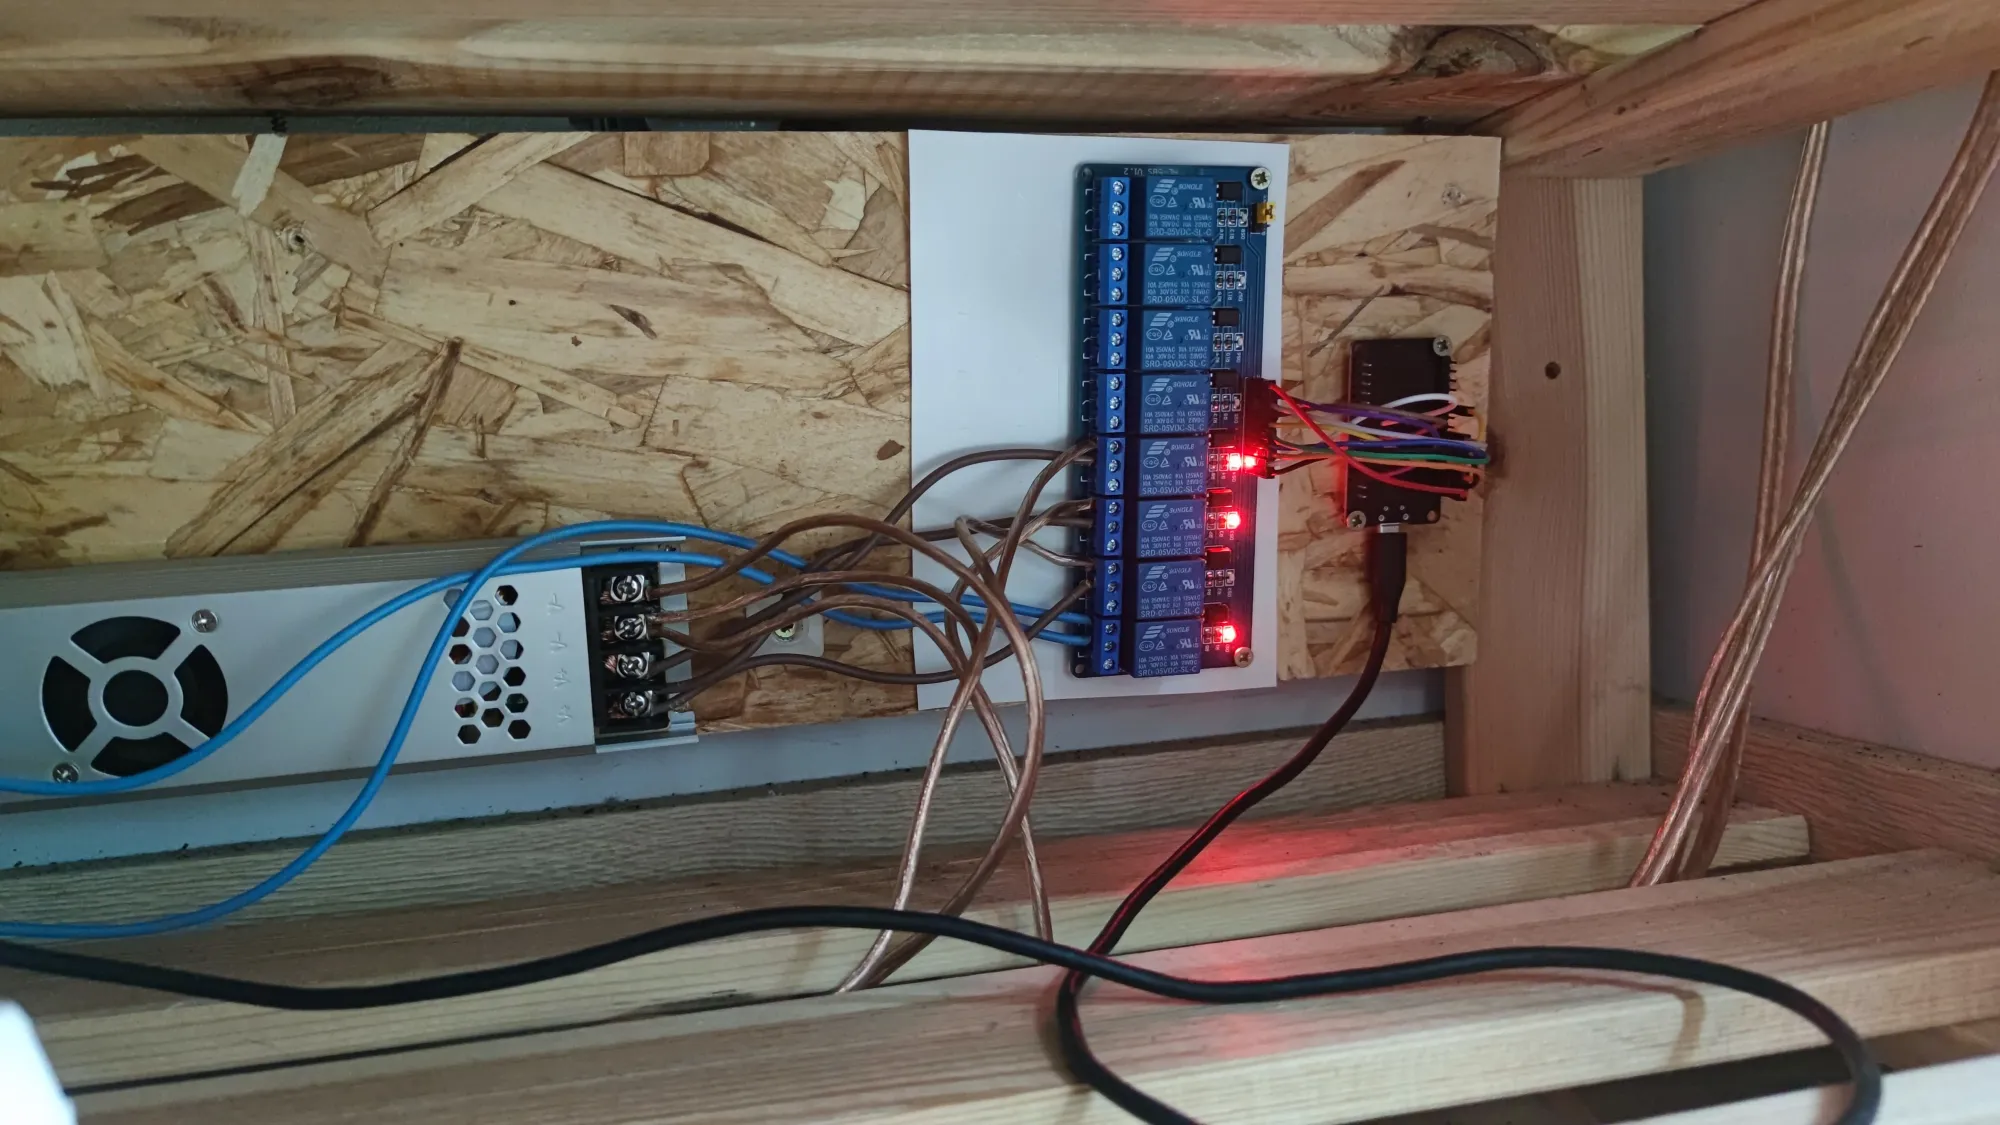
You can program each shelf to turn on or off at different times. I thought of using transistors instead of relays to control the brightness with PWM, but it would not make a difference for plants and it could cause problems with a cheap Chinese power supply that I have. To control each shelf I utilized an ESP32 I had laying around and a simple relay board.
Easy to move light panels up and down
The inverse square law tells us that the farther away something is from the source of light, the less light it gets. This means that if you take something twice as far away from a light source, it will get one fourth as much light. If you take something three times further away, it will get one ninth of the original amount of light.

That's why it's very important to be able to move the light closer to plants when they're small. To do this, I used four easy rollers that are easy to move once adjusted for the lamp's weight. Each easy roller can take up to 5kgs of weight.
Advantages of DIY Lighting
DIY lighting is becoming increasingly popular among indoor gardeners. Not only does it offer great flexibility in terms of customization, but the cost savings are also significant when compared to pre-packaged grow lights from big companies.
With DIY lighting you can build your own rack, choose the parts that best suit your needs and budget, and have more control over how much light your plants are getting. Furthermore, you don't need any specific skills or tools – anyone with basic DIY knowledge should be able to make a powerful led grow rack.
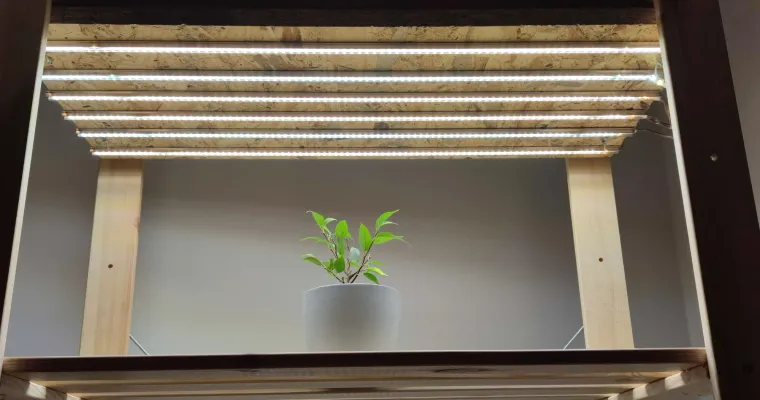
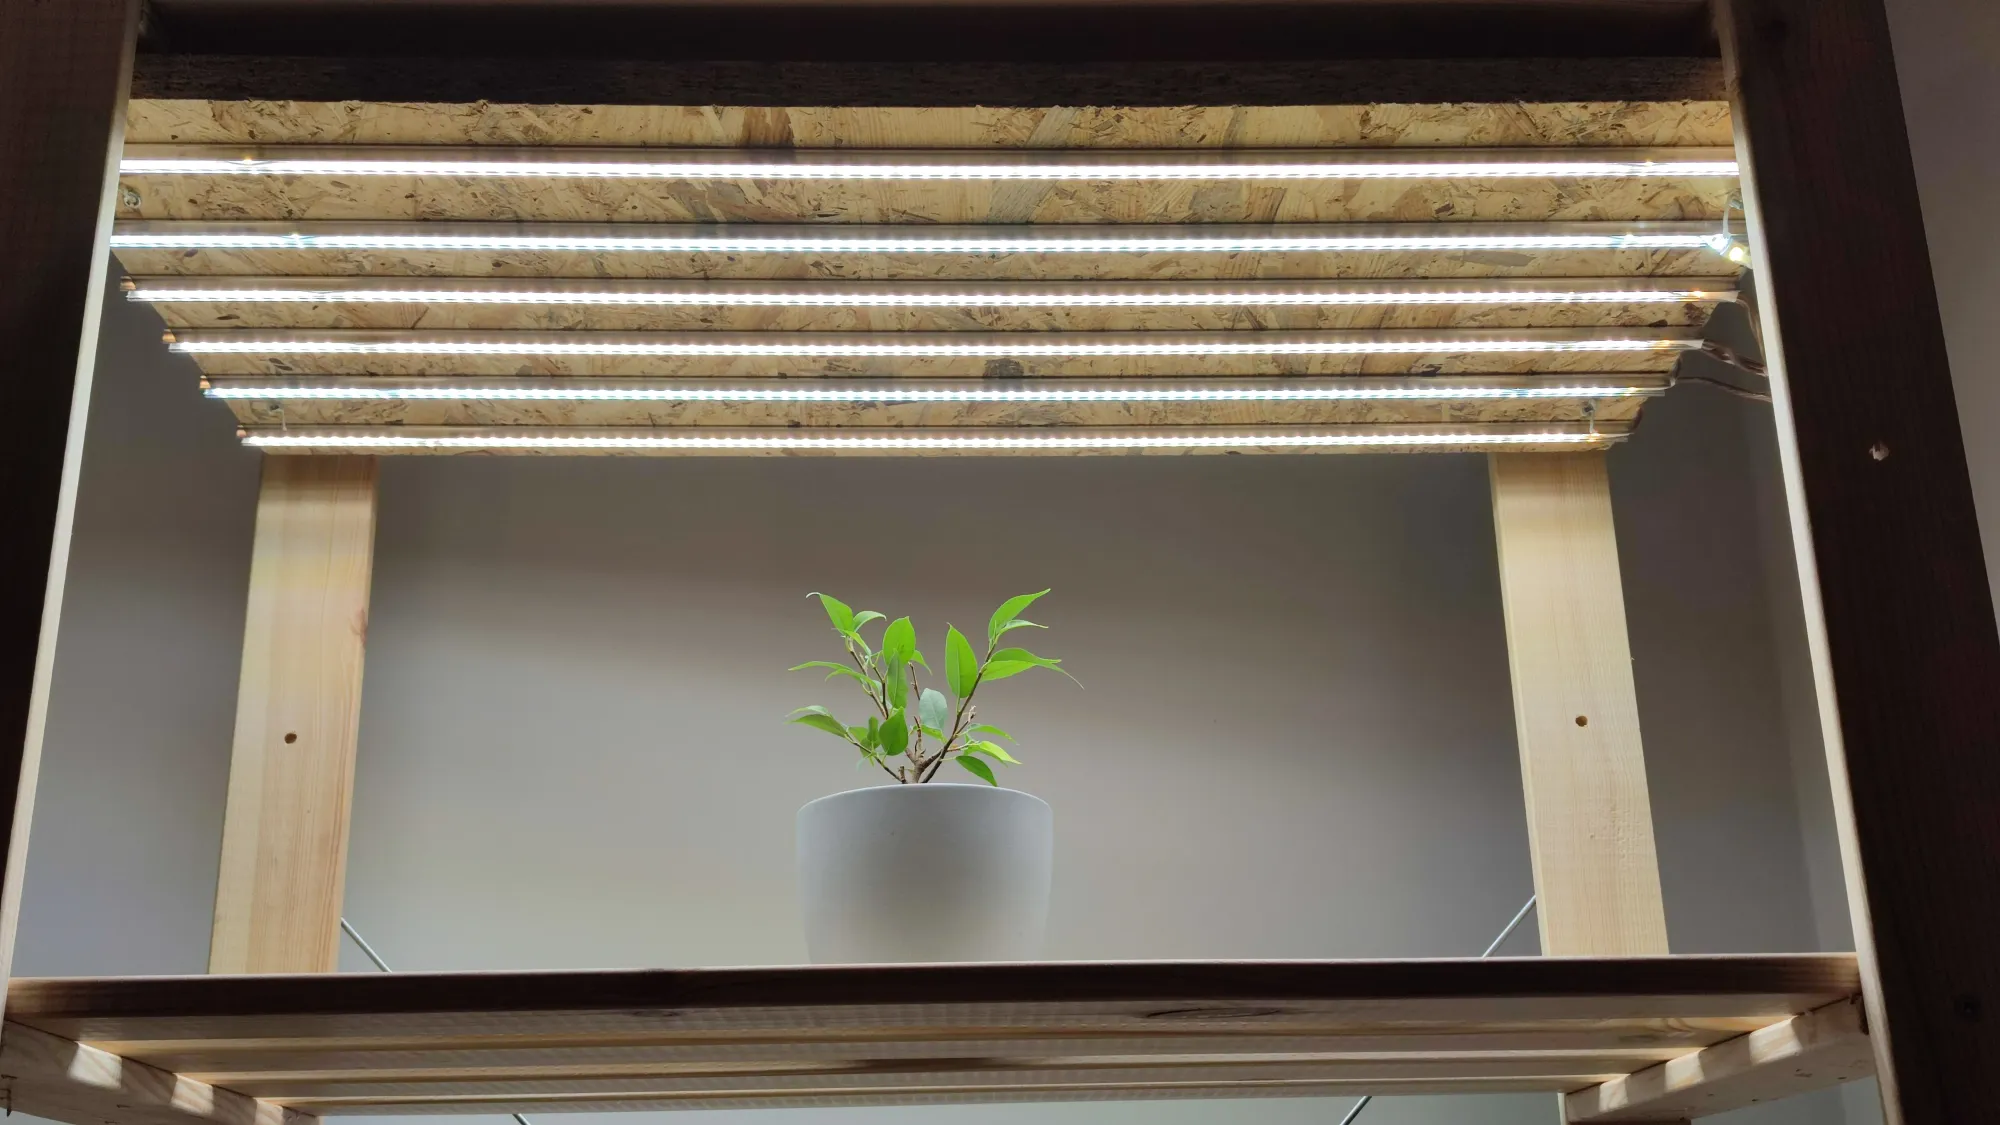
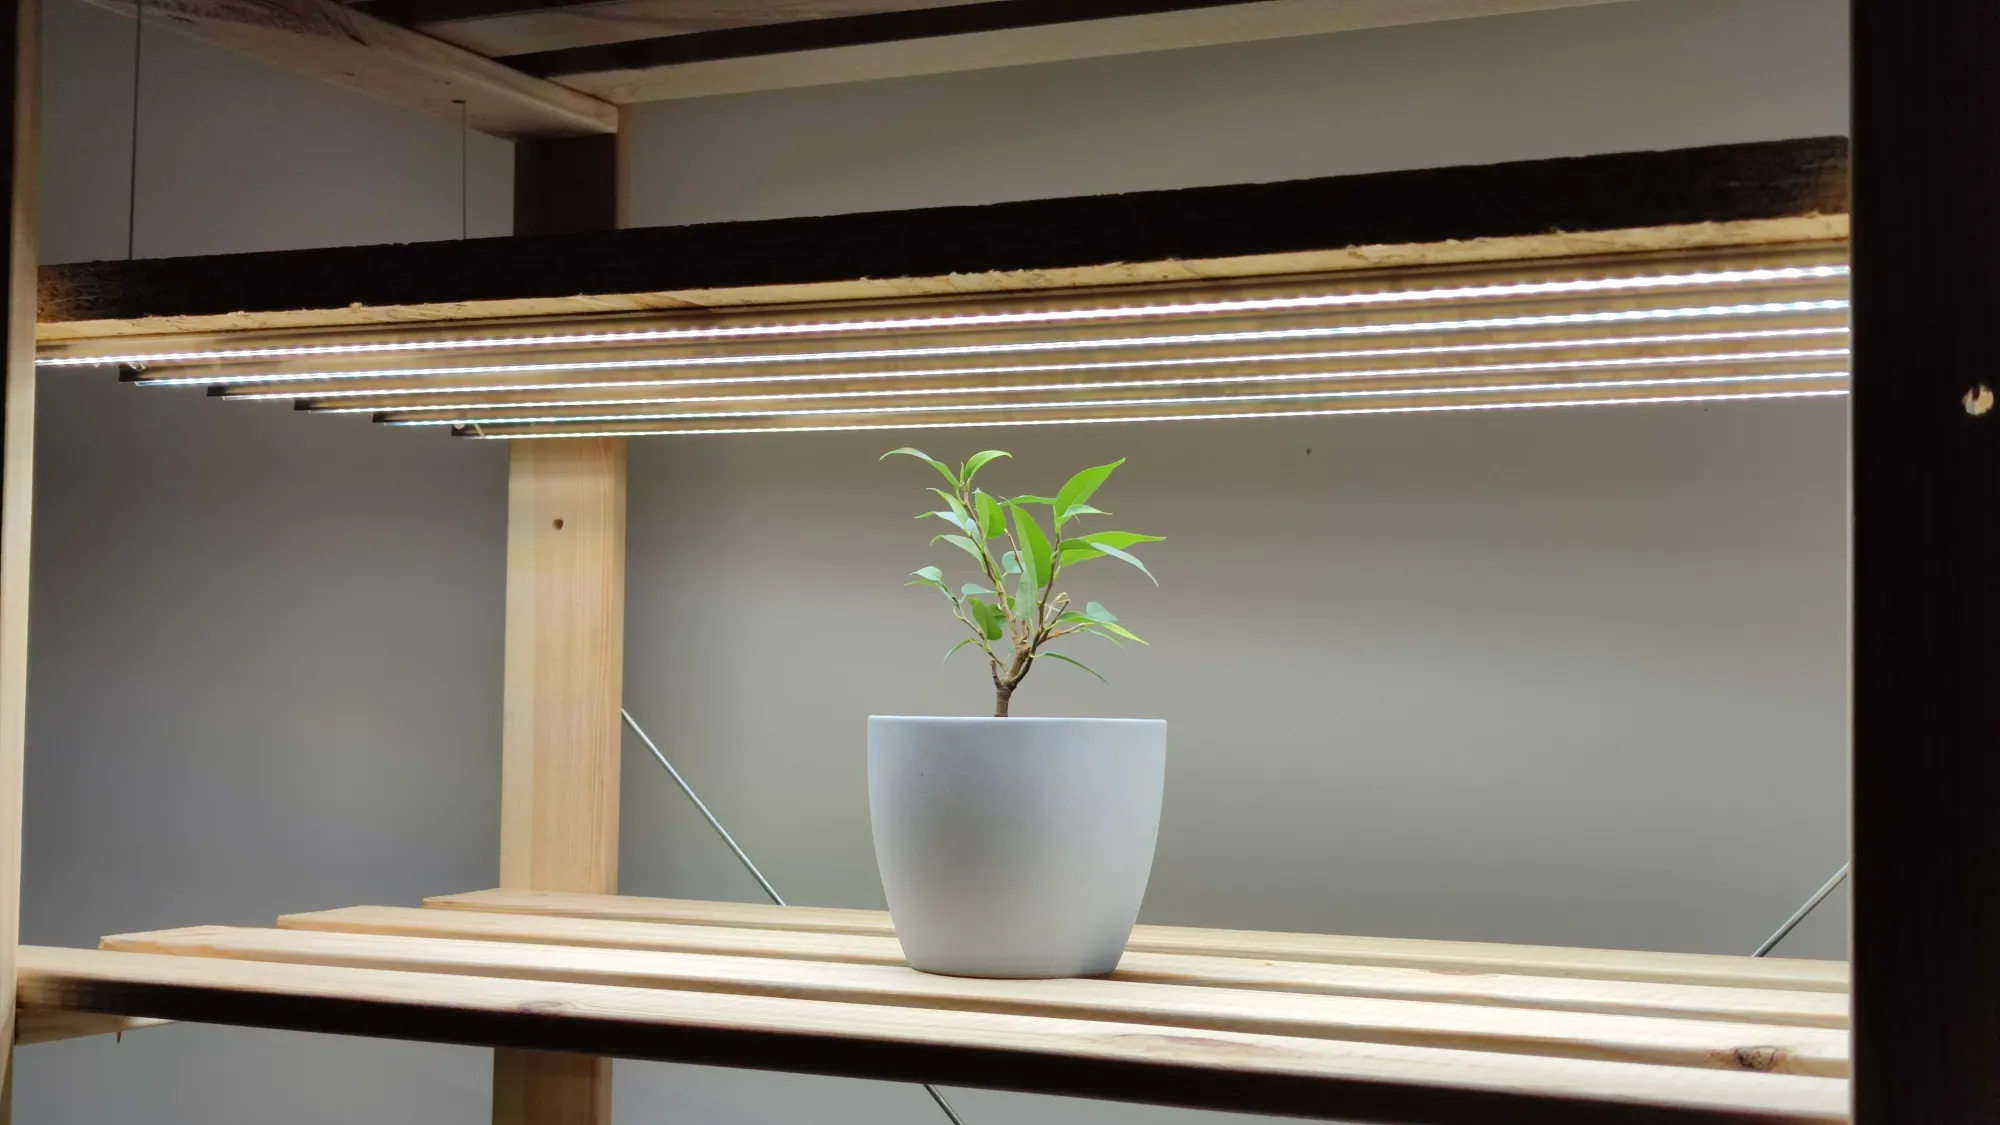
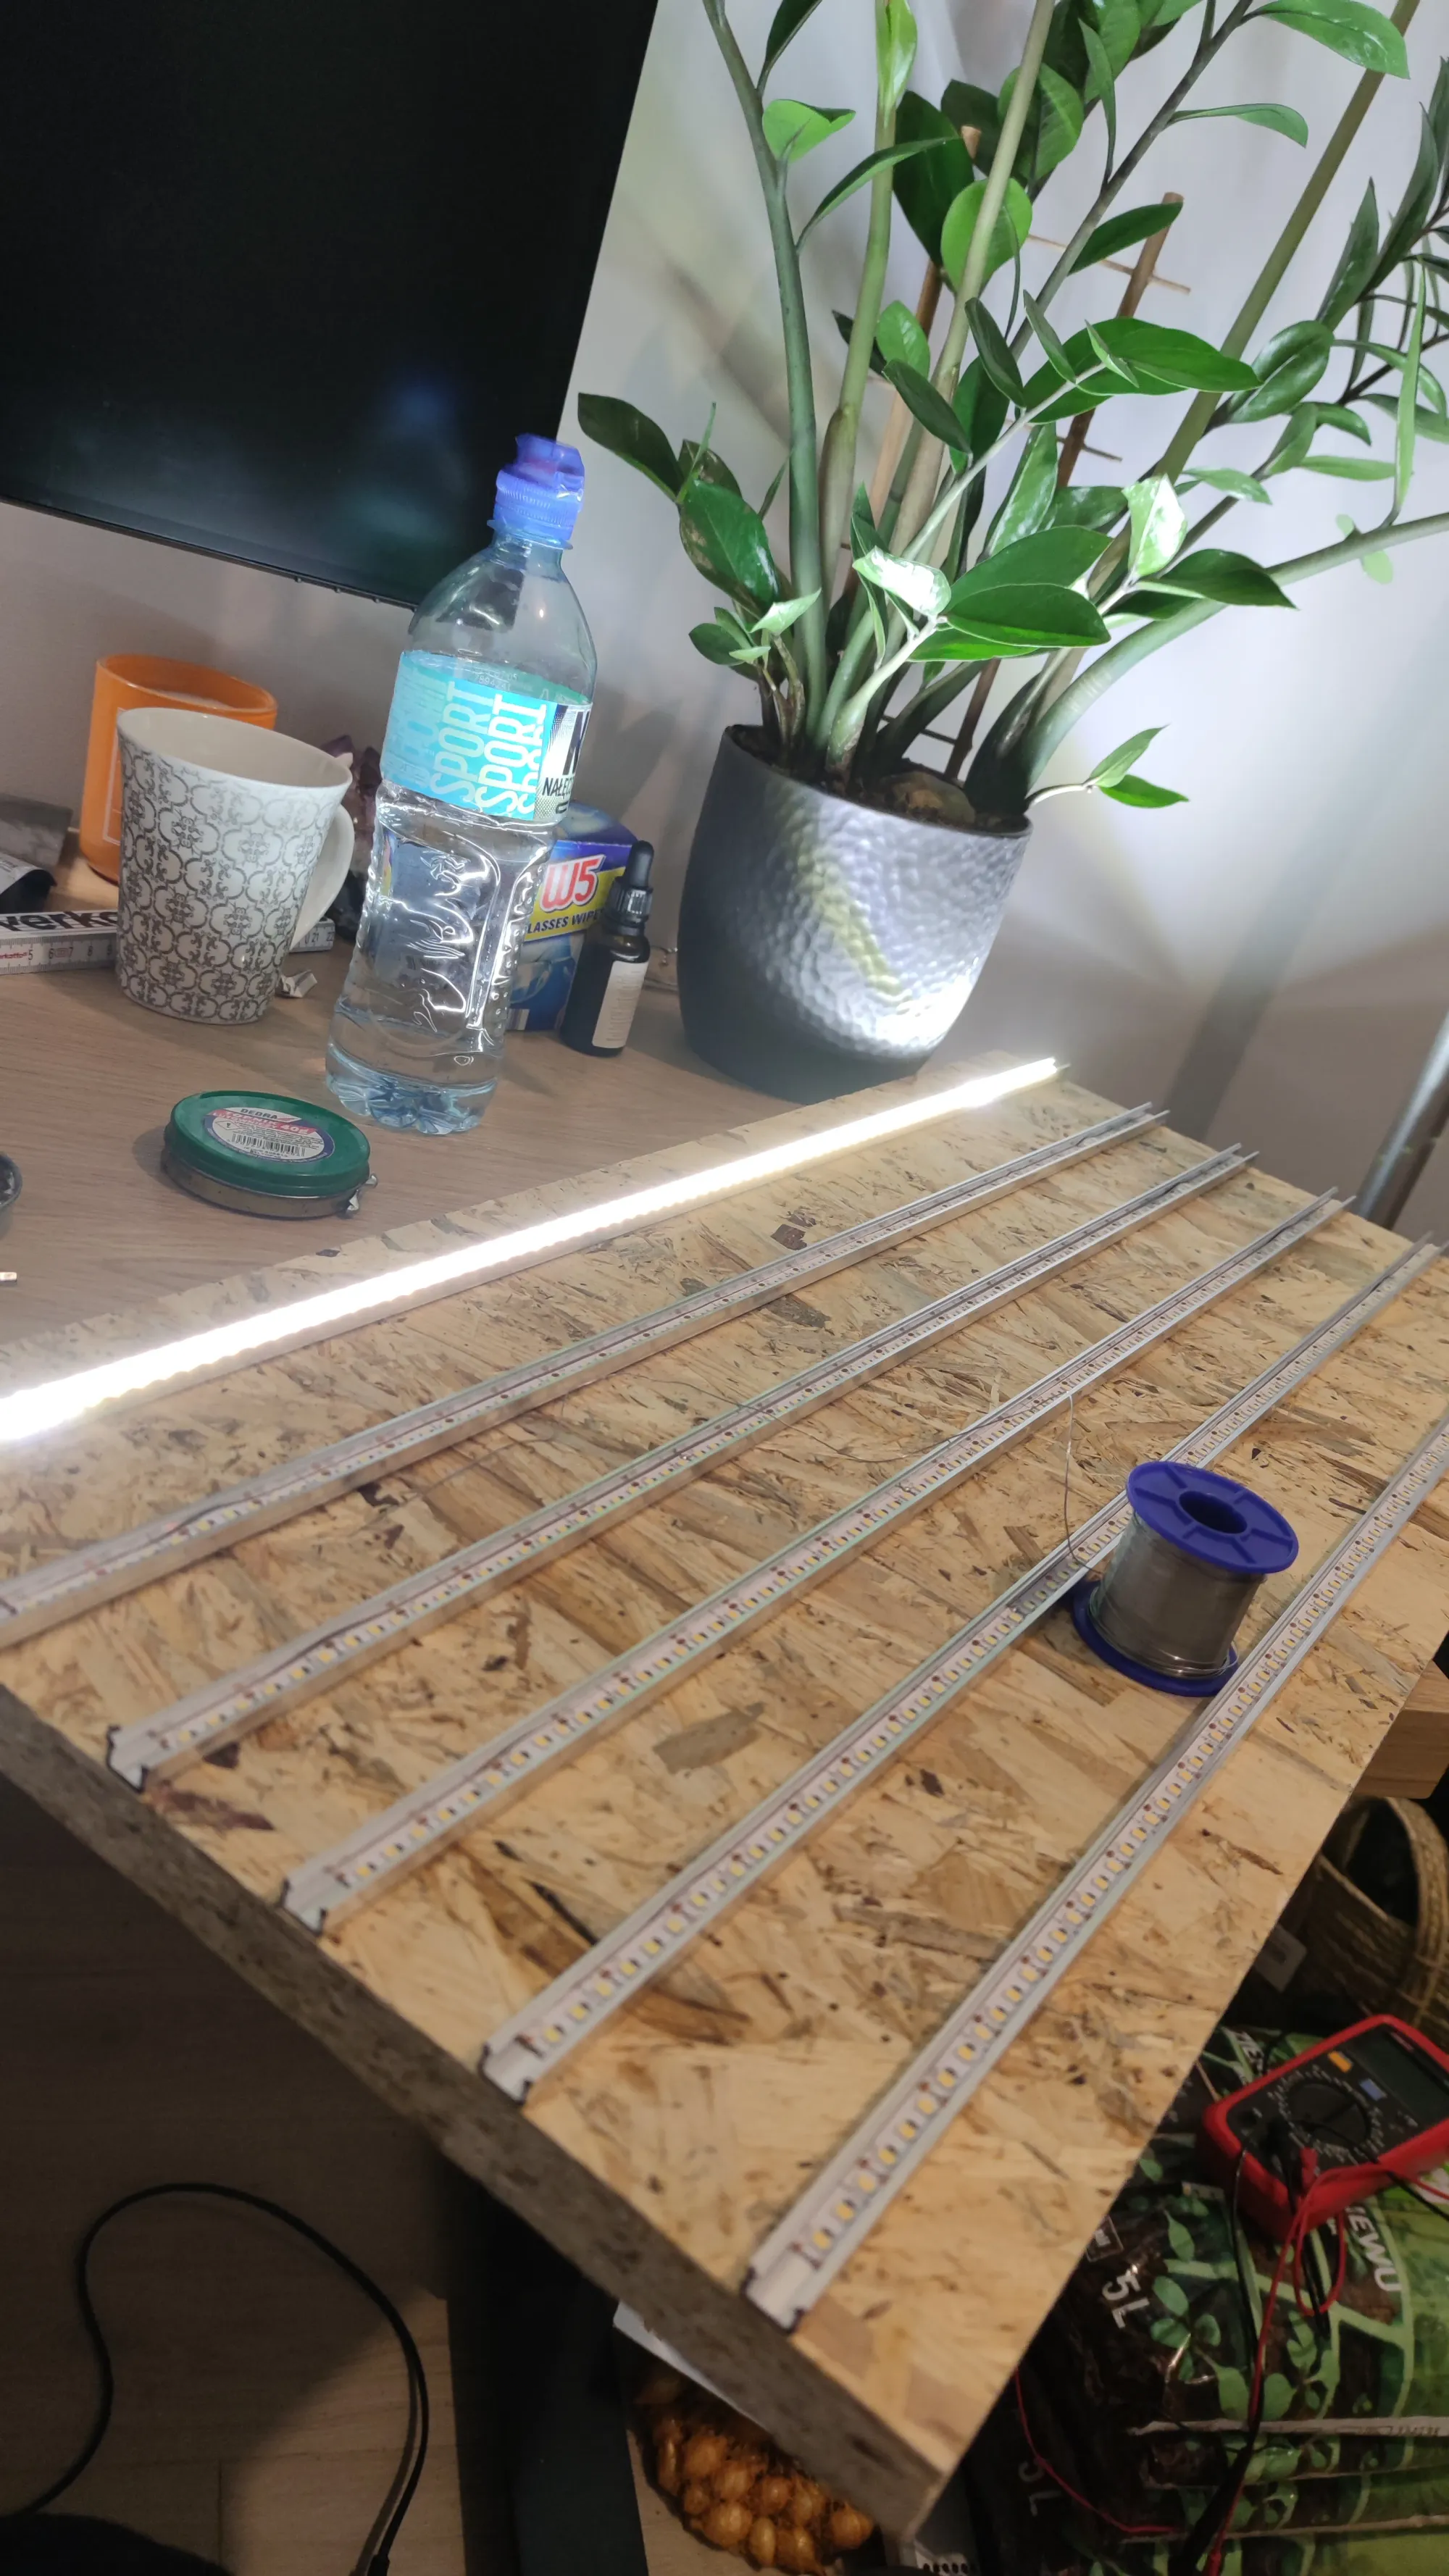
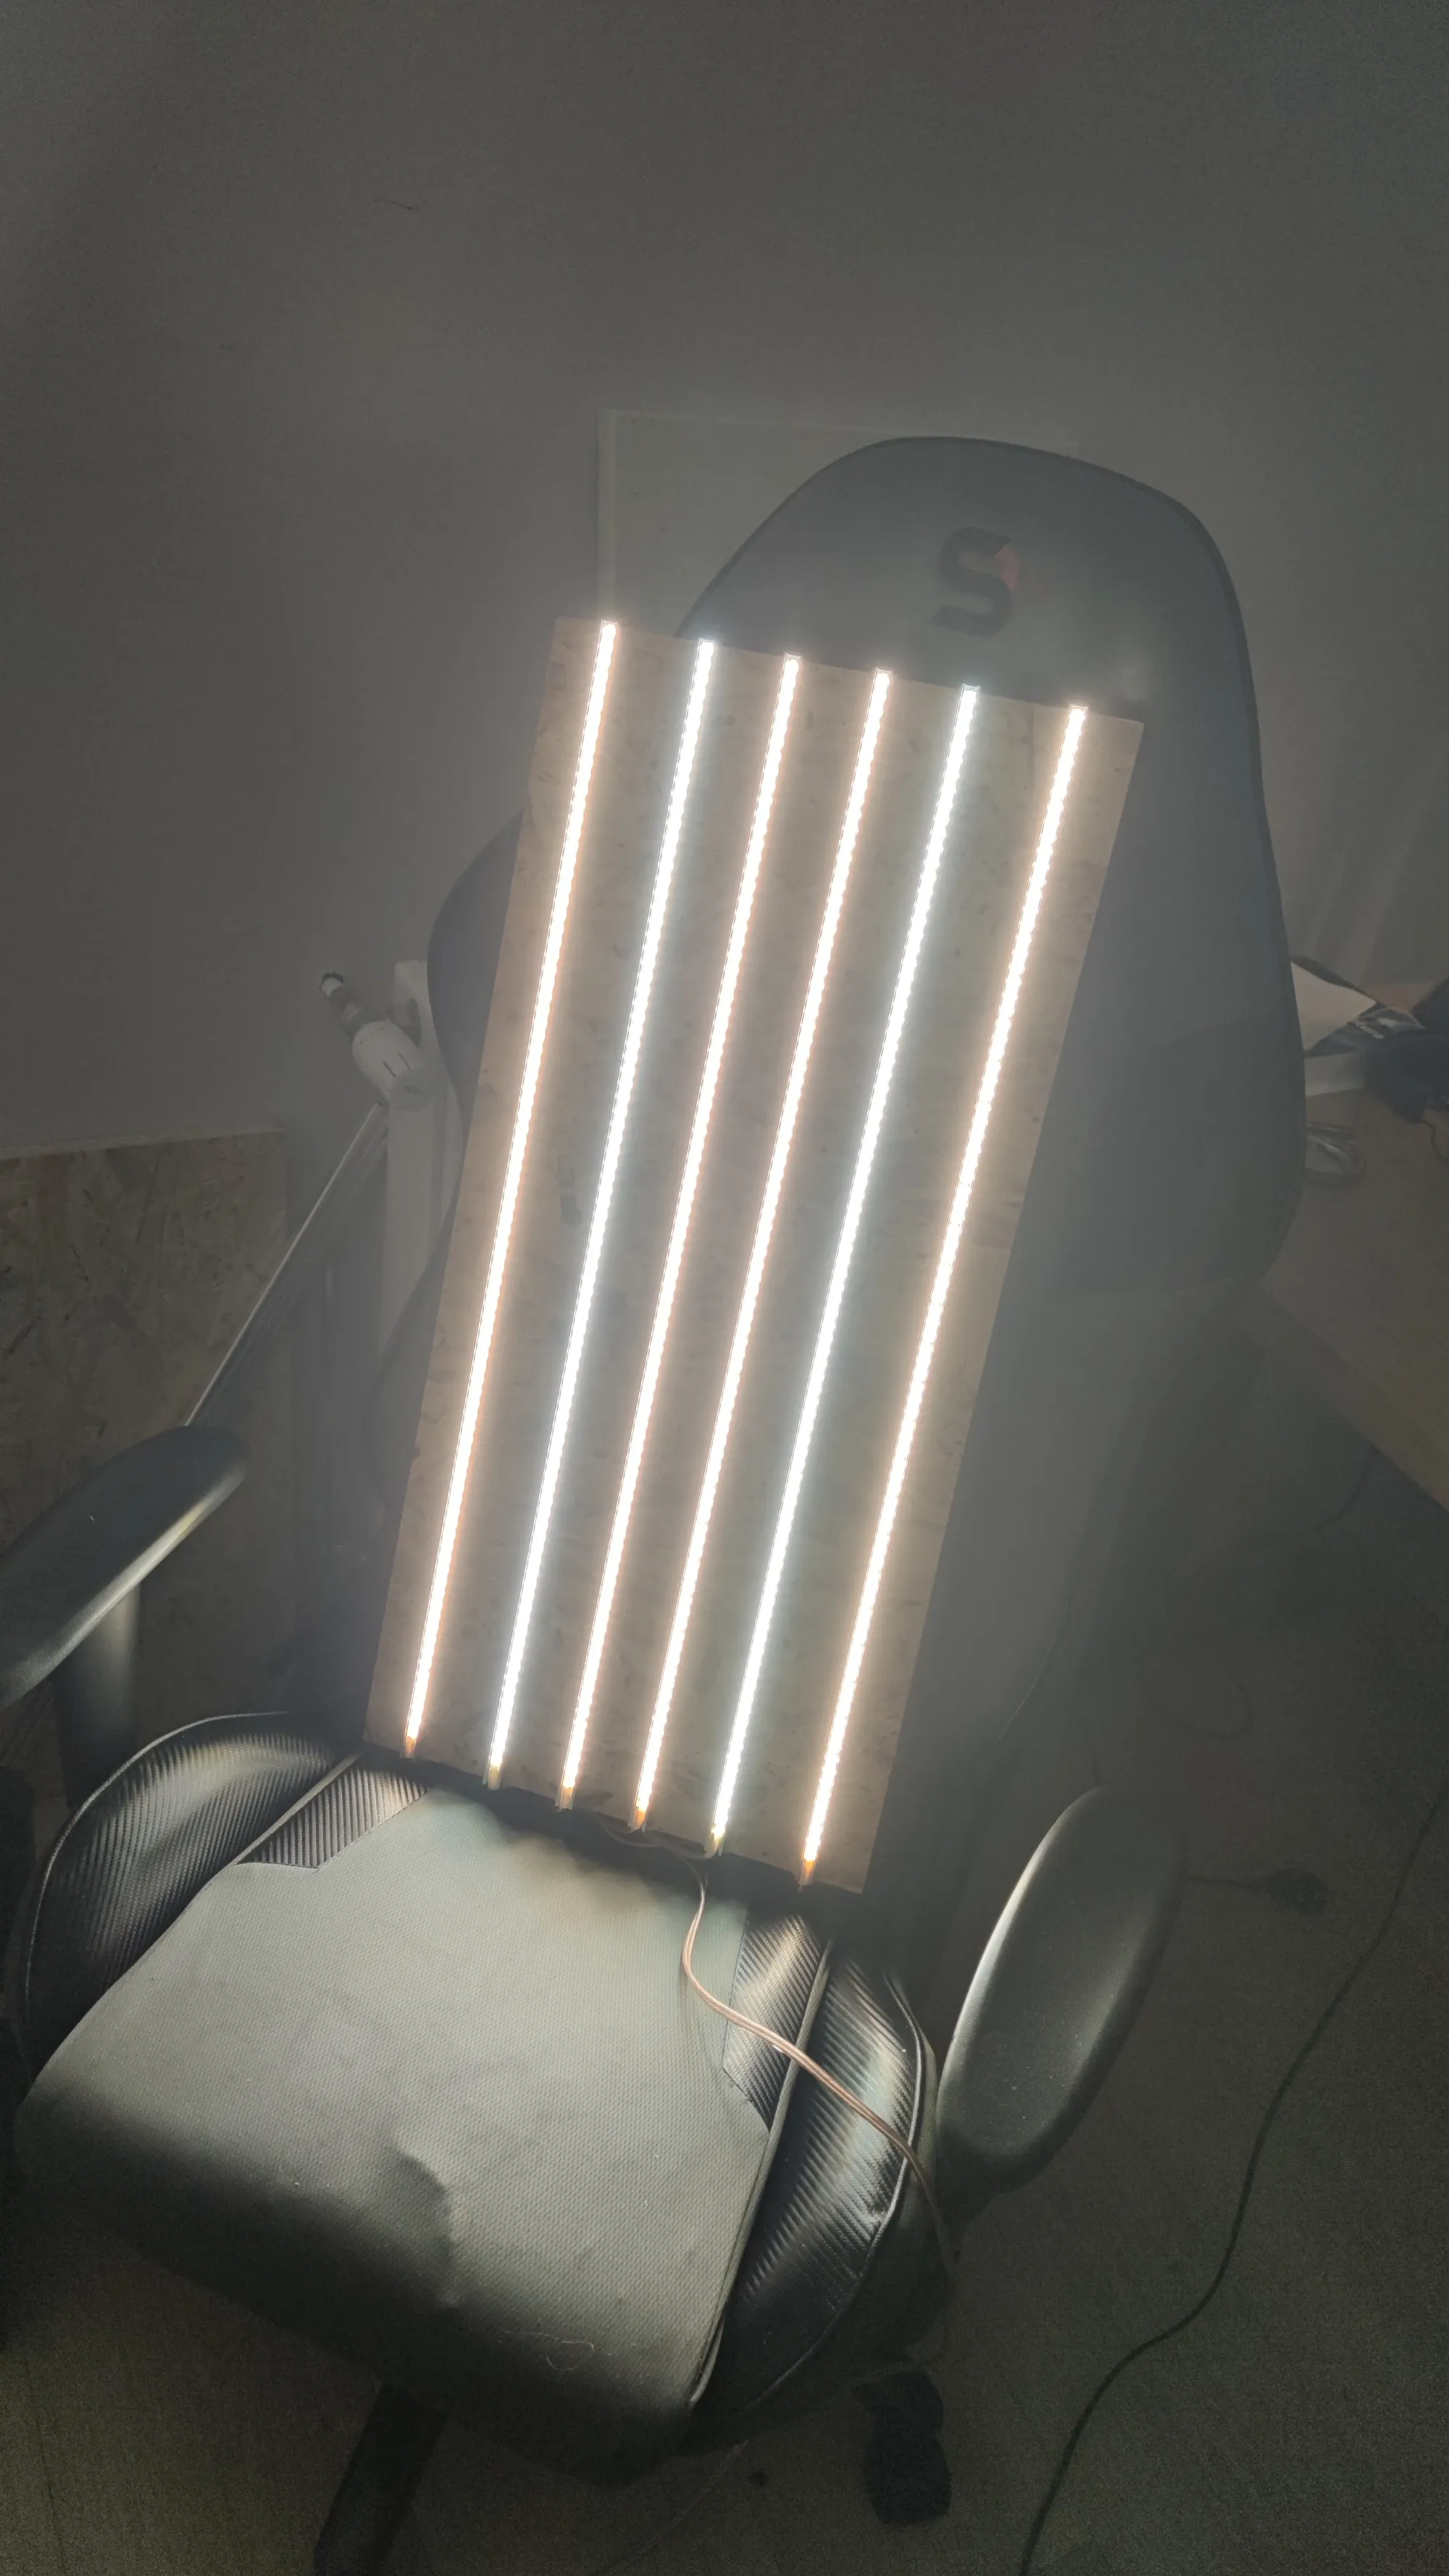
Building the LED lamps
I chose a 22mm OSB board as the base of the lamp because I had a lot of them laying around. It was also heavy enough for the easy rollers to work and it was simple to attach the aluminium LED profiles to it.
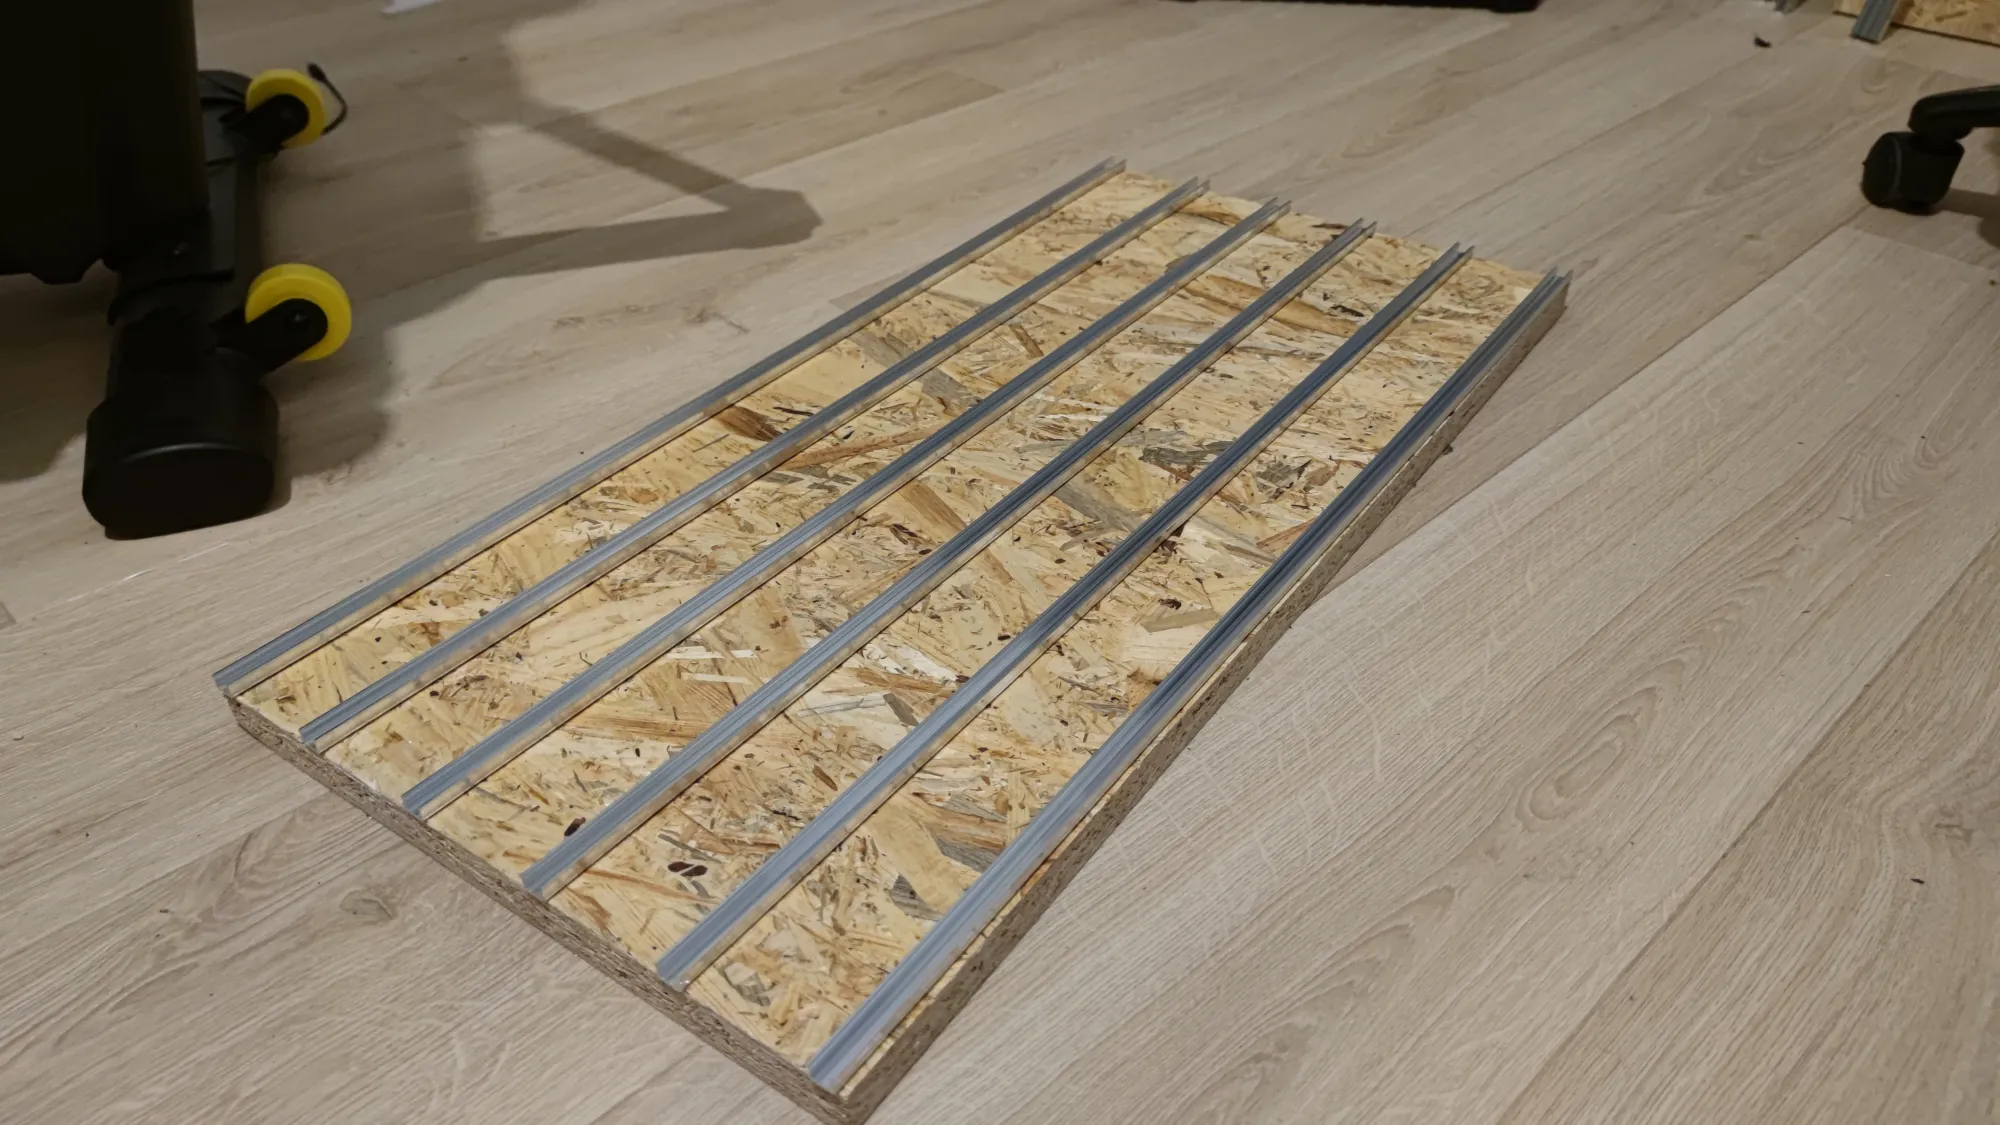
Each lamp is 73cm long and 34cm wide. There are 6 LED profiles that add up to a total length of 4.38m (0.73m * 6). I decided to use LED strips that are rated 14,4W per meter, which results in roughly 63 Watts per lamp (4.38m * 14.4w) which adds up to around 190 Watts in total for all three shelves. I used a 300W 12V power supply. This means that the total load will use 65% of the power supply's capacity. It is better to use a bigger power supply because it will make things safer, and your power supply will last longer.
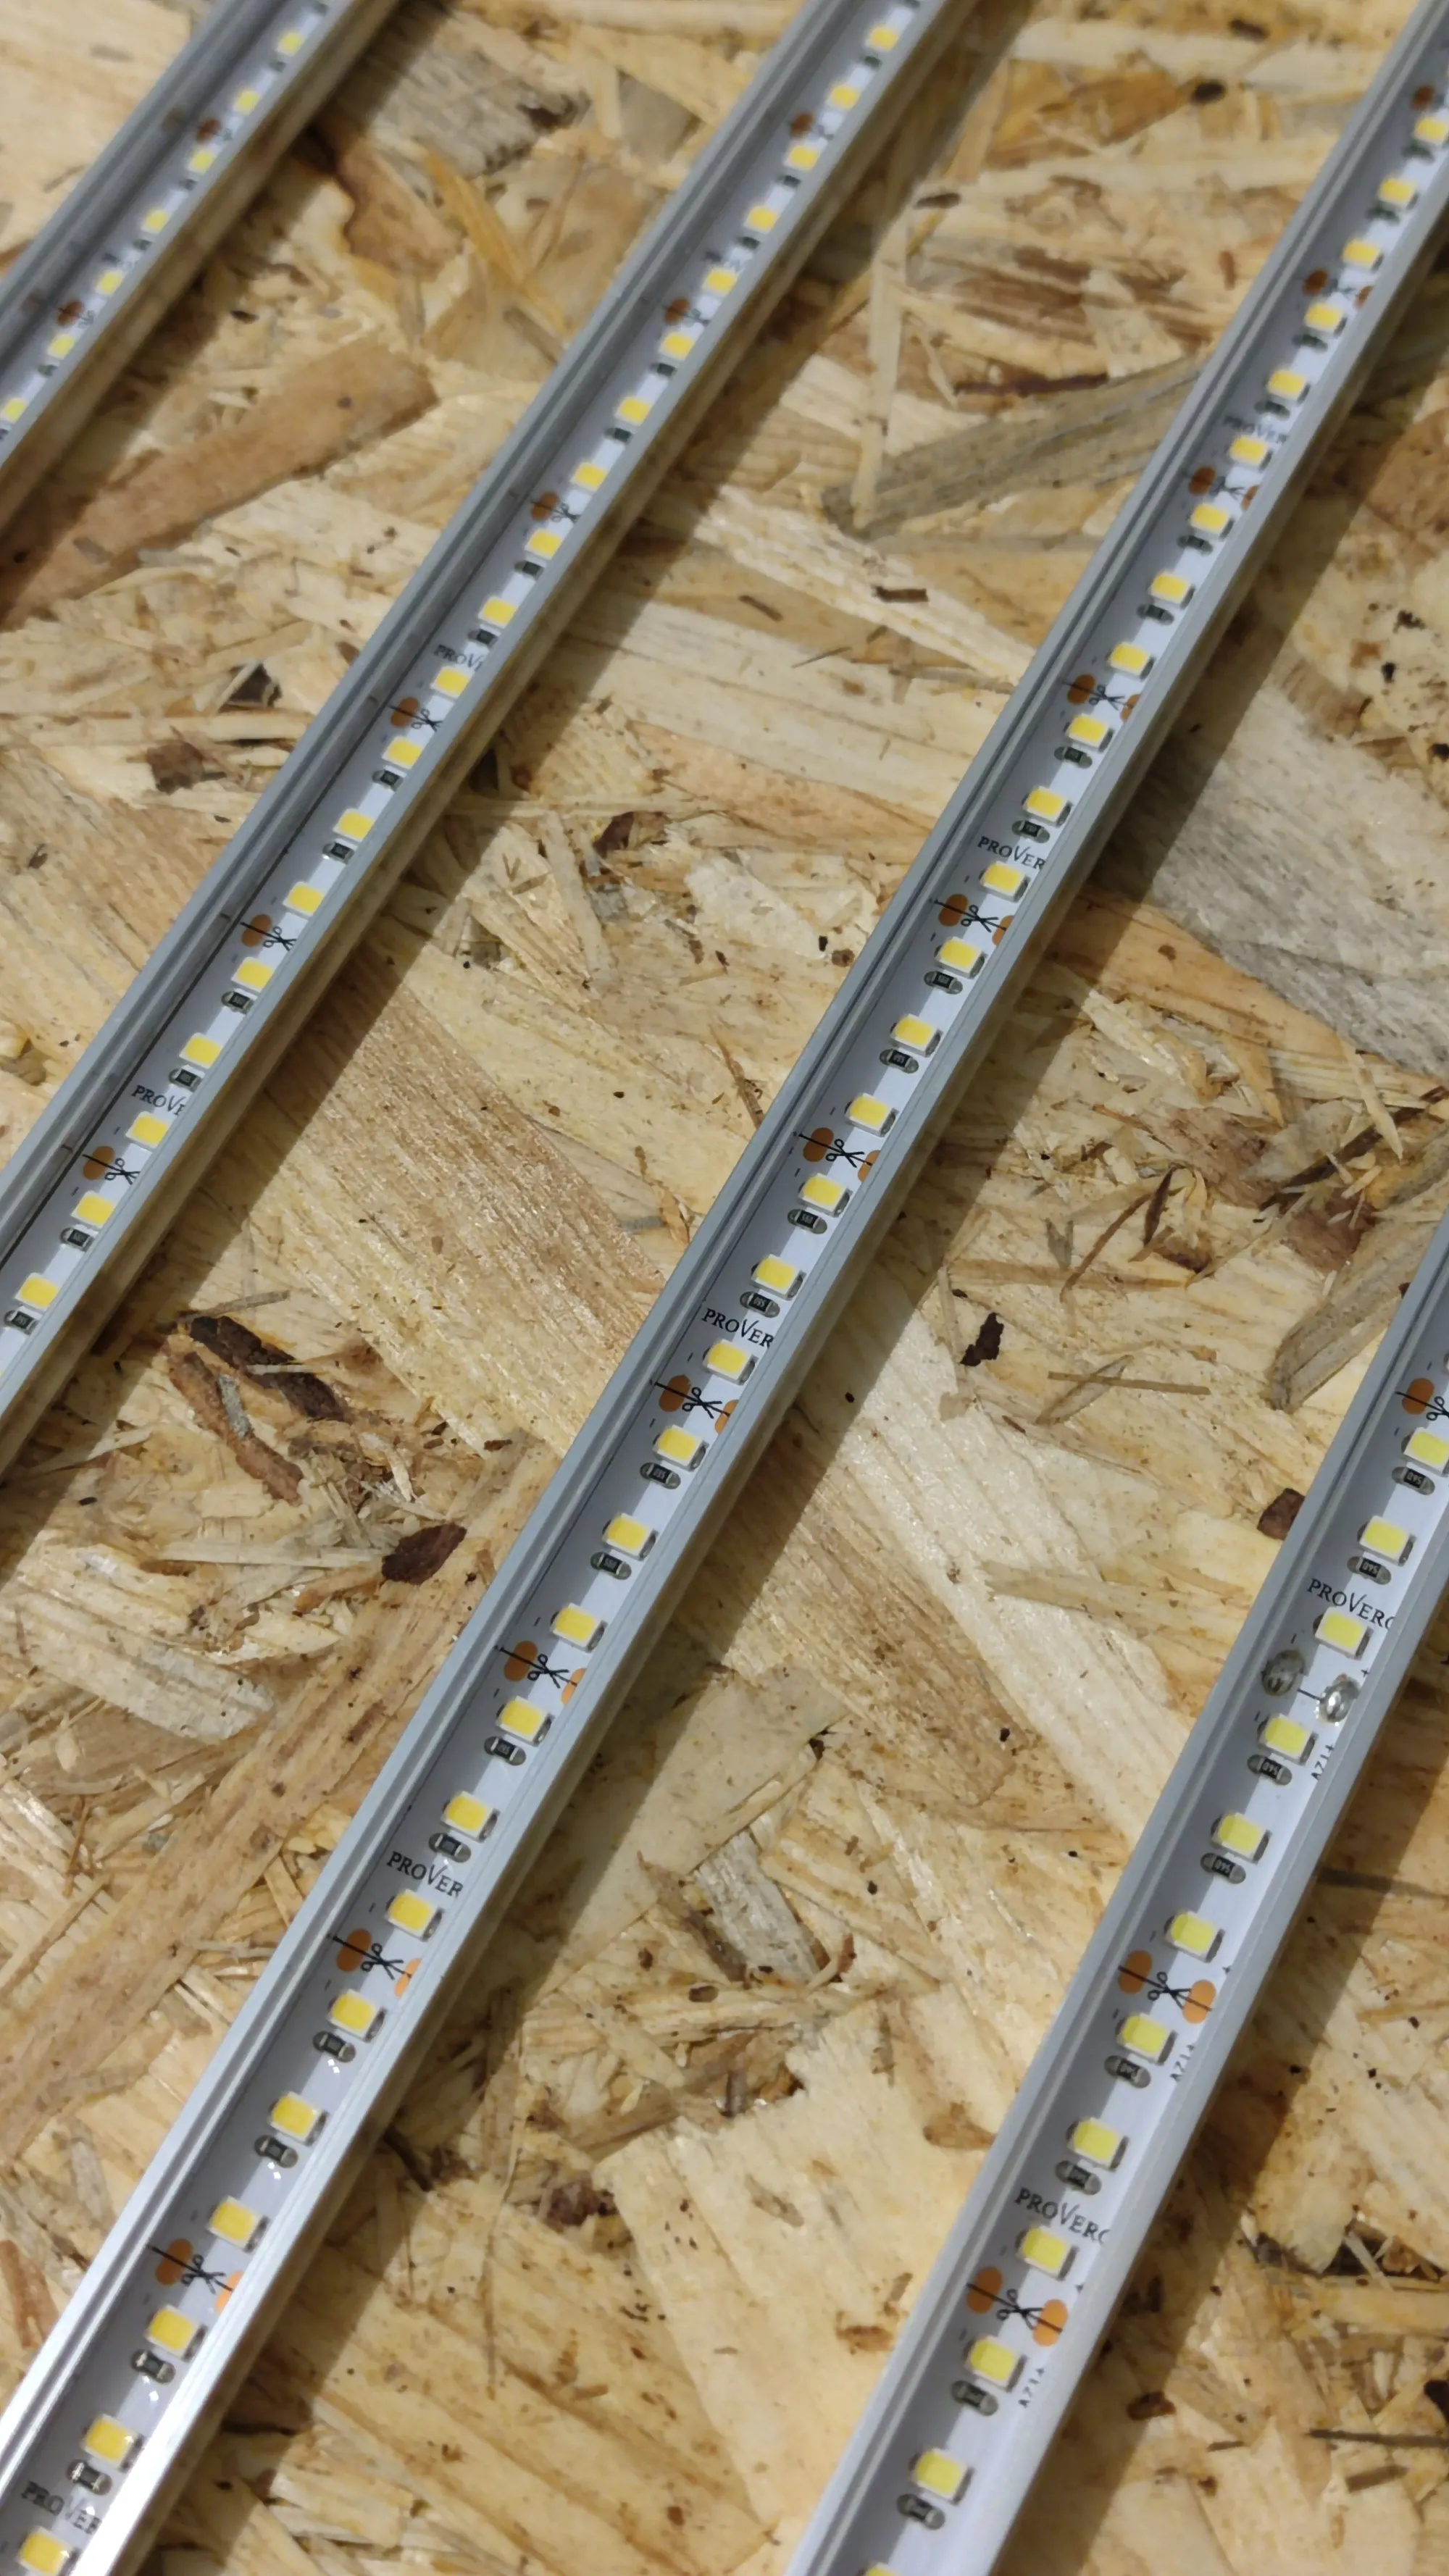
Choosing the light temperature
I looked at a lot of articles about grow lights. After that, I decided to use two different temperatures for the lamps. I used four strips of 4000K and two of 6000K.
Kelvins measure light temperature. The temperature of the light is important for growing plants. Seedlings need warm light (around 3000-4000K) because it has red-wavelength which helps them grow. Mature plants do better with cooler lights (around 6000K). This helps make their leaves bigger and stems shorter. By using the right mix of temperatures, my plants can get the best lighting all through their life cycle.
Full spectrum vs Red & Blue
Full spectrum LED lights are a great choice for home use because they can provide all the wavelengths of light necessary to support plant growth. It's also much easier to identify any issues with your plants. Red and blue wavelengths are essential for photosynthesis, but other colors such as yellow, green, and white have been found to increase yields.
A full spectrum LED provides plants with all these important wavelengths in one convenient package. Furthermore, full spectrum lights mimic natural daylight more accurately which helps prevent plants from becoming stressed or over-watered due to improper lighting conditions. This makes them an ideal solution for anyone wanting to successfully grow plants indoors without incurring high costs or complicated setups.
How much did it cost?
- Wooden shelving unit 49€
- 3x OSB board I already had those laying around, but they'd be around 20-30€, and you could get much thinner ones instead of 22mm.
- 14x 12V 14,4W Led strips (1m), around 60€
- 6x easy rollers 35€
- 12V 300W power supply 15€
- ESP32, relay board, cables: 20€
Total: around 200€ although, those are the prices I paid in 2022, the parts might be more expensive now due to inflation.
Conclusion
Building a diy LED grow rack is relatively simple and cost-effective. By using easy rollers and OSB boards, I was able to make a powerful rack that can provide optimal lighting conditions for all stages of plant growth. Furthermore, the combination of both warm and cool LEDs allows me to get the best out of my plants without having to buy two separate systems.
All in all, this DIY project has given me greater control over how much light my plants are getting at any given time - something that would have been impossible if I had used pre-packaged grow lights from big companies. So if you're looking to create an indoor garden with minimal effort and maximum efficiency, DIY lighting is definitely worth considering!