Introduction
Are you looking for a fun and innovative way to capture the passage of time? With FFmpeg, you can easily create stunning live webcam time-lapses with minimal effort. This guide will walk you through all the steps necessary to create a beautiful timelapse video using almost any video stream, whether it's from an IP webcam, online cam website, or even YouTube!
This works by using FFmpeg to extract a still frame from the video stream feed every minute and then compiling all of these frames into a timelapse video.
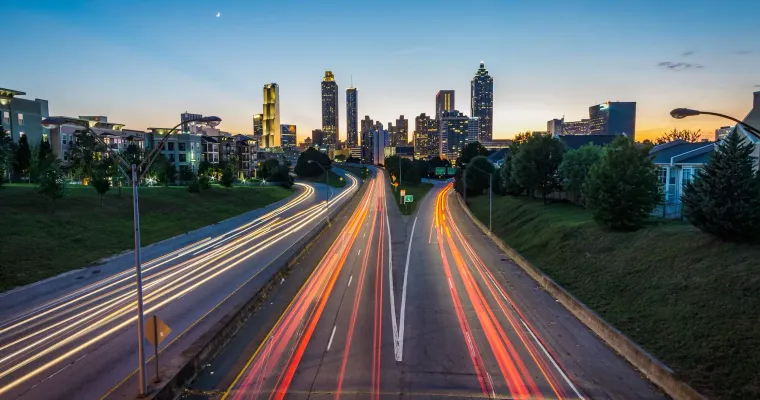
Sample Timelapses that I created from online webcams and YouTube Live
Prerequisites
Installing FFmpeg
The first step is to install FFmpeg on your computer. This is quite simple as FFmpeg can be downloaded from their official website or through some package managers such as Homebrew (for macOS) or apt-get (for Linux). Download and install it on your machine by following the instructions below.
MacOS:
- Open your Terminal and paste the following command:
bin/bash -c "$(curl -fsSL https://raw.githubusercontent.com/Homebrew/install/master/install.sh)- Wait for the script to finish then type
brew install ffmpegin Terminal and hit Enter.
Linux:
- Open your terminal and type
sudo apt-get updatefollowed by Enter. - Then, type
sudo apt-get install ffmpegand hit Enter again to complete the installation.
Windows:
- You can follow this guide to easily install FFmpeg on Windows.
Creating timelapse from IP camera
Once you have FFmpeg installed, it's time to capture the timelapse video. To do this, you need to first find the IP address of the webcam you wish to use.
Finding your camera's streaming protocol
Most IP cameras use the RTSP (Real Time Streaming Protocol) protocol. It's an open standard for transferring audio and video data over a network in real time. It can be used to transmit webcam feeds from one device to another. Although, your IP camera might use a different protocol, see FFmpeg's official documentation for a list of supported protocols.
For example, 8mp/12mp Reolink cameras have the URL that looks like this: `rtsp://admin:111111@192.168.1.101:554/h265Preview_01_main`
Taking the screenshots
Open up your terminal and type in:
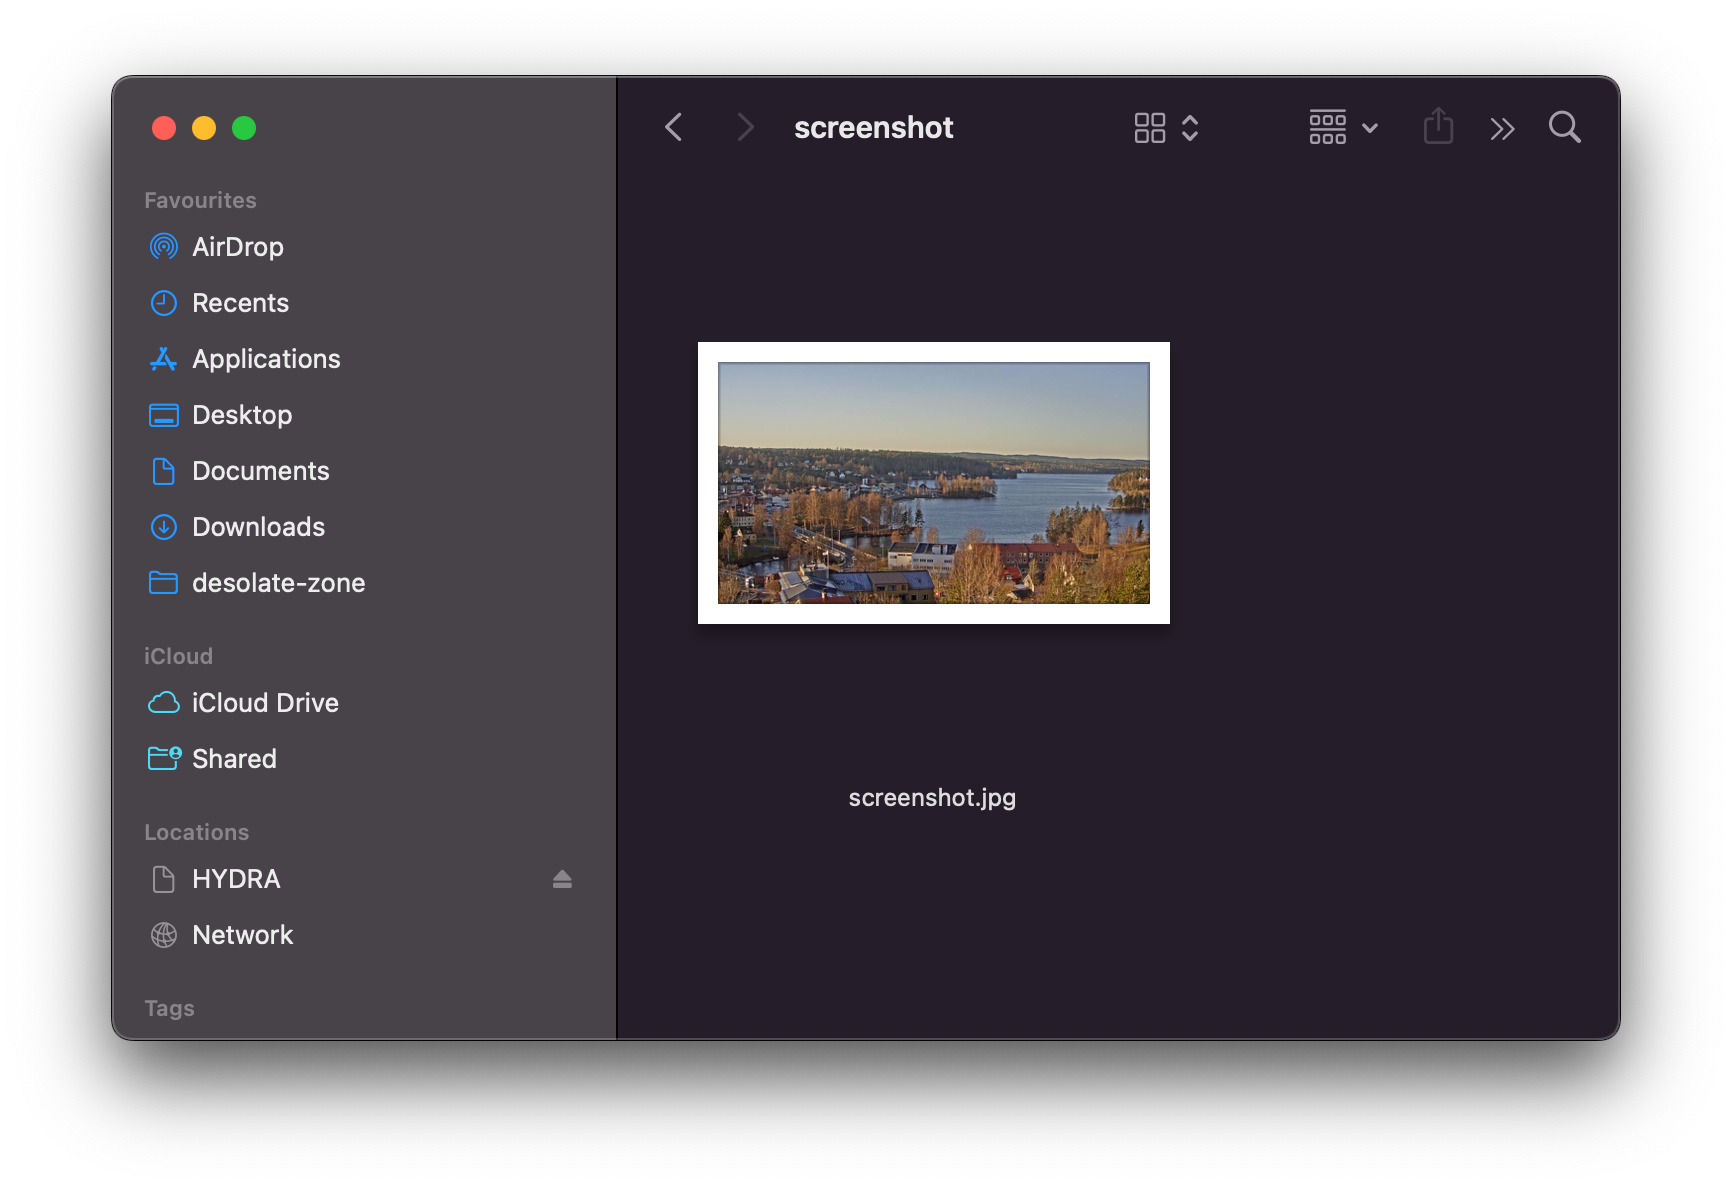
ffmpeg -i rtsp://<your-rtsp-stream-url-here> -q:v 0 -frames:v 1 screenshot.jpgOnce the command is done, you should see a screenshot appear in your current working directory. That means it's working! Let's create the bash script to take multiple stills.
Bash script to capture screenshots from a video stream
Open up your favorite text editor and create a new file called capture_stills.sh and paste the following code into it:
#!/bin/bash

# Check if the video stream URL is set
if [ -z "$STREAM_URL" ]; then
  echo "Error: STREAM_URL is not set."
  exit 1
fi

# File name prefix
file_name_prefix="still_"

# File extension
file_extension=".jpg"

# Number of hours to run for
default_hours_to_run=8
hours_to_run=${HOURS_TO_RUN:-$default_hours_to_run}

# Total number of seconds to run for
seconds_to_run=$((hours_to_run * 60 * 60))

# Set the wait time between frames
default_wait_time=60
wait_time=${WAIT_TIME:-$default_wait_time}

# Set the counter
counter=1

# Get the system's kernel name to determine if we're on MacOS
kernel_name=$(uname)

# Total number of frames
total_frames=$(($seconds_to_run/$wait_time))

# Calculate the finish time
current_time=$(date +%s)
future_time=$((current_time + $seconds_to_run))
if [ "$kernel_name" == "Darwin" ]; then
    formatted_time=$(date -j -f "%s" $future_time +"%Y-%m-%d %H:%M:%S")
else
    formatted_time=$(date -d @$future_time +"%Y-%m-%d %H:%M:%S")
fi

echo "https://tunnel.page FFmpeg timelapse script"
echo "Hours to run: $hours_to_run"
echo "Stream URL: $STREAM_URL"
echo "Finish at: $formatted_time"
echo -ne "Time between frames: $wait_time\n\n"

# Loop for the specified number of minutes
while [ $counter -lt $seconds_to_run ]; do
  echo -ne "Taking screenshot $counter/$total_frames"

  # Set the current date and time
  current_date_time=$(date +"%Y-%m-%d_%H_%M_%S")

  # Set the file name
  screenshot_file="${file_name_prefix}${current_date_time}${file_extension}"

  ffmpeg -hide_banner -loglevel error -i $STREAM_URL -vframes 1 -q:v 0 $screenshot_file
  echo " .. done"

  counter=$((counter+1))
  sleep $wait_time
doneMake it executable, in your console type in: chmod +x ./capture_stills.sh
Then to start capturing frames, type in the command below, you should change the parameters according to your preferences, don't forget to also change the STREAM_URL. In the example below, the script will run for 6 hours and wait 1 minute between each frame.
export HOURS_TO_RUN=6
export WAIT_TIME=60
export STREAM_URL=http://<yourstream.com>/mjpg/video.mjpg
./capture_stills.sh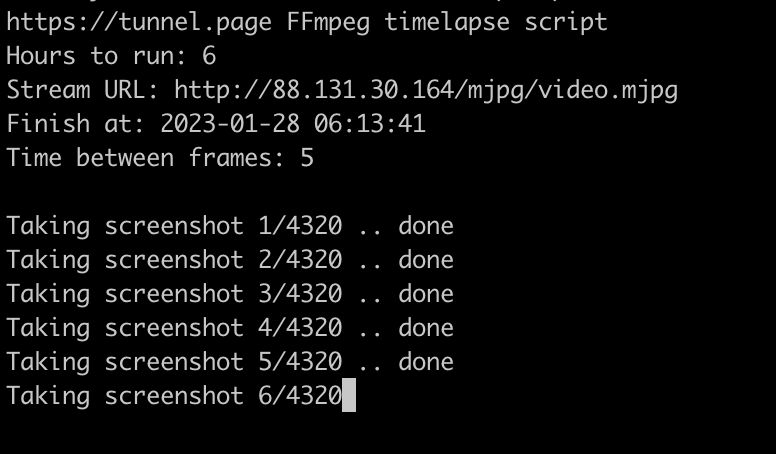
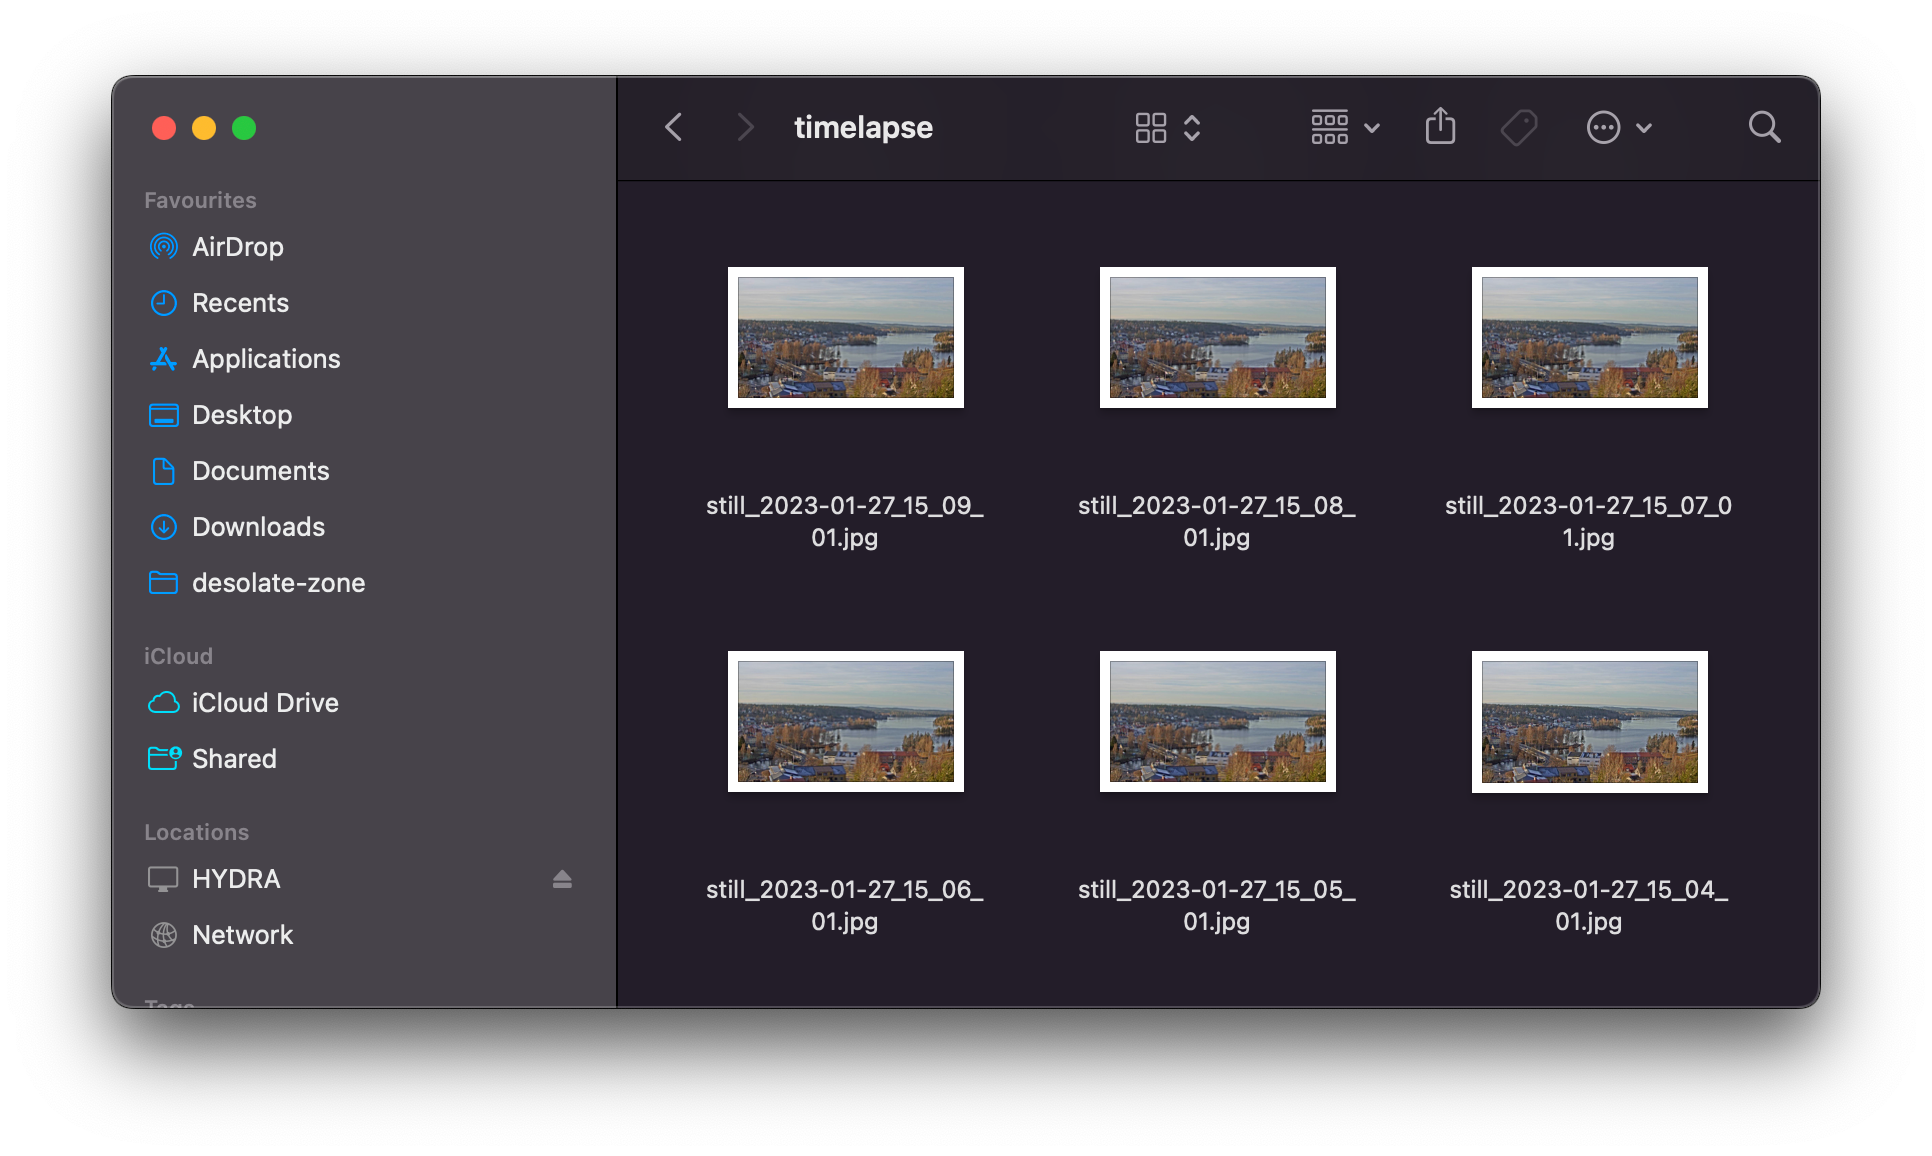
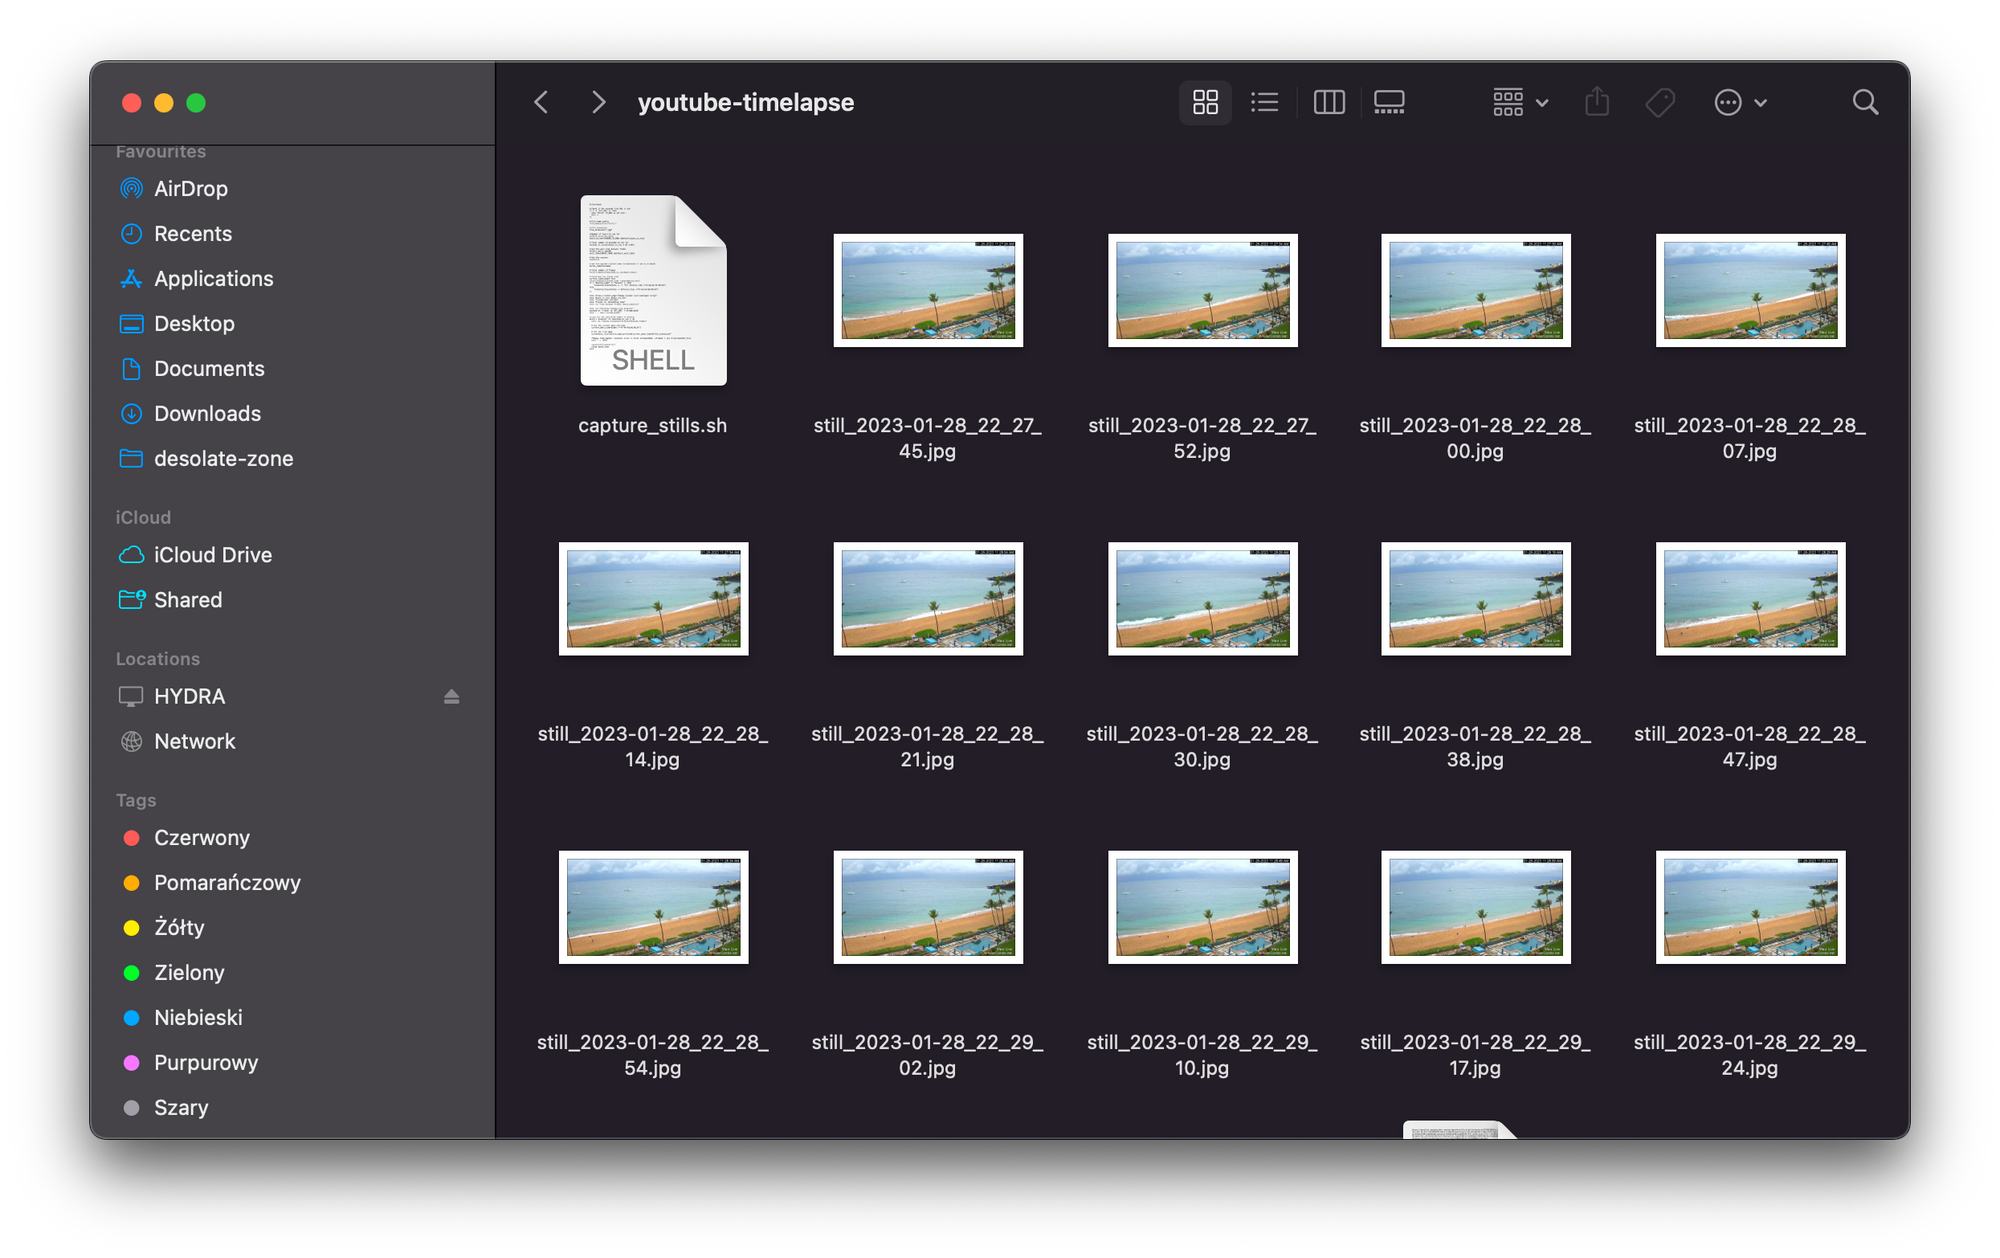
And now you should see frames start appearing automatically in your folder! As you can see, the script also calculates the date and time of when it's going to finish capturing all requested frames.
Generating an MP4 timelapse video with FFmpeg
Generating an mp4 timelapse video from the frames is also quite easy with FFmpeg. All you need to do is run this command:
ffmpeg -framerate 30 -pattern_type glob -i '*.jpg' -vcodec libx264 -crf 15 timelapse.mp4You can replace timelapse.mp4 with the name of your video file. This command will generate a timelapse at 30 frames per second which is usually the default frame rate for webcam streams. If you want to adjust the speed, you can do so by changing 30 in the command above to whatever time interval you desire (e.g., 60 for 60 frames per second).
You can also adjust the other parameters in the command to suit your needs. For example, if you want to reduce the size of the video file, you can use -crf 25 parameter which sets the quality of the output video (0-51). The lower the number, the highher the output quality and larger file size. Read more about H.264 parameters. That's it, once the command has finished running you should have a timelapse video in your current working directory!
Generating Timelapse videos from YouTube Live
Prerequisites
To create a timelapse video from a YouTube live stream, you will need youtube-dl. This is an open-source command line program designed specifically for downloading videos from YouTube and other websites. FFmpeg will also be needed, see "Installing FFmpeg" for installation details.
MacOS
Open Terminal and paste the following command: brew install youtube-dl, then hit Enter.
Linux
Open your terminal and type sudo apt-get update followed by Enter. Then, type sudo apt-get install youtube-dl and press Enter.
Windows
Go to https://youtube-dl.org/downloads/latest and download the Windows executable. After that, install it as you would with any other software on Windows.
YouTube Live timelapse bash script
The script allows you to provide the following environment variables:
- YouTube live URL (
YT_URL)* - Number of hours you want to record the frames for
HOURS_TO_RUN(default 1 hour) - Seconds between each frame
WAIT_TIME(default 60 seconds)
*required params
The way it works is, it uses youtube-dl to download the .m3u8 playlist from YouTube, save it as stream.m3u8 and then feed that stream file into FFmpeg.
#!/bin/bash

# Check if the youtube live URL is set
if [ -z "$YT_URL" ]; then
  echo "Error: YT_URL is not set."
  exit 1
fi

# File name prefix
file_name_prefix="still_"

# File extension
file_extension=".jpg"

# Number of hours to run for
default_hours_to_run=1
hours_to_run=${HOURS_TO_RUN:-$default_hours_to_run}

# Total number of seconds to run for
seconds_to_run=$((hours_to_run * 60 * 60))

# Set the wait time between frames
default_wait_time=60
wait_time=${WAIT_TIME:-$default_wait_time}

# Set the counter
counter=1

# Get the system's kernel name to determine if we're on MacOS
kernel_name=$(uname)

# Total number of frames
total_frames=$(($seconds_to_run/$wait_time))

# Calculate the finish time
current_time=$(date +%s)
future_time=$((current_time + $seconds_to_run))
if [ "$kernel_name" == "Darwin" ]; then
    formatted_time=$(date -j -f "%s" $future_time +"%Y-%m-%d %H:%M:%S")
else
    formatted_time=$(date -d @$future_time +"%Y-%m-%d %H:%M:%S")
fi

echo "https://tunnel.page FFmpeg Youtube live timelapse script"
echo "Hours to run: $hours_to_run"
echo "Youtube URL: $YT_URL"
echo "Finish at: $formatted_time"
echo -ne "Time between frames: $wait_time\n\n"

fetch_playlist() {
  echo -ne "Fetching YouTube Live playlist"
  youtube-dl -f best -g "$YT_URL" > stream.m3u8
  echo " .. done (stream.m3u8)"
}

take_screenshot() {
  ffmpeg -hide_banner -loglevel error -i $(cat stream.m3u8) -vframes 1 -q:v 5 $1
}

fetch_playlist

# Loop for the specified number of minutes
while [ $counter -lt $seconds_to_run ]; do
  echo -ne "Taking screenshot $counter/$total_frames"

  # Set the current date and time
  current_date_time=$(date +"%Y-%m-%d_%H_%M_%S")

  # Set the file name
  screenshot_file="${file_name_prefix}${current_date_time}${file_extension}"
  take_screenshot $screenshot_file
  if [ "$?" -eq 0 ]; then
    echo " .. done"
   else
    echo " .. error"
    fetch_playlist
    take_screenshot $screenshot_file
   fi

  counter=$((counter+1))
  sleep $wait_time
doneTo run the script, first make it executable: chmod +x ./capture_youtube_live_stills.sh
Then you can run the script like this, make sure to adjust the settings according to your needs.
export YT_URL="https://www.youtube.com/watch?v=fQrKBlRilaw"
export WAIT_TIME=30
export HOURS_TO_RUN=6
./capture_youtube_live_stills.sh
Here's what the script looks like in action:
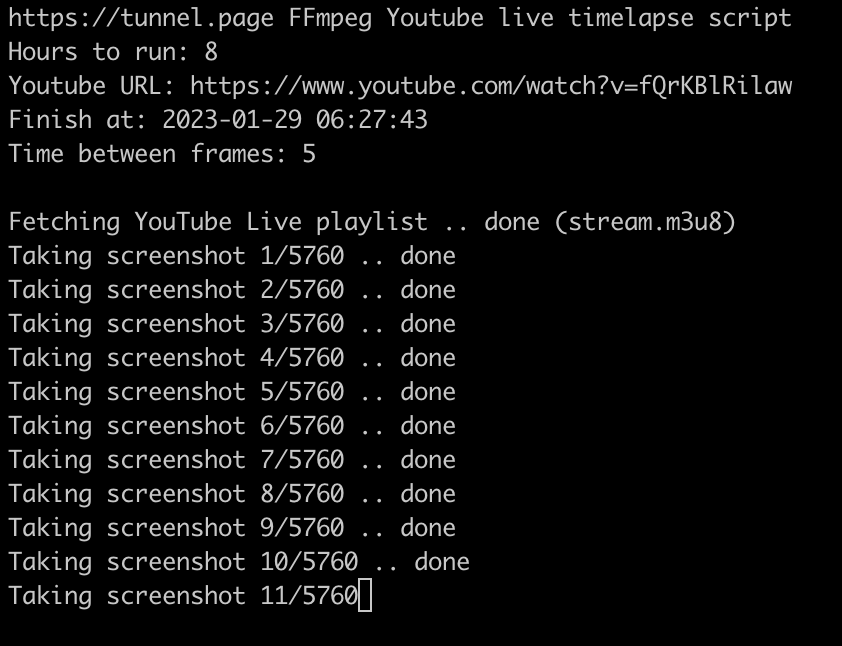
And now that your script is running, you should see frames appearing in your directory!
Once you're finished capturing your stills, run the following command to generate the timelapse video. See more details about creating timelapses with FFmpeg.
ffmpeg -framerate 30 -pattern_type glob -i '*.jpg' -vcodec libx264 -crf 15 timelapse.mp4Tips for creating timelapses and additional resources
The length of the timelapse will depend on the desired effect. For slow, sweeping scenes such as stars or slow moving clouds, use a longer interval such as 30-45 seconds. For faster-paced action like traffic or people moving around, you can use shorter intervals between 2 to 10 seconds. If you want something in the middle, then 15-30 seconds is a good compromise. You can also experiment with different intervals to see what works best for your particular timelapse scenario.
Finally, don't forget to consider the total length of time that will be captured in the timelapse. If it is too short, you may miss important details; if it is too long, the video will become overly long and may lose its impact. Experiment with different intervals and durations to see what works for your timelapse. If you're using FFmpeg, remember that you can always adjust the interval and duration of the timelapse afterward.
Timelapse calculator
A timelapse calculator can be an invaluable tool when creating time-lapses. It can help you to figure out the necessary length of a timelapse, number of frames per second, and overall playback speed. This is especially useful if you need to create a video with a specific duration or want to calculate how long it will take for your timelapse to be complete. By inputting the desired video duration, the timelapse calculator will be able to provide you with all the necessary information so that you can adjust your frame rate accordingly and make sure your timelapse looks stunning! Additionally, a timelapse calculator can also suggest the optimal settings for taking webcam frames based on the camera.


365 day timelapse
If you want to capture the whole year in timelapse, cronjob is your best friend. It's a powerful tool that allows you to schedule tasks at specific times so that they run automatically. With it, you can easily create a script that captures a couple of frames every day, so by the end of the year, you will have the perfect timelapse showing all seasons of the year!
Summary
Creating timelapses from webcam streams and YouTube Live with FFmpeg is a great way to capture stunning visuals that showcase the passing of time. With a few simple commands, you can download and install FFmpeg on your system, find out the streaming protocol of your webcam, use my bash script to take multiple stills, and generate timelapse videos from YouTube Live.