Introduction
There are several ways to access your Raspberry Pi from anywhere; it all depends on your needs, whether you need a full desktop environment or just access to the terminal via SSH. In this article we'll compare and showcase multiple ways of accessing your Pi remotely.
Comparing different solutions
- Use SSH tunneling to expose your Raspberry Pi's SSH to an external machine, allowing you to access its console from anywhere.
- Other solution is to give the IP address of your home network a hostname using a dynamic DNS provider, such as no-ip.com. In this manner, even if your home IP address changes, you may connect to your Raspberry Pi using the hostname from any location. But, this method will require you to forward ports on your router, and this might not be possible everywhere, corporate networks usually have strict firewalls and mobile networks don't allow port forwarding.
- Another choice is to connect to the Raspberry Pi from a different device using a remote desktop program like TeamViewer, which is free for personal use.
| Parameter | SSH Tunnel | DDNS | Teamviewer |
|---|---|---|---|
| Setup complexity | Low | Medium | Low |
| Desktop control | Limited (X) | No | Yes |
| Resource usage | Low | Low | High |
| Requires port forwarding | No | Yes | No |
Accessing Raspberry Pi from anywhere using SSH tunnel
The great thing about SSH tunneling is that no port forwarding is required because the connection is initiated by your Raspberry Pi. This works by your Pi maintaining a constant connection to a remote server, which you can use to access your Raspberry Pi from anywhere.
The major disadvantage of this option is that it requires a distant server, such as a VPS, dedicated server, or a small cloud instance, there are various services that allow you to achieve SSH tunneling for free, with some constraints, or without limitations for a monthly fee.
Free SSH tunneling options for Raspberry Pi
There are many services that allow you to remotely access your Raspberry Pi via SSH tunneling for free, but there is a catch: free services will only provide you with temporary URLs to access your Pi, which means that if you need constant and uninterrupted access to it, these options may not ideal for you. However, if you just need to access your Pi for a short time, this method may be sufficient. Just bear in mind that if your Pi loses connectivity, a new unique URL will be produced, and you will need to visit the provider's website to find out your Pi's new URL, unless you buy a premium package, of course.
SSH tunnelling with PiTunnel.com
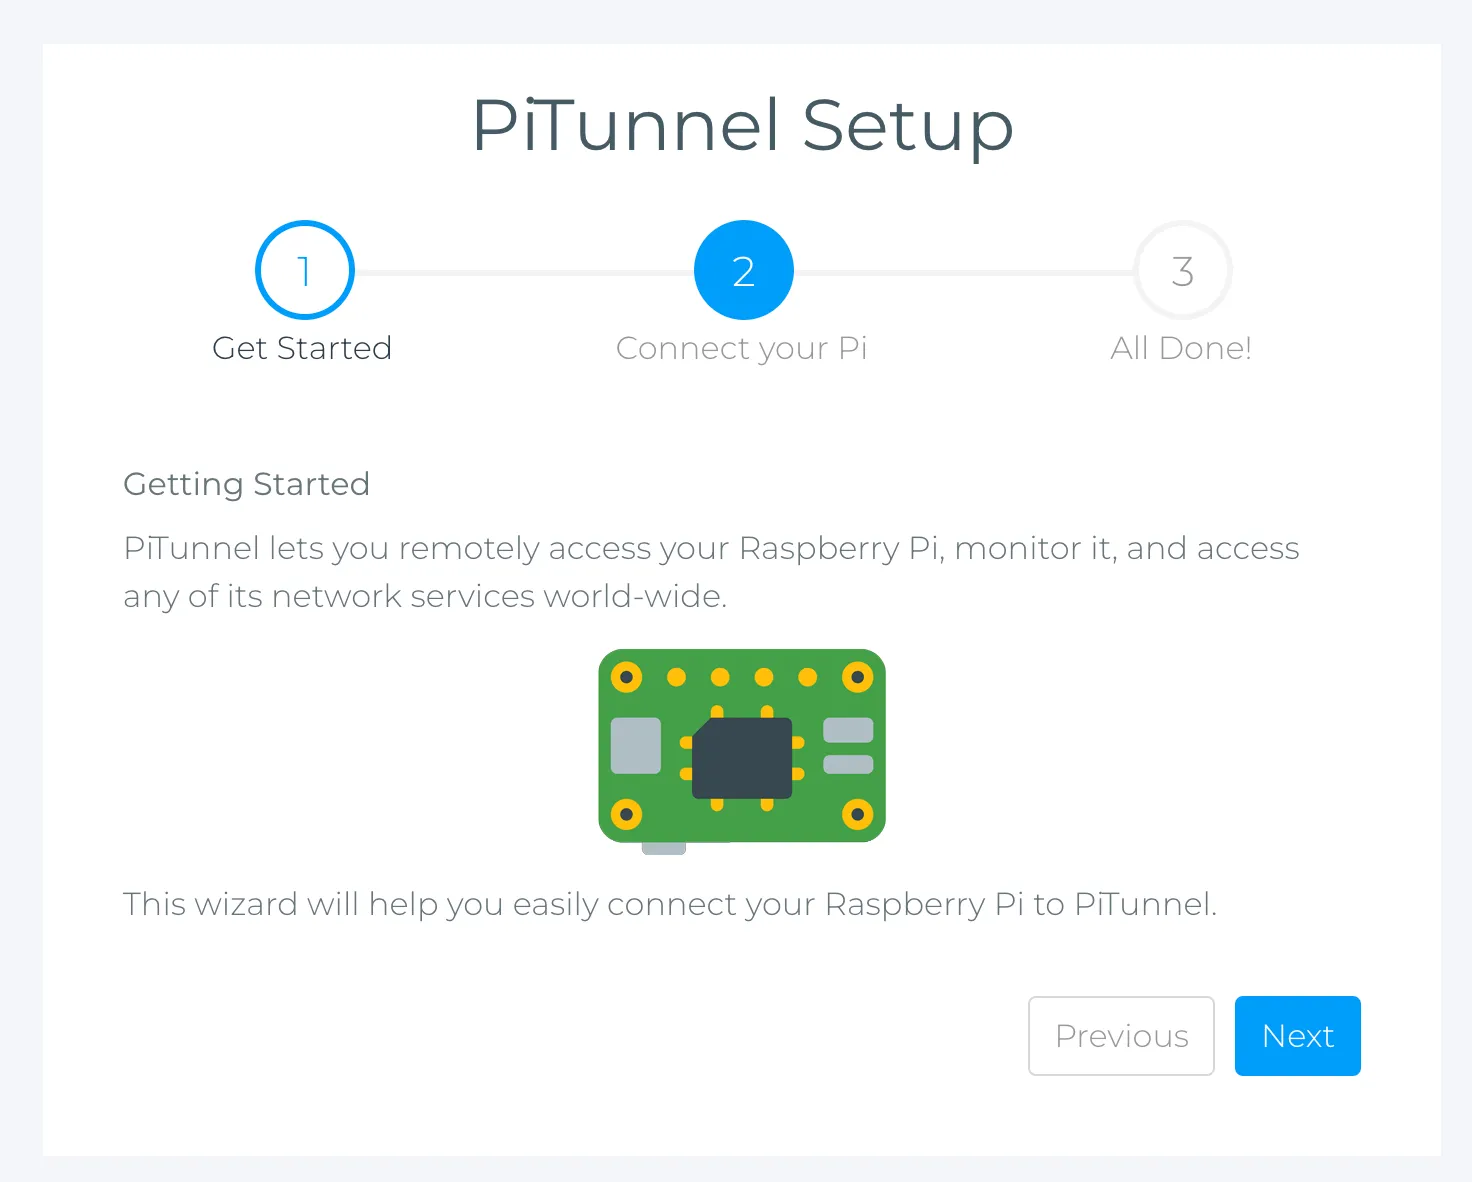
First, create an account on PiTunnel, you should see a setup screen like this:
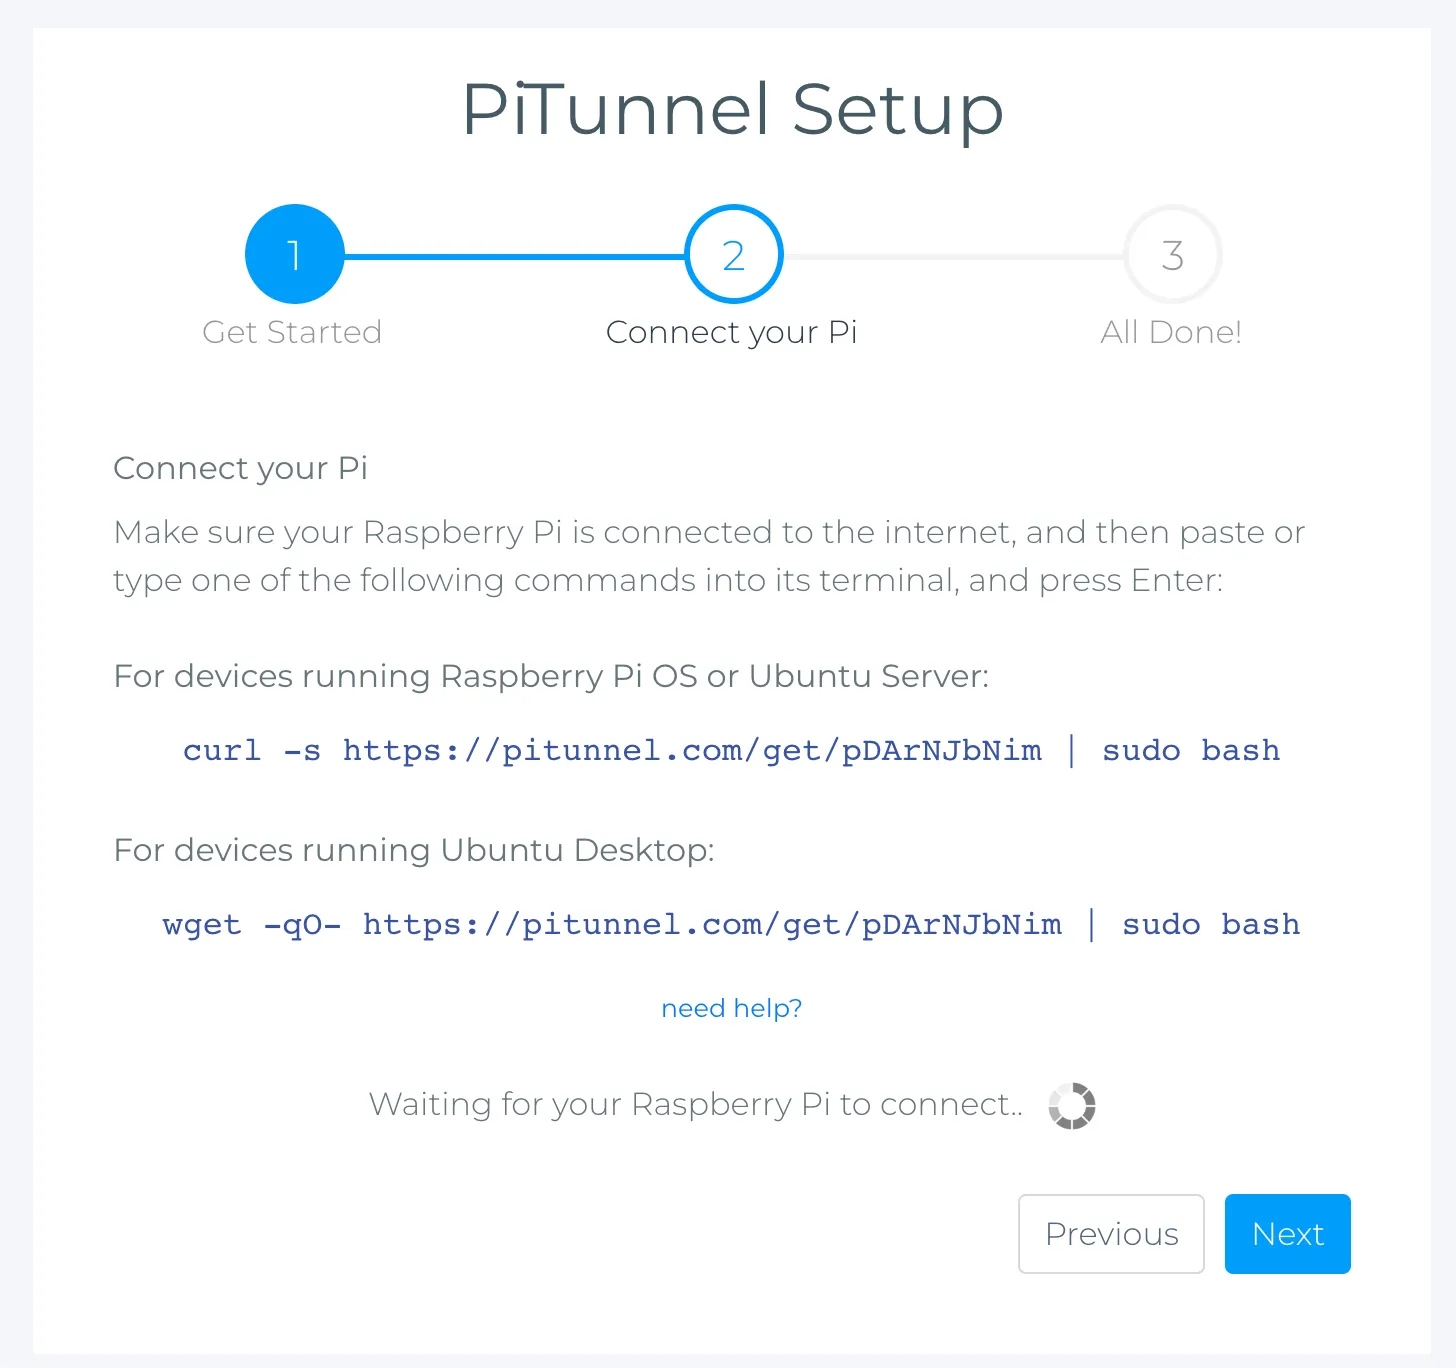
Click next, you should see the command you need to paste on your Raspberry Pi.
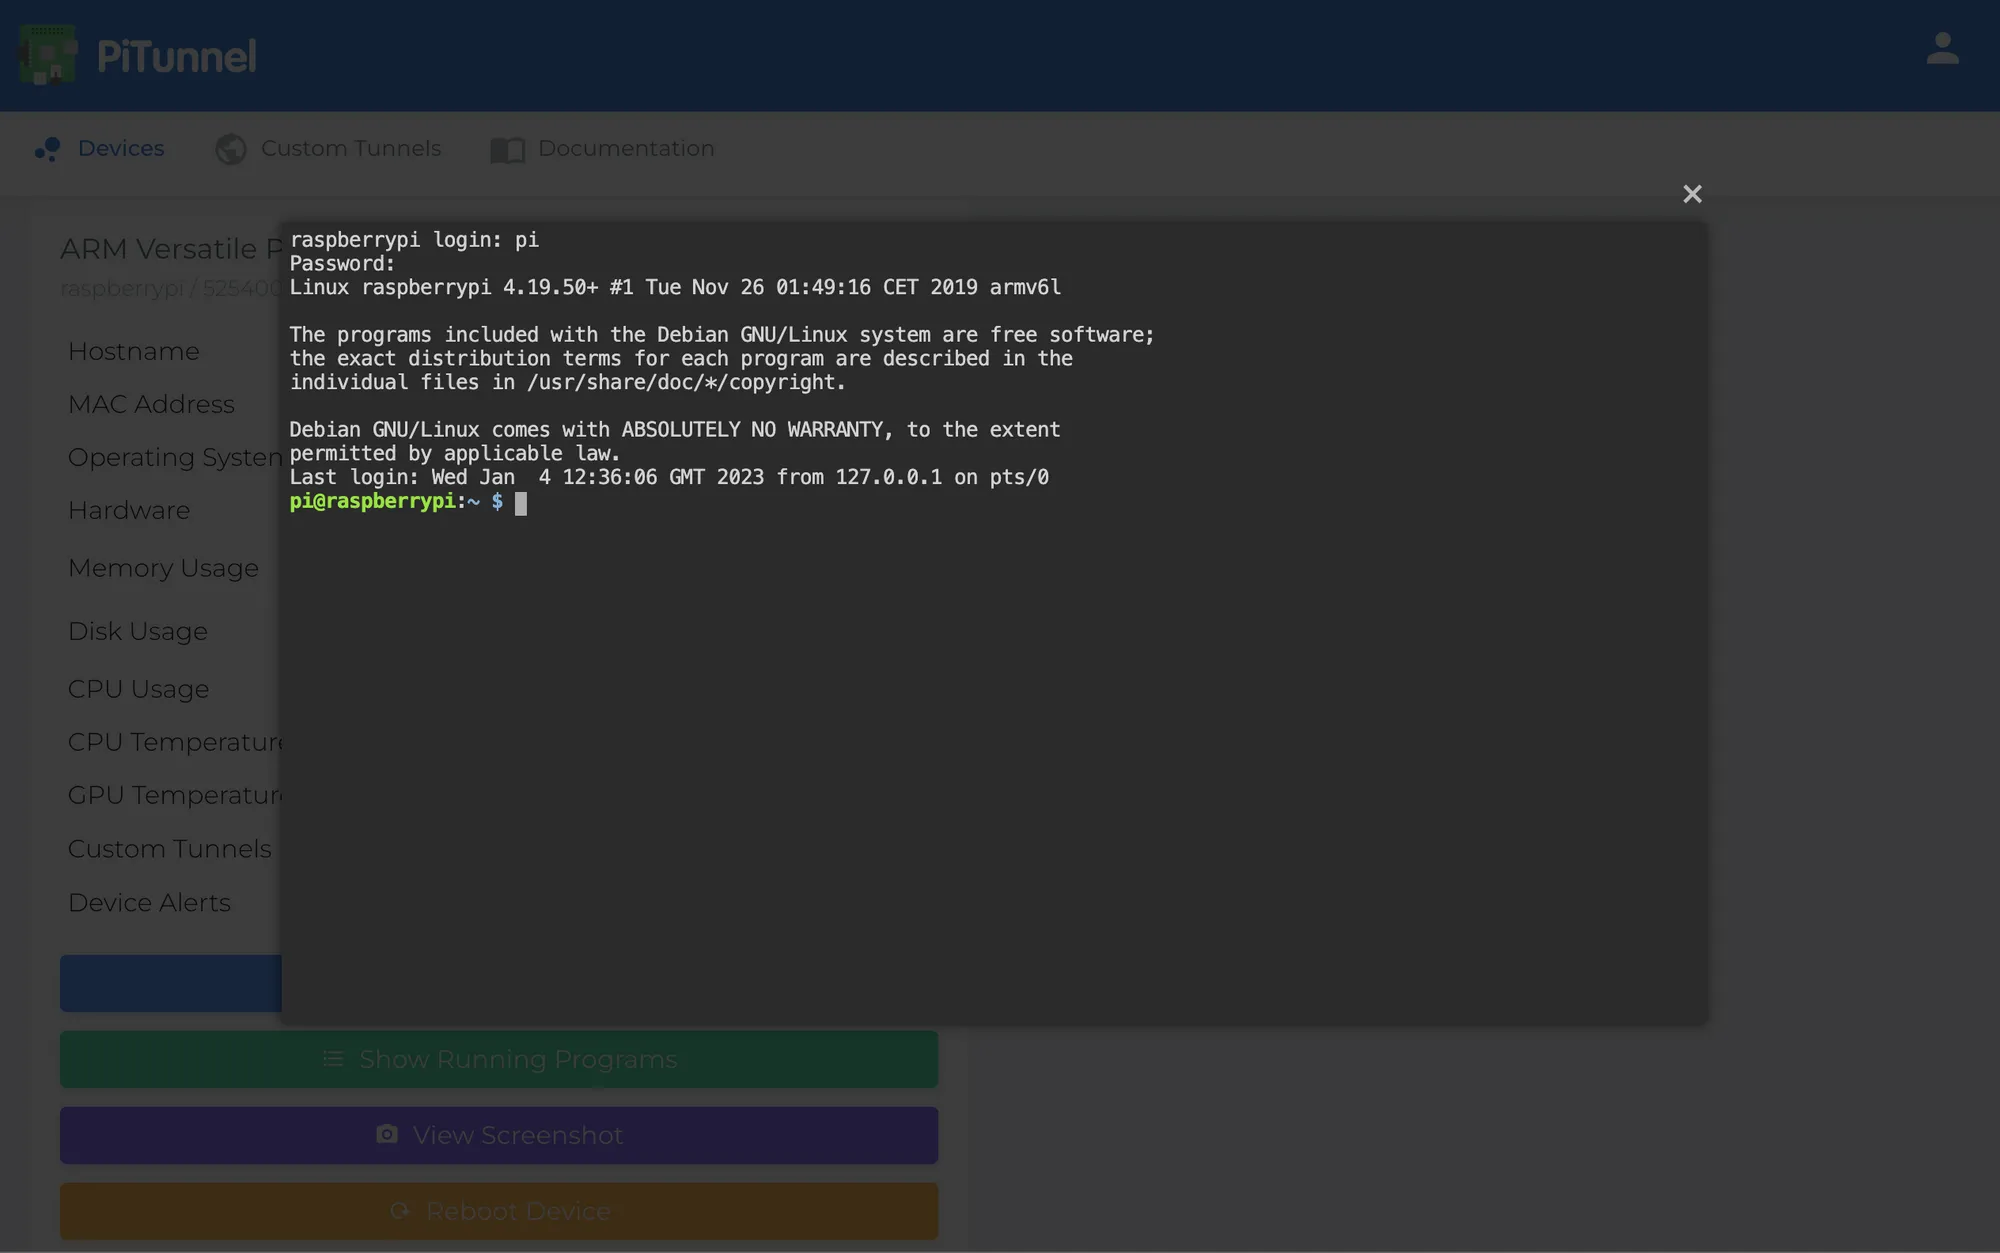
You should see similar output in your console:
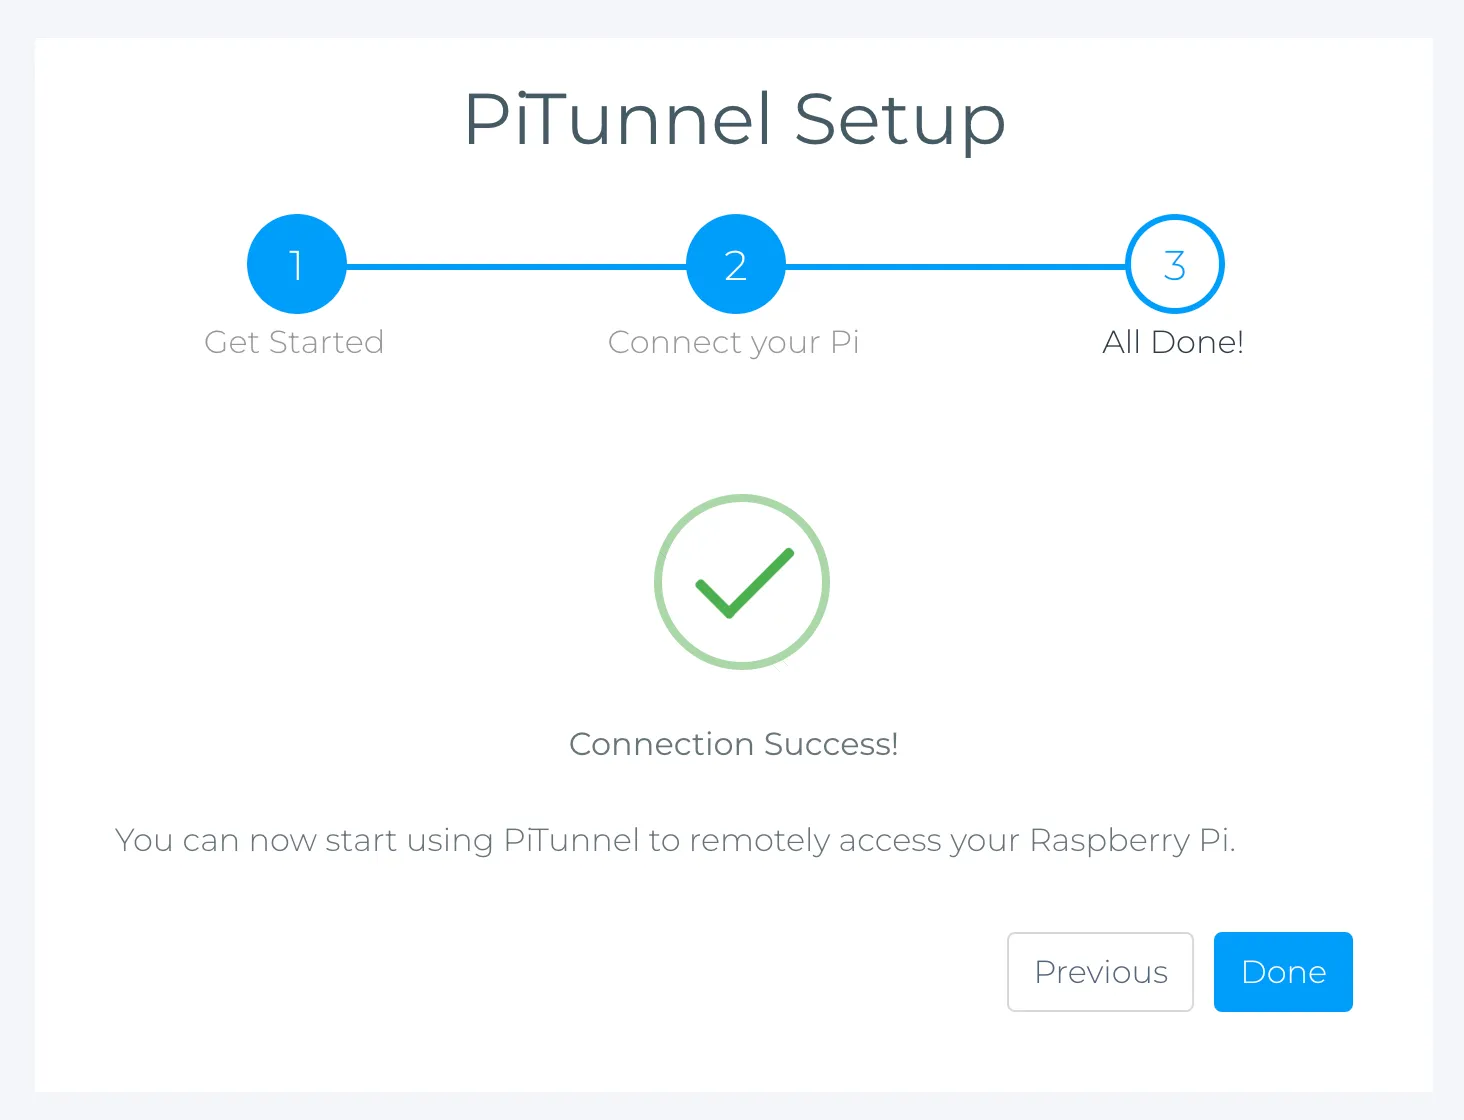
Now, you can log in to your Raspberry Pi trough SSH and paste in the first command. After a short while of setup, you should see that the setup is done:
Now, you should be able to see your Pi on the dashboard, as such:
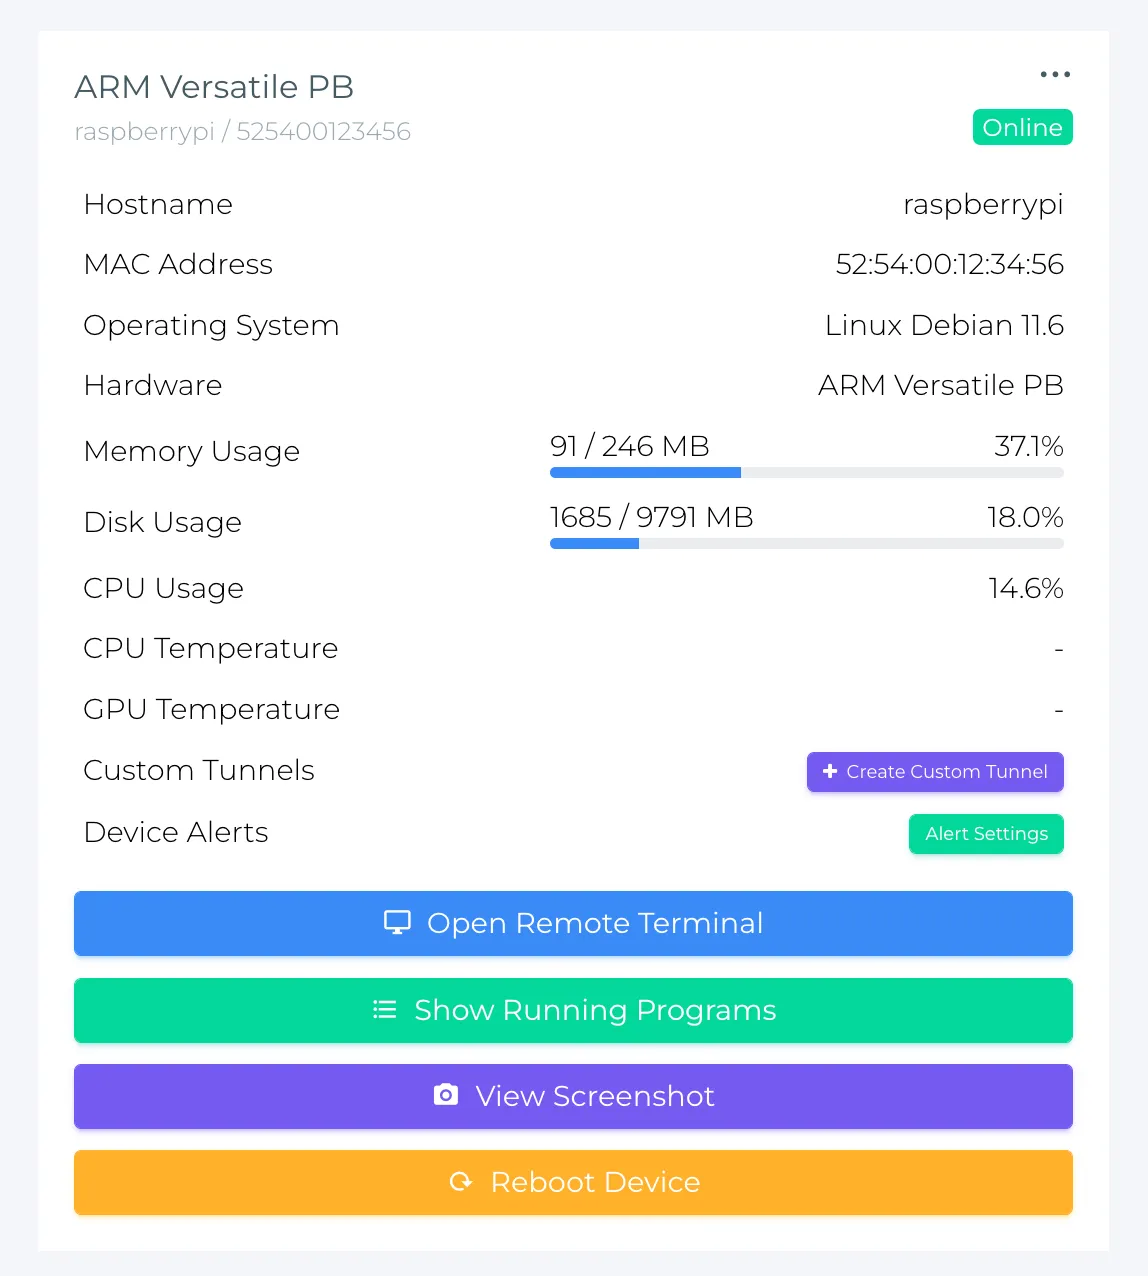
From there, you can click "Open Remote Terminal" to manage login to your Pi's SSH remotely.
SSH tunneling with ngrok.com
Ngrok is another tool that allows you to expose a local development server to the internet by providing a secure tunnel from the internet to your local machine. Let's start by creating an account on ngrok.com
Once you've created your account, it's time to log in to your ngrok account.
If you don't know what version your Raspberry Pi image is, you can run the following command:
getconf LONG_BIT

>> 32
Now, on your Raspberry Pi run:
wget https://bin.equinox.io/c/bNyj1mQVY4c/ngrok-v3-stable-linux-arm.tgz
tar -xvf ngrok-v3-stable-linux-arm.tgz
chmod +x ./ngrok
./ngrok version
You should see the ngrok version, that means it was installed successfully.
ngrok version 3.1.0Let's set the authentication token, copy the command with auth token from your ngrok account and run it on Pi.

To access your Raspberry Pi from anywhere, run:
./ngrok tcp 22You should see:
Session Status                online
Account                       user@example.com (Plan: Free)
Version                       3.1.0
Region                        Europe (eu)
Latency                       55ms
Web Interface                 http://127.0.0.1:4040
Forwarding tcp://5.tcp.eu.ngrok.io:19777 -> localhost:22And now you can SSH into your Pi from anywhere like below, of course your URL and ports will be different.
ssh -p 19777 pi@5.tcp.eu.ngrok.ioTo make sure that your tunnel is always active, edit the sudo nano /etc/rc.local file, and add the line below, just before exit 0 line.
/home/pi/ngrok tcp 22 --authtoken=your-auth-token-hereYou can reboot your Raspberry Pi to check if the process has been successful, you don't need to check the tunnel's address on the Pi, go to: Tunnels -> Agents. There you will be able to see all of your current tunnels.
SSH tunneling with your own server
One of the greatest solutions is to expose your Raspberry Pi with your own server, because you receive unlimited traffic and connections, as well as a consistent URL, not to mention that you control the infrastructure.

So let's begin by logging in to your Raspberry Pi, first we'll confirm if an SSH key already exists on your Pi, run: ls ~/.ssh
You should see:
authorized_keys id_rsa id_rsa.pub known_hostsThis means that you already have an SSH key, if you don't generate one:
ssh-keygen -t rsa -b 2048

Generating public/private rsa key pair.
Enter file in which to save the key (/home/username/.ssh/id_rsa):
Enter passphrase (empty for no passphrase):
Enter same passphrase again:
Your identification has been saved in /home/username/.ssh/id_rsa.
Your public key has been saved in /home/username/.ssh/id_rsa.pub.
Now, copy the SSH key to your server:
ssh-copy-id user@example.comOnce done, confirm that you no longer need a password to log in to your server:
ssh user@example.comIf you logged in to your server without being prompted for a password, that means it's working, if not, you will need to troubleshoot the issue.
Now, let's install autossh:
sudo apt-get update && sudo apt-get install autosshOnce done, confirm that it's installed by running: which autossh:
pi@raspberrypi:~ $ which autossh
/usr/bin/autossh
Next, create a service file: touch autossh.service and edit it nano autossh.service, paste in the following:
[Unit]
Description=AutoSSH - Expose local port 22 as port 1333 on example.com
After=network-online.target

[Service]
User=pi
Environment="AUTOSSH_GATETIME=0"
ExecStart=/usr/bin/autossh -M 2000 -N -q -R 1333:localhost:22 -o ServerAliveInterval=30 -i /home/pi/.ssh/id_rsa user@example.com
Restart=always
RestartSec=10

[Install]
WantedBy=multi-user.target
Now, copy the autossh.service file: sudo cp autossh.service /lib/systemd/system/
Start & enable the service: sudo systemctl start autossh.service & sudo systemctl enable autossh.service
Check if the service is active and running - it's a good idea to wait a couple of seconds to allow the service to start.
sudo systemctl status autossh.service
pi@raspberrypi:~ $ sudo systemctl status autossh

● autossh.service - AutoSSH - Expose local port 22 as port 1333 on example.com
     Loaded: loaded (/lib/systemd/system/autossh.service; enabled; vendor preset: enabled)
     Active: active (running) since Wed 2023-01-04 17:07:50 GMT; 1min 3s ago
   Main PID: 242 (autossh)
     Memory: 3.5M
        CPU: 1.377s
     CGroup: /system.slice/autossh.service
             ├─242 /usr/lib/autossh/autossh -M 2000 -N -q -R 1333:localhost:22 -o ServerAliveInterval=30 -i /home/pi/.ssh/id_rsa user@bartzexample.com
             └─359 /usr/bin/ssh -L 2000:127.0.0.1:2000 -R 2000:127.0.0.1:2001 -N -q -R 1333:localhost:22 -o ServerAliveInterval=30 -i /home/pi/.ssh/id_rsa user@example.com>
Now, you can log in to your server and SSH into your Raspberry Pi like this:
ssh -p 1333 pi@localhostAnd voila! Now you can access your Raspberry Pi from anywhere. If you wish, you can also expose any applications or web services from your Raspberry Pi to the outside world, check out article for further information.
Using DDNS (no-ip.com) to access your Raspberry Pi
Dynamic Domain Name System (DDNS) is a service that allows you to associate a domain name with the dynamic Internet Protocol (IP) address of your home network. This allows you to access your home network remotely using the domain name, even if your home network's IP address changes. DDNS is often used in conjunction with home security cameras, remote file servers, and other types of home services, and can also be used to access your Raspberry Pi from anywhere in the world.
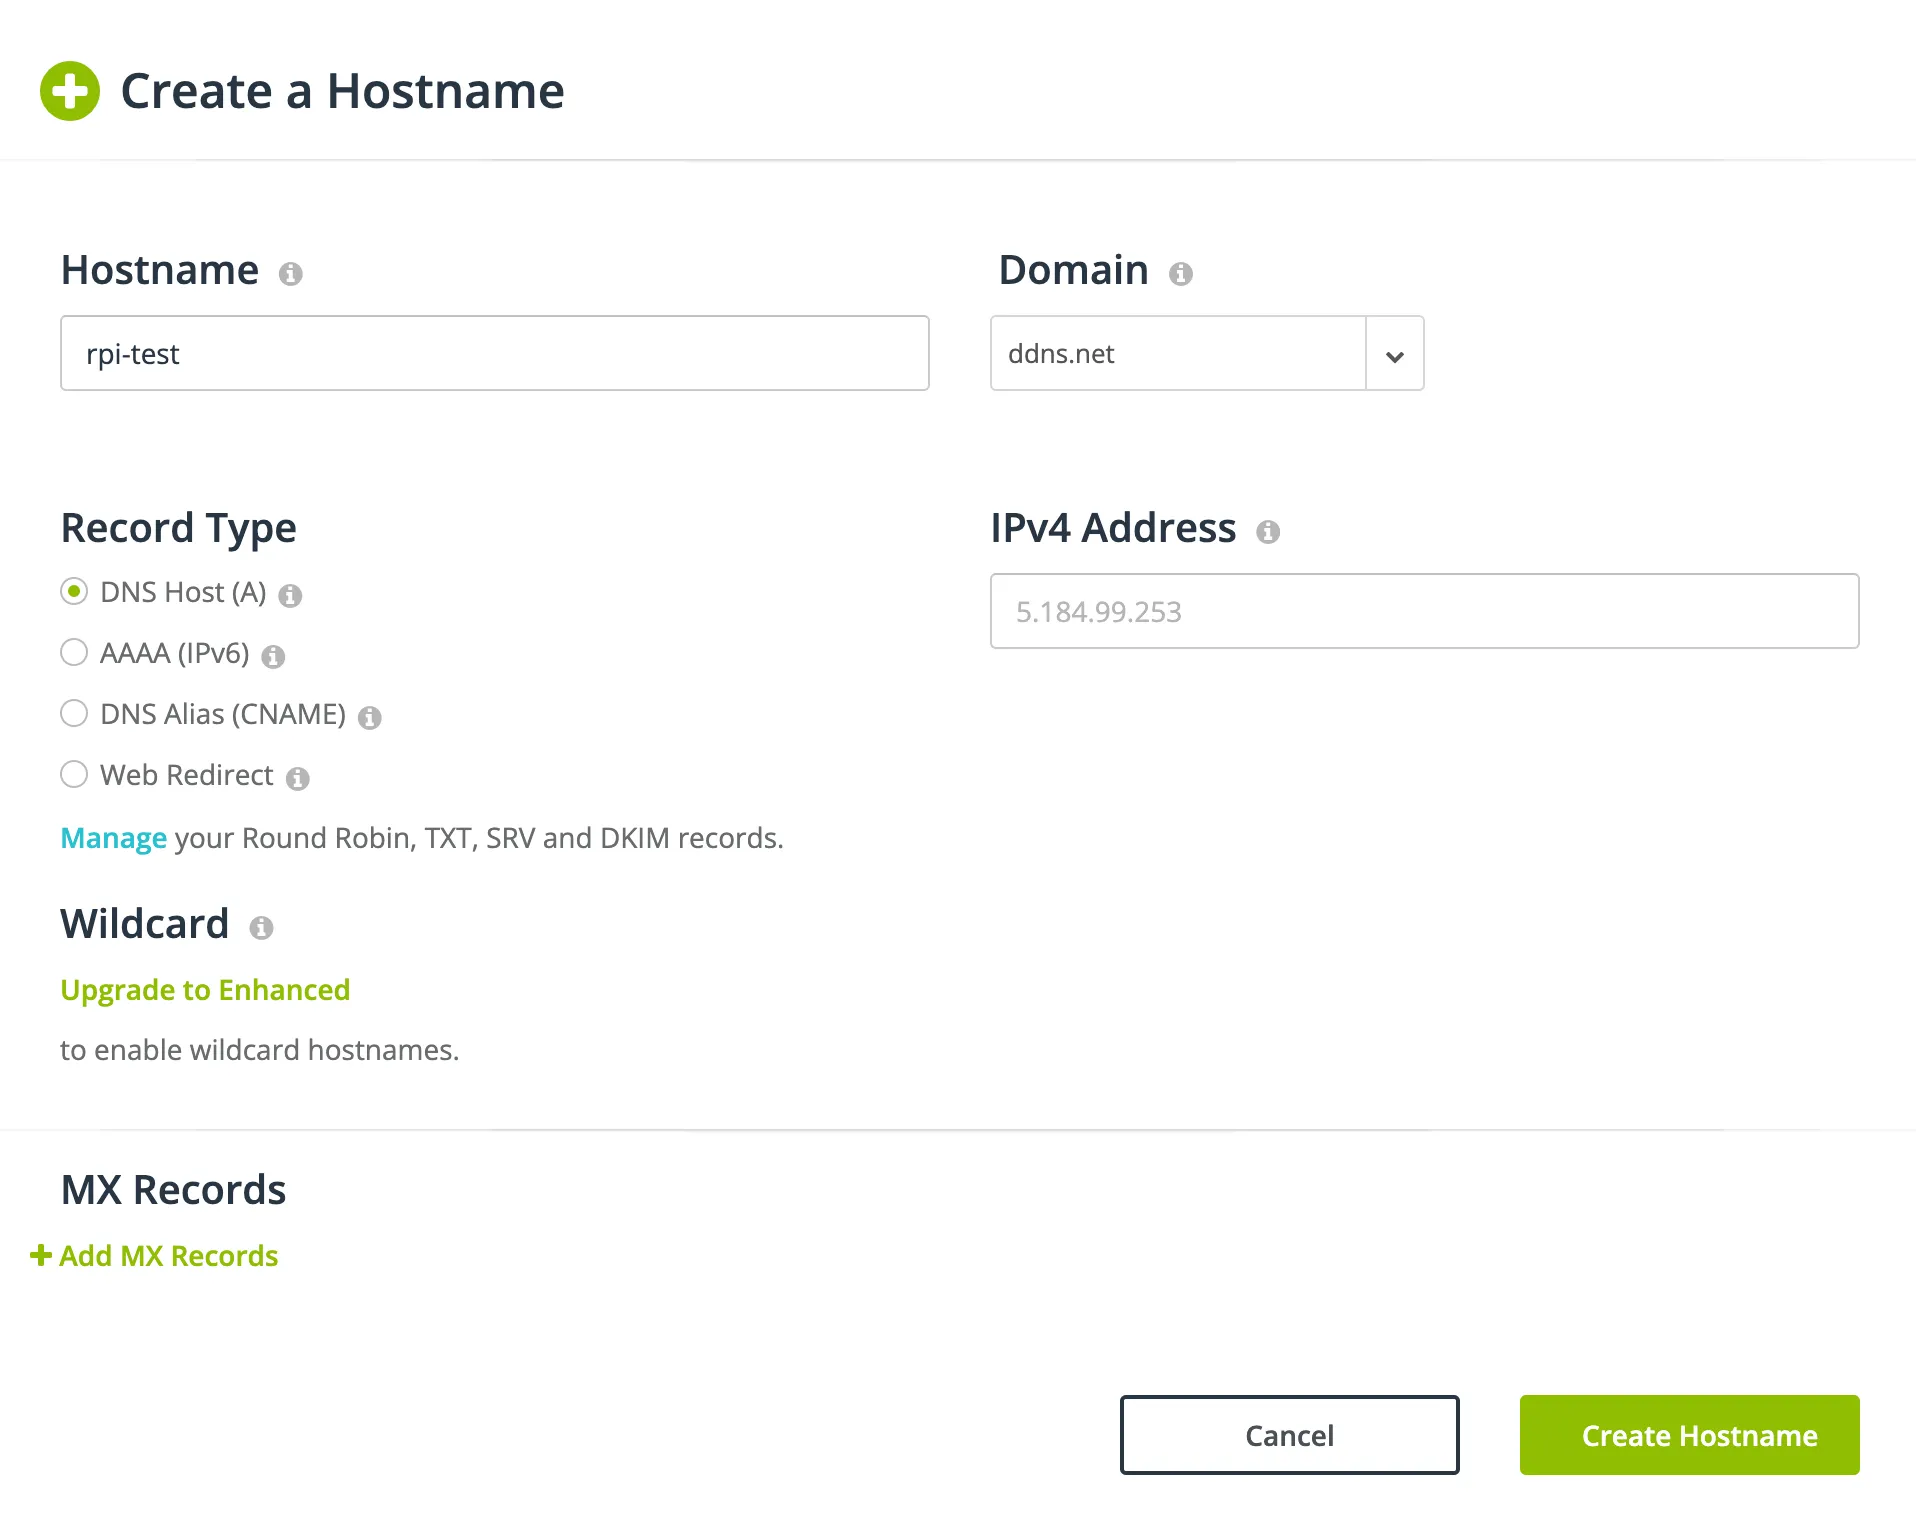
Firstly, create an account on no-ip.com. You can create up to three domains with a free account. Let's start with creating your hostname:
Once you have created your hostname, log in to your Raspberry Pi.
Run the following commands:
wget https://www.noip.com/client/linux/noip-duc-linux.tar.gz
tar vzxf noip-duc-linux.tar.gz
cd noip-2.1.9-1
sudo make
sudo make install
You will be requested to log in using your No-IP account username and password after typing "sudo make install."
After logging in to the DUC (Dynamic Update Client), you need to answer the questions to move forward. When asked how often you want the update, you must choose 5 or more. The time between updates is given in minutes. If you choose 5, the time between updates will be every 5 minutes. If you choose 30, there will be 30 minutes between each interval.
Once the installation process is complete, run:
sudo /usr/local/bin/noip2 -CAll that's left to do is open the client now that it has been installed and set up. To start the client in the background, only enter the following command:
sudo /usr/local/bin/noip2Now you can confirm if your DDNS hostname is active, you can see your IP / Target:
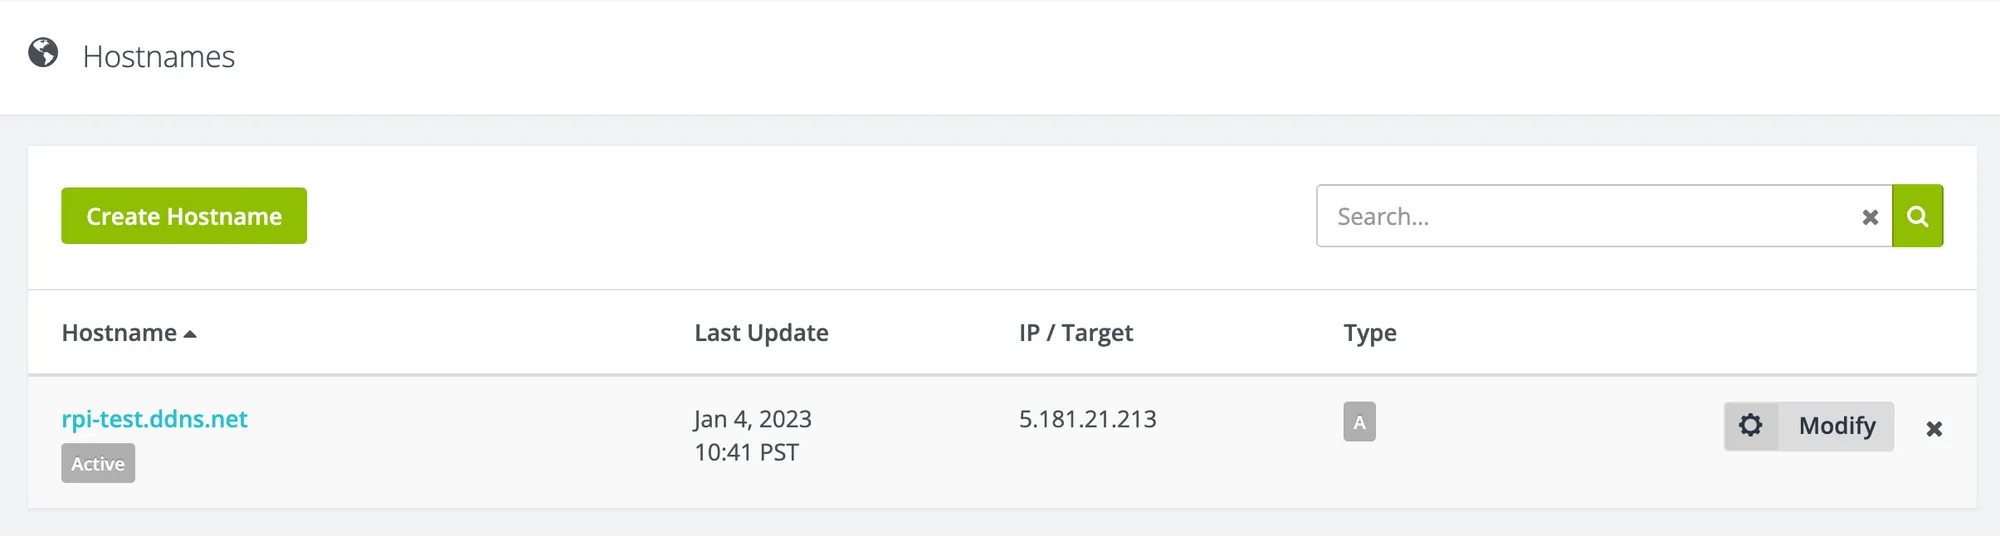
Perfect! All you have to do now is forward the ports you require on your router, for example, port 22, and you will be able to SSH into your Raspberry Pi from anywhere in the world. You can also check no-ip's article about this setup process for more information. When it comes to port forwarding, you can Google "port forwarding <router name>" and you will find plenty of articles.
Accessing your headless Raspberry Pi with TeamViewer Host
TeamViewer Host is the version of TeamViewer that we will install on the Raspberry Pi. Unlike ordinary TeamViewer versions, it is only intended to accept connections and operate as a server.
If you're unfamiliar with TeamViewer, it's a closed source software that is widely used for sharing desktops and granting others remote access to a computer. It's widely used by support teams, since it makes diagnosing and addressing problems much easier.
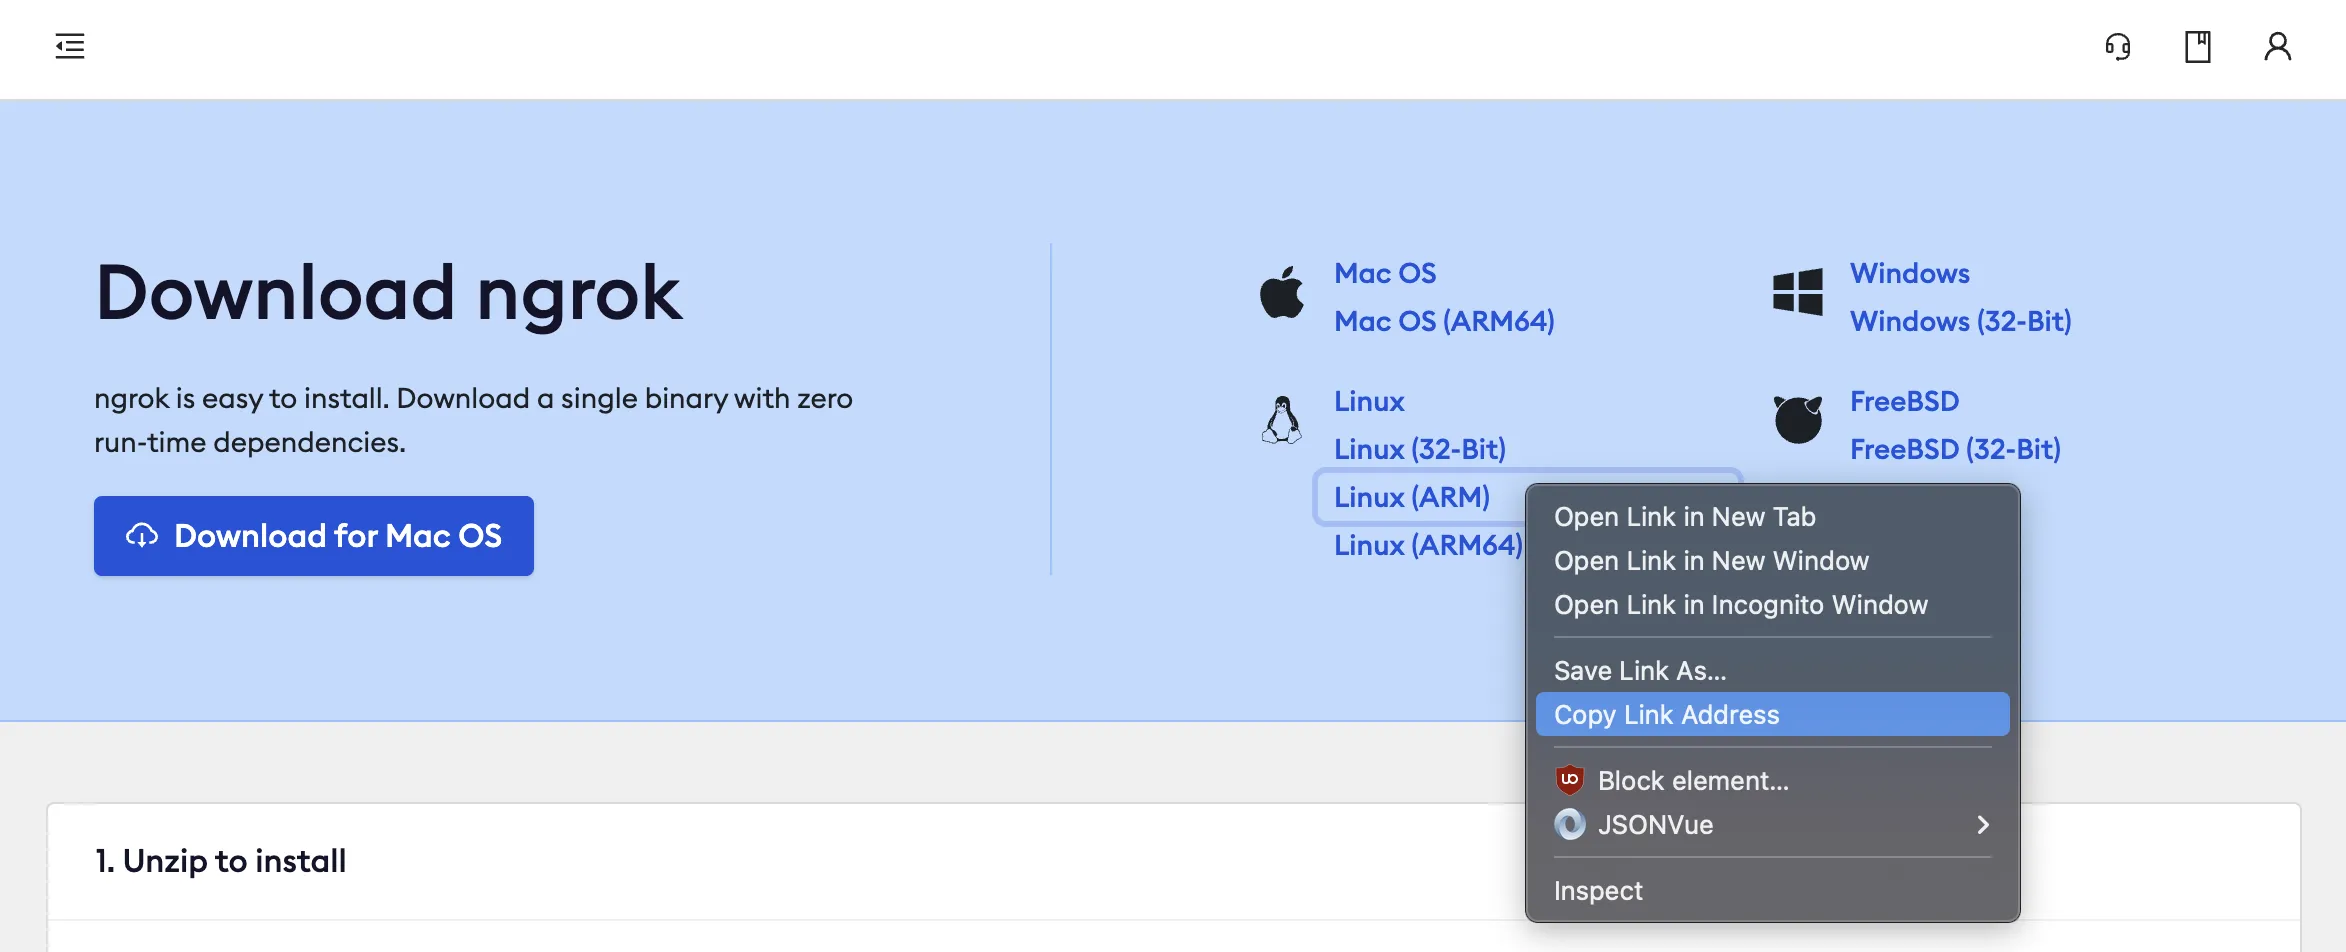
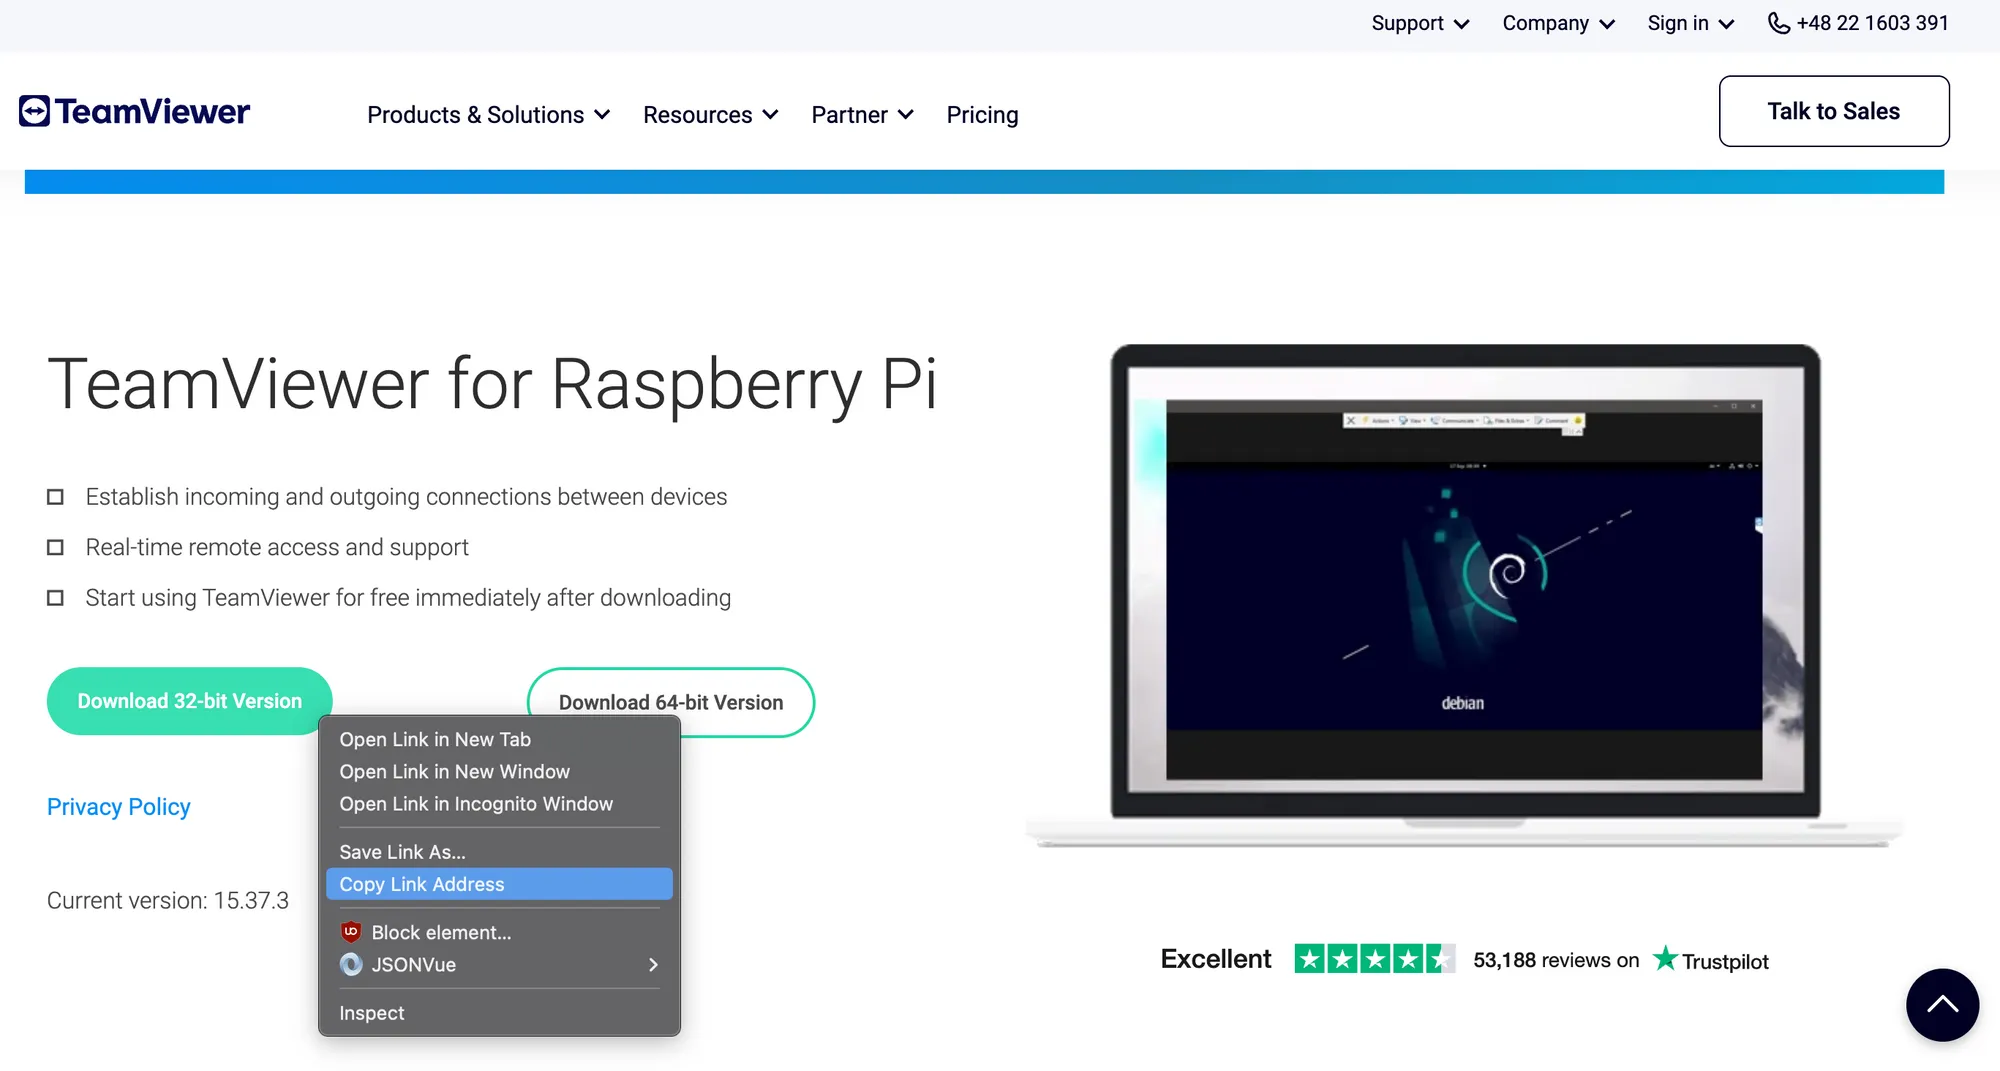
To setup TeamViewer on Raspberry Pi, first go to TeamViewer's download website and navigate to "Raspberry Pi" section on top, then copy the download link to TeamViewer Host:
Open up a terminal on your Raspberry Pi, first, make sure that your packages are up to date:
sudo apt-get update
sudo apt-get upgrade
Now, we can download the TeamViewer Host onto the Pi, you can paste in the link that you copied previously:
wget https://download.teamviewer.com/download/linux/teamviewer_armhf.debInstall the TeamViewer:
sudo apt install ./teamviewer-host*.debOnce that's done, you may encounter errors like this:
pi@raspberrypi:~ $ sudo apt install ./teamviewer-host*.deb

Selecting previously unselected package teamviewer-host.
(Reading database ... 50164 files and directories currently installed.)
Preparing to unpack teamviewer-host_armhf.deb ...
Unpacking teamviewer-host (15.37.3) ...
dpkg: dependency problems prevent configuration of teamviewer-host:
 teamviewer-host depends on libminizip1; however:
  Package libminizip1 is not installed.
 teamviewer-host depends on libxcb-icccm4; however:
  Package libxcb-icccm4 is not installed.
 teamviewer-host depends on libxcb-image0; however:
  Package libxcb-image0 is not installed.
 teamviewer-host depends on libxcb-keysyms1; however:
  Package libxcb-keysyms1 is not installed.
 teamviewer-host depends on libxcb-render0; however:
  Package libxcb-render0 is not installed.
 teamviewer-host depends on libxcb-render-util0; however:
  Package libxcb-render-util0 is not installed.
 teamviewer-host depends on libxcb-xinerama0; however:
  Package libxcb-xinerama0 is not installed.
 teamviewer-host depends on libxcb-xkb1; however:
  Package libxcb-xkb1 is not installed.
 teamviewer-host depends on libxkbcommon0; however:
  Package libxkbcommon0 is not installed.
 teamviewer-host depends on libxkbcommon-x11-0; however:
  Package libxkbcommon-x11-0 is not installed.
 teamviewer-host depends on libxss1; however:
  Package libxss1 is not installed.

dpkg: error processing package teamviewer-host (--install):
 dependency problems - leaving unconfigured
Processing triggers for mailcap (3.69) ...
Processing triggers for dbus (1.12.24-0+deb11u1) ...
Errors were encountered while processing:
 teamviewer-host
This means that some dependencies are missing for TeamViewer, install them like this:
sudo apt --fix-broken instalNow, with TeamViewer installed, we can finally set a password that we'll use to connect to the Pi:
sudo teamviewer passwd <password>With your password set-up, type in:
teamviewer infoYou should see:
 TeamViewer     15.37.3 (DEB)
 TeamViewer ID: <0123456789>
Now you can open up TeamViewer client and log on to your Raspberry Pi from anywhere using the TeamViewer ID and password.
For more information about running TeamViewer on Raspberry Pi, visit the official website.