Introduction
This article will provide an overview of how to easily manage memory on the ESP32 using Preferences.h, with code examples. The ESP32 is a powerful microcontroller with a wide range of peripherals and features. As such, it requires careful management of its memory resources to ensure optimal functioning.
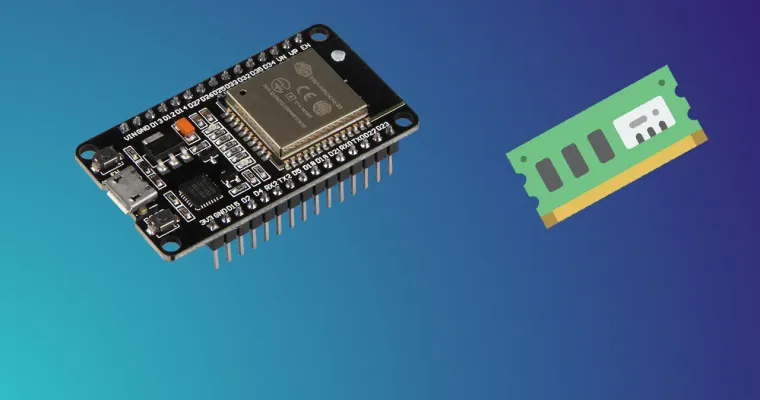
ESP32 Memory
The ESP32 has a total of 520KB SRAM, which includes 448KB for user applications and 72KB of ROM. The module has a 4MB flash by default, but you can also order it with a custom flash size of 8 or 16 MB.
There are three main types of memory available on the ESP32:
- SRAM (Static Random Access Memory) is used to store data that needs to be accessed quickly, such as variables or program instructions.
- ROM (Read-Only Memory) is non-volatile and holds data that does not change frequently – commonly used for storing boot code or device drivers.
- Flash Memory is used for storing large amounts of data that needs to be written and read frequently.
What is Preferences.h?
Preferences.h library works better for storing data in key:value pairs. This is important when you need to remember things like the last state of a variable, or how many times a button was clicked. If you need to save files instead of variables I recommend using the SPIFFS (SPI Flash File System) instead. This library is automatically downloaded when you install the ESP32 boards in your Arduino IDE.
Using Preferences.h
The code below shows how easy it is to use the Preferences.h library to manage memory on the ESP32.
#include <Preferences.h>

Preferences preferences;

void setup() {
  Serial.begin(115200);
  preferences.begin("mynamespace", false);

  // Set boolean
  preferences.putBool("bool-key", true);

  // Set integer
  preferences.putInt("int-key", 123);

  // Set float
  preferences.putFloat("float-key", 1.23);

  // Set double
  preferences.putDouble("double-key", 3.14159265359);

  // Set string
  preferences.putString("string-key", "Hello world!");

  // Set bytes
  uint8_t bytes[] = {0x12, 0x34, 0x56};
  preferences.putBytes("bytes-key", bytes, sizeof(bytes));
}

void loop() {
  // Read boolean
  Serial.printf("bool-key: %s\n", preferences.getBool("bool-key") ? "true" : "false");

  // Read integer
  Serial.printf("int-key: %d\n", preferences.getInt("int-key"));

  // Read float
  Serial.printf("float-key: %f\n", preferences.getFloat("float-key"));

  // Read double
  Serial.printf("double-key: %f\n", preferences.getDouble("double-key"));

  // Read string
  Serial.printf("string-key: %s\n", preferences.getString("string-key"));

  // Read bytes
  uint8_t bytes[sizeof(uint8_t) * 3];
  size_t length = preferences.getBytes("bytes-key", bytes, sizeof(bytes));
  Serial.print("bytes-key: ");
  for (size_t i = 0; i < length; i++) {
    Serial.printf("%02x ", bytes[i]);
  }
  Serial.println();

  delay(1000);
}
Preferences.h functions
Using Preferences.h to dynamically set HTTP reporting endpoint
Using Preferences.h library can be helpful when you want to change where your ESP32 sends HTTP requests. You can send a request to it and make it send requests to your laptop while you're testing and debugging. When you're done developing, just send another http request and set the mode to production.
How I use Preferences.h to set where ESP32 sends the data over HTTP:
#include <WiFi.h>
#include <AsyncTCP.h>
#include <ESPAsyncWebServer.h>
#include <DallasTemperature.h>
#include <HTTPClient.h>
#include <Preferences.h>

Preferences preferences;

const char* ssid = "yourwifi";
const char* password = "yourpass";

AsyncWebServer server(80);

void setup(){
  Serial.begin(115200);
  preferences.begin("homegrow", false);

  // Connect to Wi-Fi
  WiFi.begin(ssid, password);
  while (WiFi.status() != WL_CONNECTED) {
    delay(1000);
    Serial.println("Connecting to WiFi..");
  }

  // Print ESP Local IP Address
  Serial.println(WiFi.localIP());

  server.on("/set-inform", HTTP_GET, [] (AsyncWebServerRequest *request) {
    String url = "";
    if(request->hasParam("url")) {
      url = request->getParam("url")->value();
    }

    Serial.println(url);
    preferences.putString("url", url);

    request->send(200, "text/plain", "OK");
  });

  // Start server
  server.begin();
}

void loop(void){
  HTTPClient http;

  Serial.println("Notifying controller");

  String url = preferences.getString("url", "http://192.168.1.101:8096/report");
  http.begin(url);
  http.addHeader("Content-Type", "application/x-www-form-urlencoded");

  String httpRequestData = "{\"pins\":{\"5\":"+String(digitalRead(5))+",\"13\":"+String(digitalRead(13))+",\"14\":"+String(digitalRead(14))+",\"15\":"+String(digitalRead(15))+",\"18\":"+String(digitalRead(18))+",\"26\":"+String(digitalRead(26))+",\"27\":"+String(digitalRead(27))+",\"32\":"+String(digitalRead(32))+"}}";
  int httpResponseCode = http.POST(httpRequestData);

  delay(5000);
}
What the code above does is it sends a request to a HTTP endpoint every 5 seconds, if "url" is not set in preferences it uses the default value.
If you want to change the URL you can simply make a GET HTTP request like this:
http://192.168.1.100/set-inform?url=http://your-endpointAnd this change will be saved in ESP32 memory, which means it will also be there when you restart it!
Conclusion
The Preferences.h library provides an easy way to manage this memory and store key:value pairs in the flash memory. This article has discussed how the library can be used to dynamically set where the device should send HTTP requests, as an example of its use. With the code provided in this article, it is possible to easily start using and managing memory with Preferences.h on the ESP32.
By utilizing this library, users can optimize the performance of their applications and ensure their devices are efficiently running at all times. As such, it is a valuable tool for managing memory on the ESP32.
Further Reading
 espressif