Introduction
In this article, you'll learn how to use and run a virtual Raspberry Pi using Docker, allowing you to test and develop your projects in a safe and isolated environment, without the need for a physical device.

What is the Raspberry Pi?
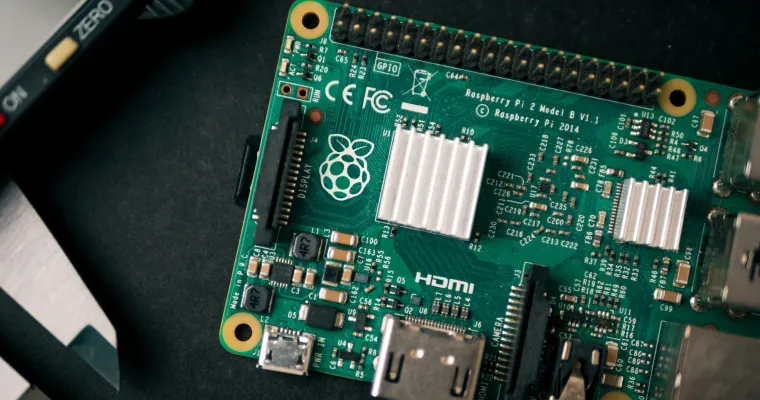
The Raspberry Pi is an inexpensive computer about the size of a credit card. It can be plugged into a computer monitor or TV and works with a standard keyboard and mouse. It is a small but powerful device that lets people of all ages learn about computers and how to code in languages like Scratch and Python.
Who made the Raspberry Pi?
It was made by the Raspberry Pi Foundation, a charity in the UK whose goal was to get more schools to teach basic computer science. The Raspberry Pi Foundation gives people a lot of information and tutorials to help them get started with the Raspberry Pi.
Raspberry Pi internals
The Raspberry Pi is based on a Broadcom BCM2835 system on a chip (SoC), which has an ARM1176JZF-S 700 MHz processor, a VideoCore IV GPU, and 256 megabytes of RAM. Later models, like the Raspberry Pi 2, Raspberry Pi 3, and Raspberry Pi 4, have better specs, like more memory and a faster processor.
What's interesting about Raspberry Pi?
Raspberry Pi is that it can run many different operating systems. These include the official Raspbian release, which is a version of Debian Linux, as well as third-party operating systems like Ubuntu, Windows 10 IoT Core, and even a version of the popular retro gaming platform RetroPie. Because of this, the Raspberry Pi can be used for a wide range of projects, from simple games and animations to more complicated ones like media centers and home automation systems.
Raspberry Pi can also connect to other devices, like cameras and sensors. This makes it a great option for home automation, Internet of Things, and do-it-yourself electronics projects. It's also easy for hobbyists and makers to play around with and make things with because there are software libraries and tutorials available.
What is Docker?
Docker is an open-source platform that makes it easy to build, deploy, and run applications in containers. A container is a small, portable, and self-contained software package that has all the code, runtime, system tools, libraries, and settings that an application needs to run.
Setting up Docker on your machine
- On Mac you can get the Docker Desktop app from the official website and install it by following the on-screen instructions. Once the installation is done, you can start using Docker by opening the app.
- On Windows, go to the official website and download the Docker Desktop app for Windows. Then, run the installer. Follow the on-screen instructions to set up Docker on your computer. Once the installation is done, you can use Docker by opening the Docker Desktop app from the Start menu.
- On Linux distributions have different ways of installing software. In general, you can use the package manager for your distribution to install Docker. On Ubuntu, you can install it with the command "sudo apt-get install docker." Once the installation is done, run the command "docker" in your terminal to start using Docker.
Downloading and running the virtual Raspberry Pi image
The following are a few methods for operating the virtual Raspberry Pi:
Start without persistence
docker run -it lukechilds/dockerpiStart with persistence
All filesystem changes are by default lost upon shutdown. By mounting the /sdcard volume on your host, you can save filesystem modifications between reboots:
docker run -it -v $HOME/.dockerpi:/sdcard lukechilds/dockerpiMount specific system image (recommended)
You can mount a specific image at /sdcard/filesystem.img if you have one you want to mount. Please note the :vm was added at the end of the command. The reason I recommend to mount your own image is because the default image is using Raspbian from 2019, and the Docker image is also limited in terms of disk space inside the virtual machine.
Download latest Raspbian


wget https://downloads.raspberrypi.org/raspios_armhf/images/raspios_armhf-2022-09-26/2022-09-22-raspios-bullseye-armhf.img.xz
unxz 2022-09-22-raspios-bullseye-armhf.img.xzIf you're missing unxz command: sudo apt-get install xz-utils
sudo apt-get install qemu-utils
qemu-img resize -f raw 2022-09-22-raspios-bullseye-armhf-lite.img 10Guserconf in the boot partition of the image. Otherwise you won't be able to log in to your Pi.Generate userconf
Excerpt from raspios_lite_armhf-2022-04-04 release:
Default "pi" user has been removed; the first-boot wizard enforces the creation of a new user account
So, in order to access any RaspiOS image that was released after 2022-04-04, we need to create the userconf file, you can generate the encrypted password with the command below.
echo 'mypassword' | openssl passwd -6 -stdinIf you don't have openssl installed, you can use this userconf:
pi:$6$c70VpvPsVNCG0YR5$l5vWWLsLko9Kj65gcQ8qvMkuOoRkEagI90qi3F/Y7rm8eNYZHW8CY6BOIKwMH7a3YYzZYL90zf304cAHLFaZE0If you don't know how to add the userconf file yourself, you can download the image below, it has userconf already defined. The username is: pi and password is raspberry.
Start the virtual Pi
sudo docker run -it -v /home/user/2022-09-22-raspios-bullseye-armhf-lite.img:/sdcard/filesystem.img lukechilds/dockerpi:vm
